Introduction
Axon docks give Axon body cameras a wired network connection to Axon Evidence or Evidence Local to upload evidence and download camera updates. While information transfers securely to your organization’s account, the dock also recharges the camera’s battery.
Health and safety warnings
Read the latest warnings and instructions
The health and safety warnings are to reduce the risk of personal injury or property damage. Read those warnings fully before using this product.
Axon Dock types
Axon has different docks for Body 4 (below) and Body 3/Workforce (next section).
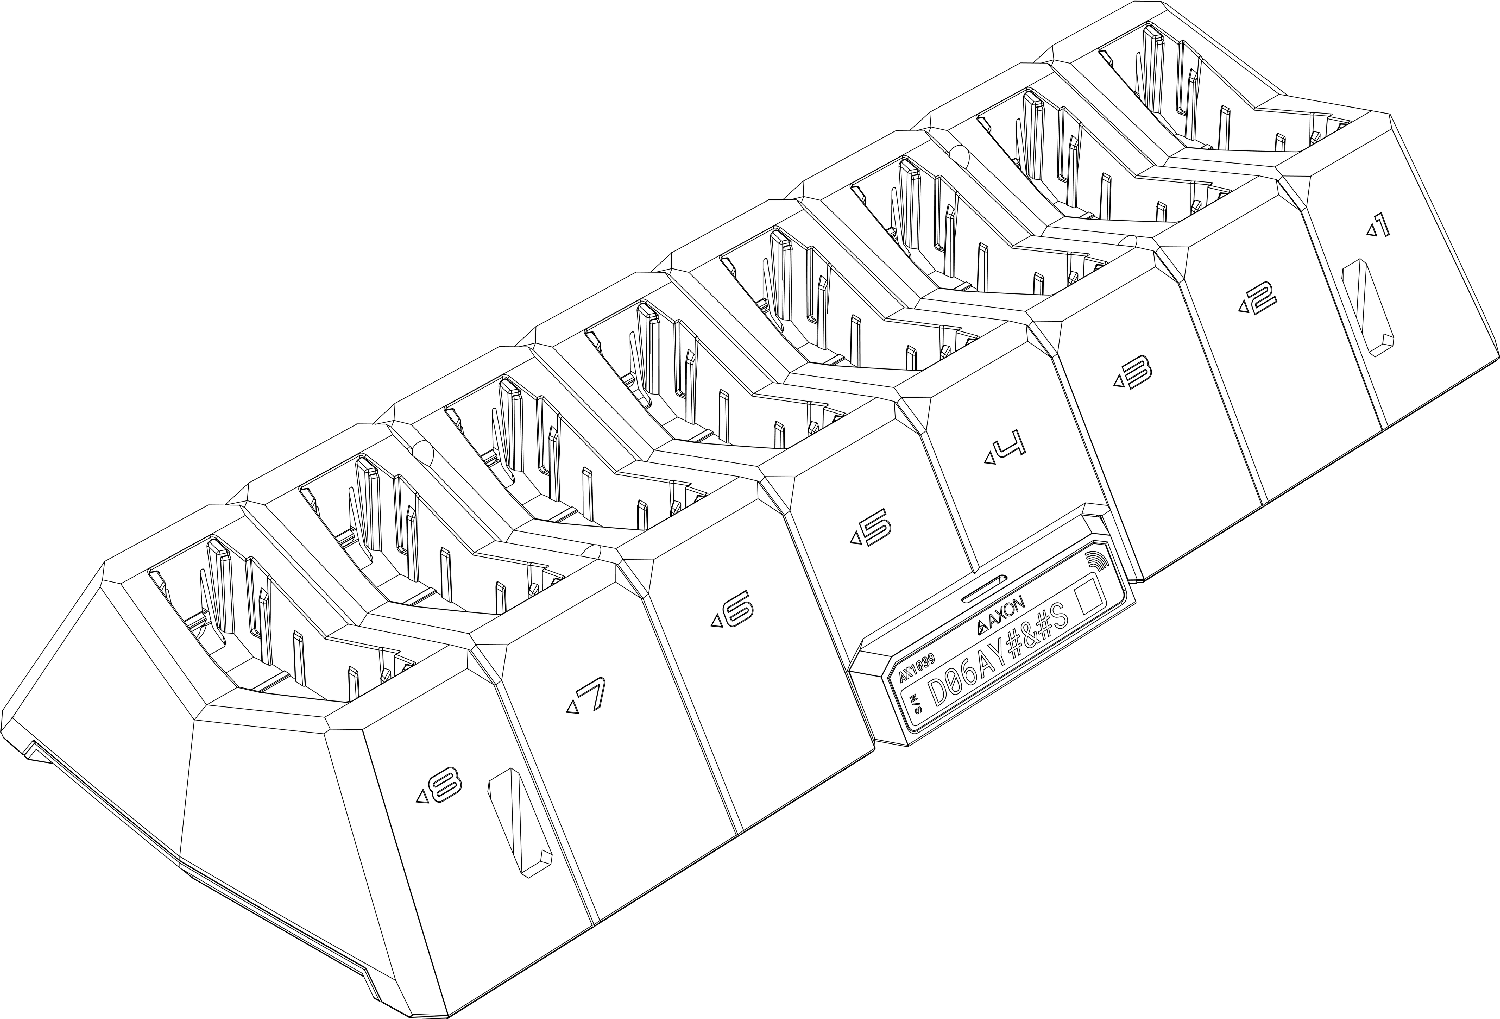
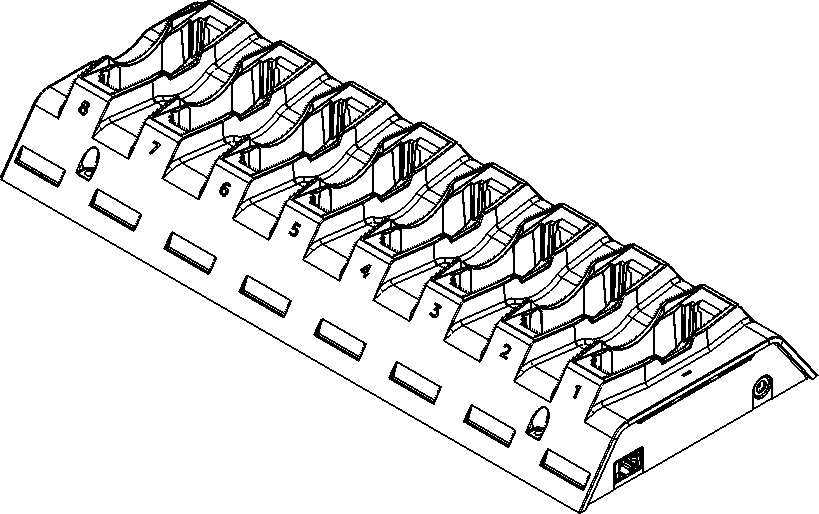
Axon Body 4 Dock
There are two types of Axon Body 4 Docks: an 8-bay dock and a 1-bay dock.
|
|
| 8-Bay Dock, AX1039 | 1-Bay Dock, AX1040 |
Axon Body 3/Workforce Dock
There are two types of Axon Body 3 Docks: an 8-bay dock and a 1-bay dock.
|

|
| 8-Bay Dock, AX1026 | 1-Bay Dock, AX1027 |
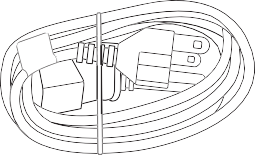
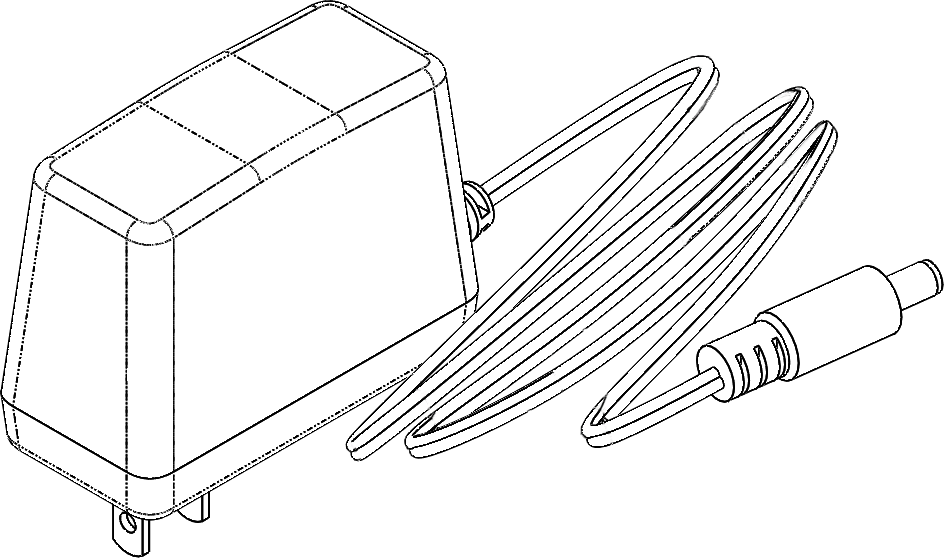
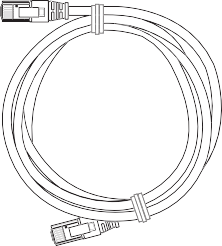
Additional materials
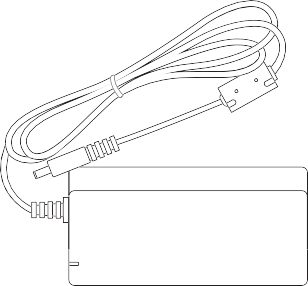
An Axon Dock may come with an ethernet cable and an external power supply.
|
|
|
| Power supply, multi-Bay Dock (SKU 100142) | Power supply, single-Bay Dock (SKU 71104) | Ethernet cable |
Find dock information in Axon Evidence
Information about an Axon Dock and the devices connected to them is available in your agency’s Axon Evidence account by going to the Device Profile page for the dock. Your dock must be registered (see next section) to use this page.
The Device Profile page shows the dock model, serial number, and status of cameras connected to the dock. The Connected Devices section of the page is built by assembling the reports sent from a camera each it is docked.
This screen shows an Axon 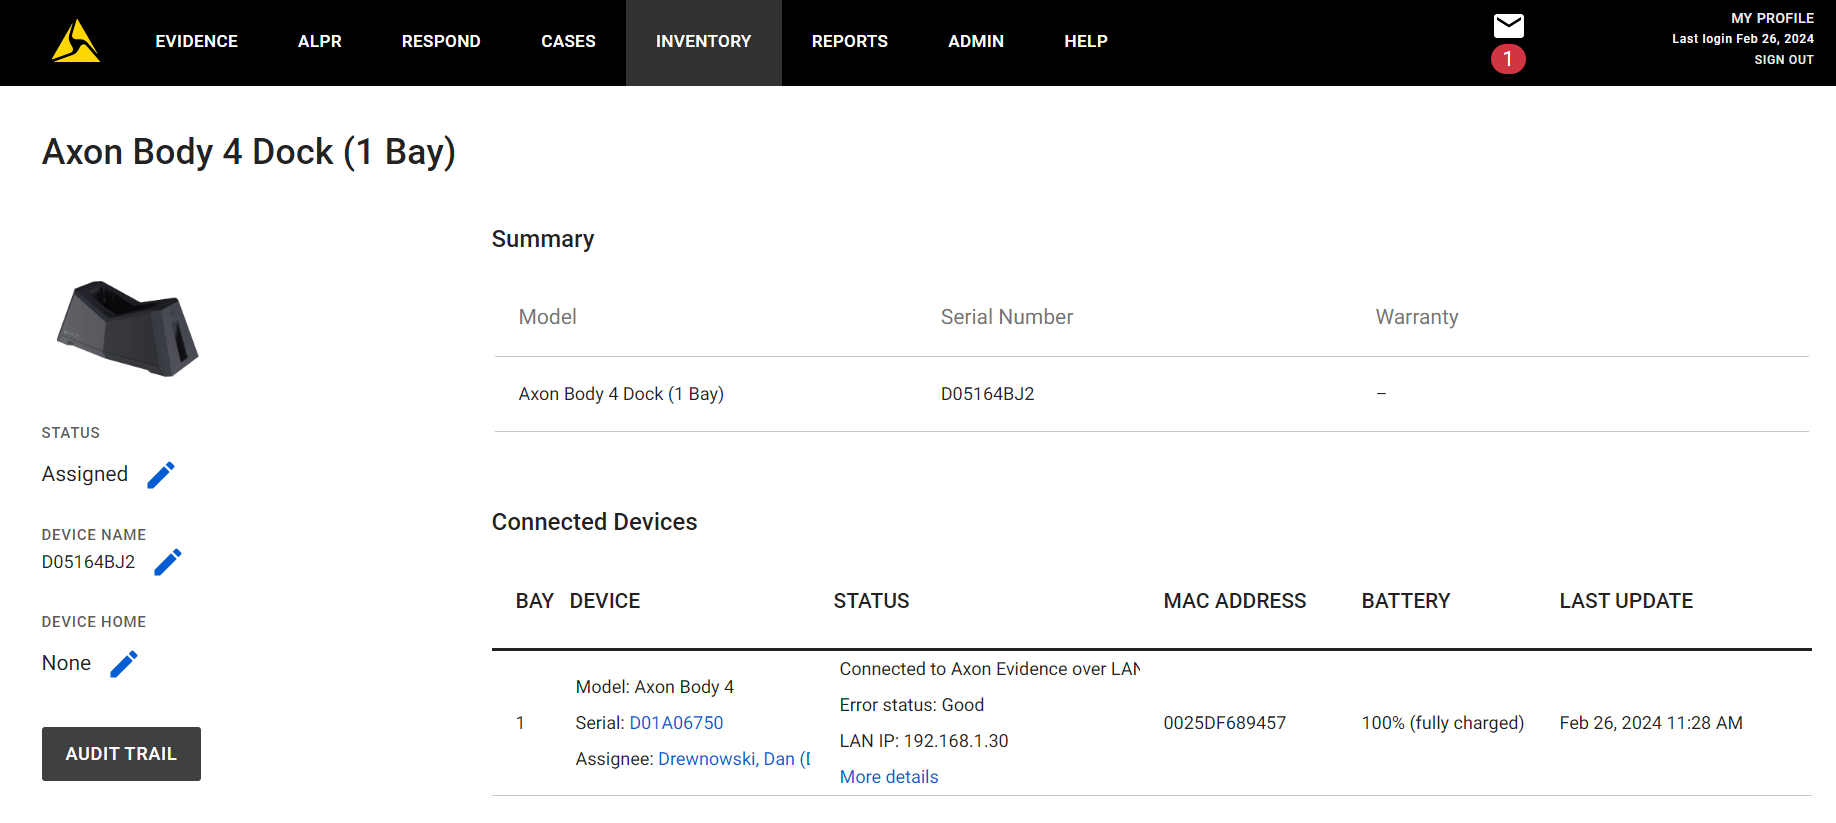
Set WAN access
In Axon Evidence, select Admin > Axon Dock to set if the dock can be configured through the WAN port. Confirm this setting is enabled before registering and/or connecting your dock to the network. DO NOT connect your WAN port to the internet without a firewall.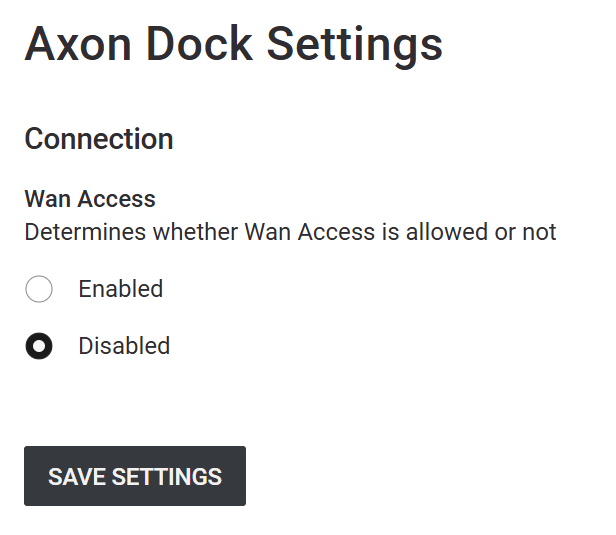
Registration
If you do not have an Axon Evidence account, contact your Axon administrator and ask for an account invitation. When the email invitation arrives from [email protected], accept it and create an account.
Registration and configuration of Axon Docks is not required, but registering does make inventory management of your docks, including returns through Axon Evidence, much easier. Your dock must be registered to use the Device Profile page in Axon Evidence.
- Use Axon Device Manager (ADM) to register and name Axon Body Docks for inventory and management purposes.
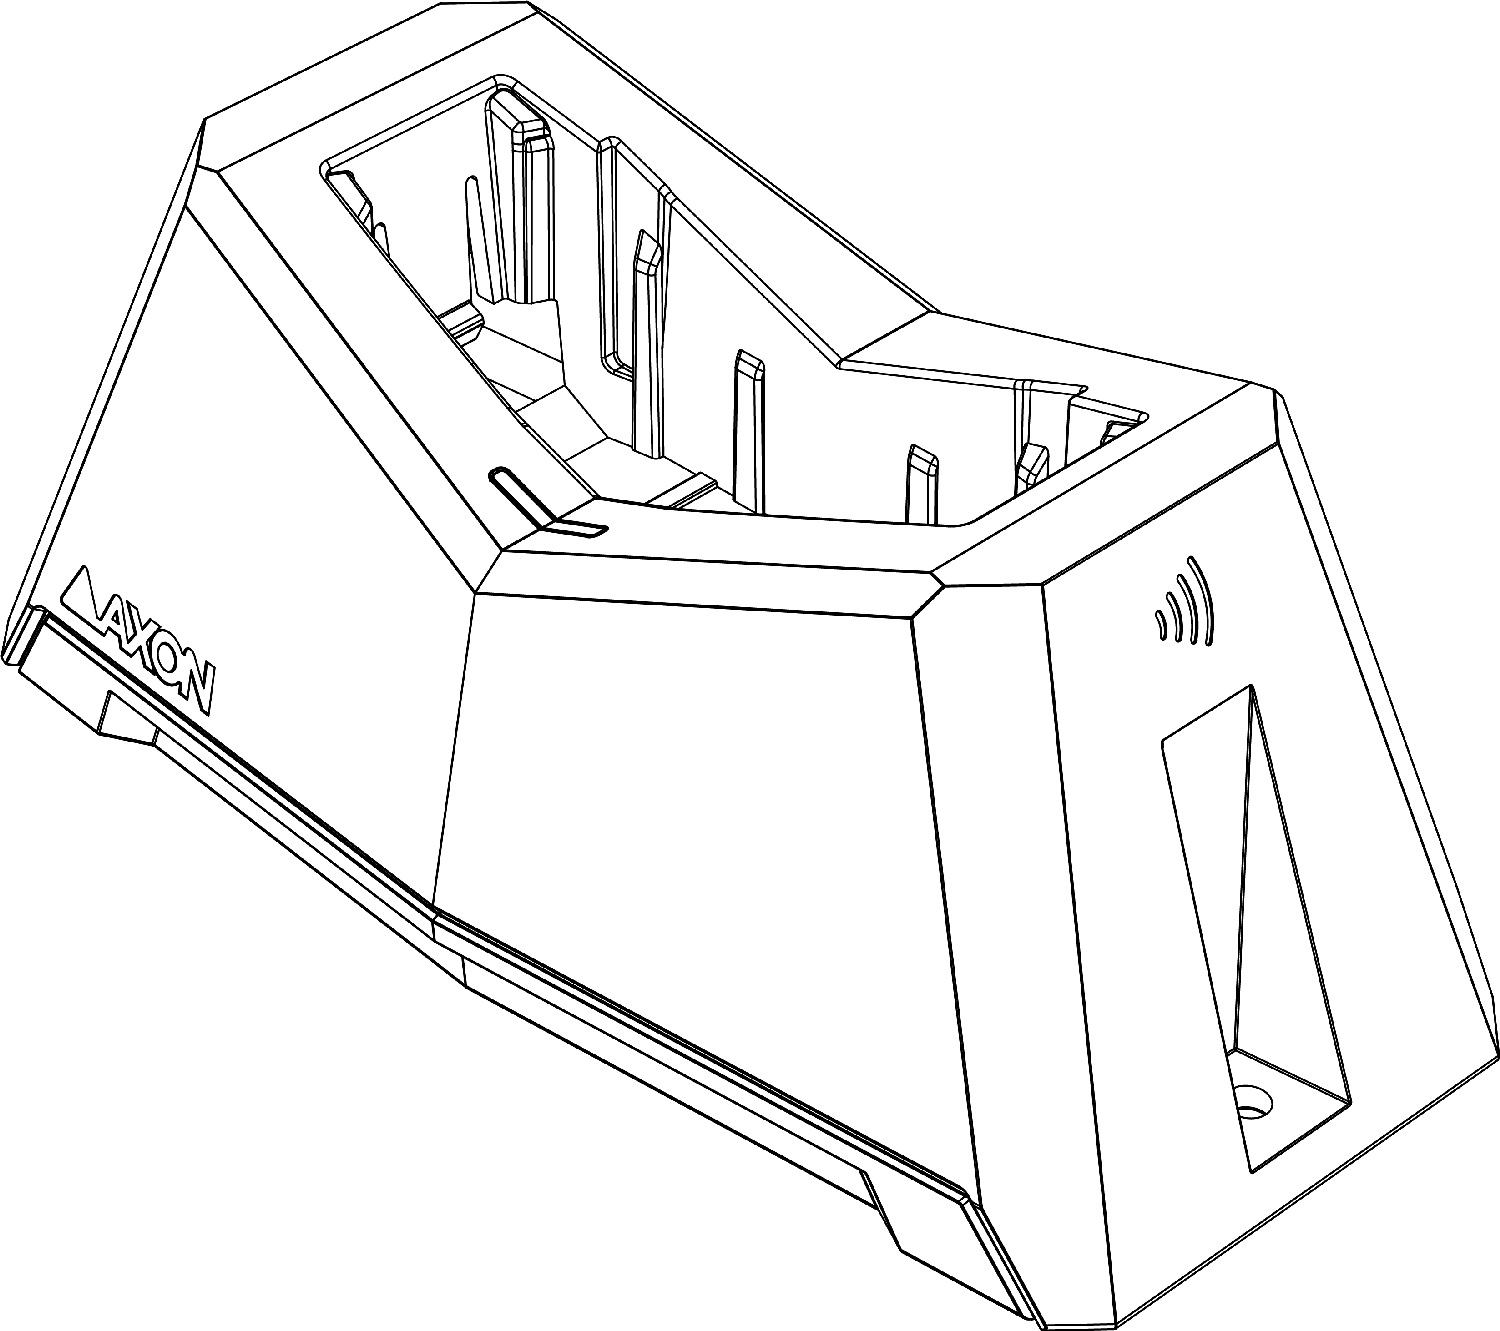
- When using the ADM Tap Device option to look for the NFC tag (for Body 3, Workforce, and Body 4), hold your mobile device near the
 icon on the dock. For the 1-bay dock, the icon is on the side of the dock nearest to the ethernet port. For the 8-bay dock, the icon is near bay 1, on the side of the dock near the power connection.
 - Use logical names when changing the Device Name in Axon Evidence. This will assist in understanding the location and purpose for the dock.
- Use the Device Home feature in Axon Evidence if you have more than one location with Axon Docks.