Case details page
The case details page displays all evidence, folders, and related information for a case. From this page, you can organize evidence, review notes, and manage who has access to the case.
Find your way around the case details page
The case details page contains several areas to help you work efficiently:
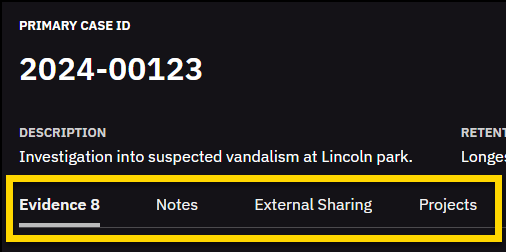
- Case summary: Shows key details like the ID, description, retention policy, status, tags, and access class. You can edit these details directly if you have permission.

- Tabs: Provide access to different types of case information:
- Evidence: Displays all evidence and folders associated with a case in a single, expanded workspace that supports review, filtering, and organization. The number next to the evidence tab shows how many pieces of evidence are in the case that you have access to.
- Notes: Lists notes added to a case.
- External sharing: Lists partners and organizations with whom the case has been shared. External sharing is only available if your organization uses this feature and your role includes permission to access it.
- Projects: Lets you create and manage Photobooks to organize related images into a single PDF for easier review, sharing, or presentation as part of a case.
- Bulk action bar: Appears when you select one or more evidence files, allowing you to perform actions like moving items, adding them to folders, or managing access.

- Folders: Provides multiple ways to view, navigate, and organize evidence in a case.
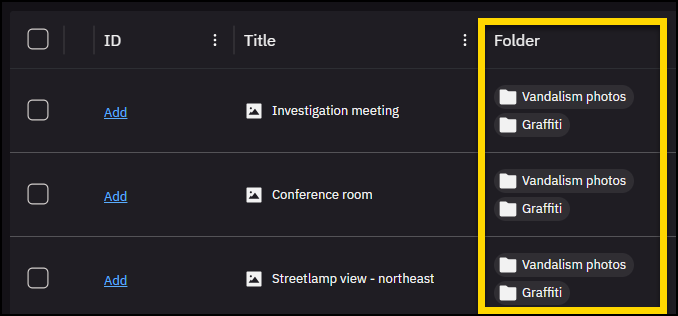
- Folder column(table view): Lists the folder or folders that each piece of evidence is added to. Select a folder to open it and view its contents.
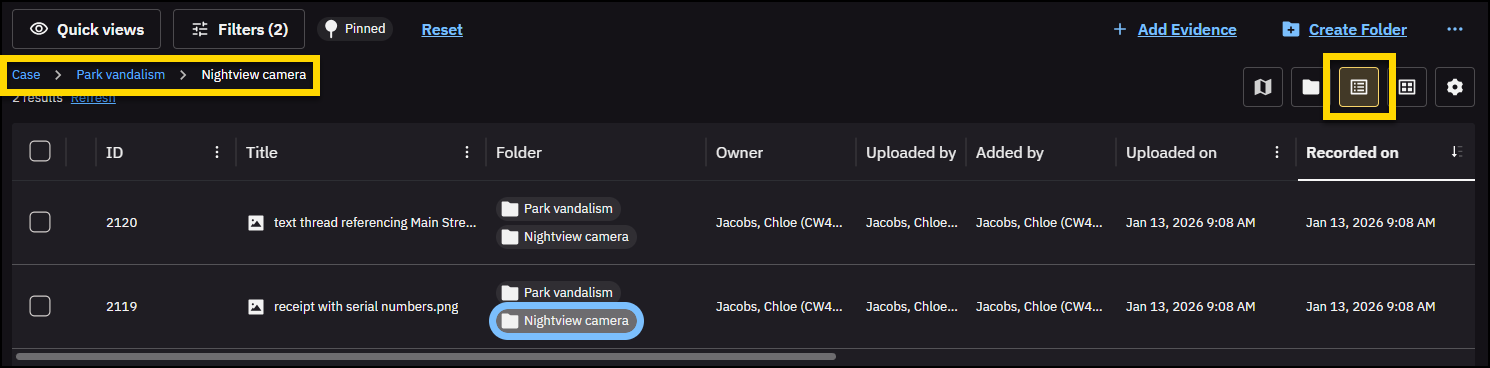
- Folder navigation bar (table and gallery views): Displays the folder path for the currently selected folder. The selected folder is maintained when switching between folder, table, and gallery views.
- Folder tree: Select Folder View (folder icon) to display a collapsible folder view next to the evidence table. Use this to browse folders, drag and drop evidence, or reorganize files.
Filtering is not supported in folder view. When folder view is selected, filter fields such as ID, Owner, Recorded on, and Category are disabled and display a message indicating that you should switch to table or gallery view to filter evidence.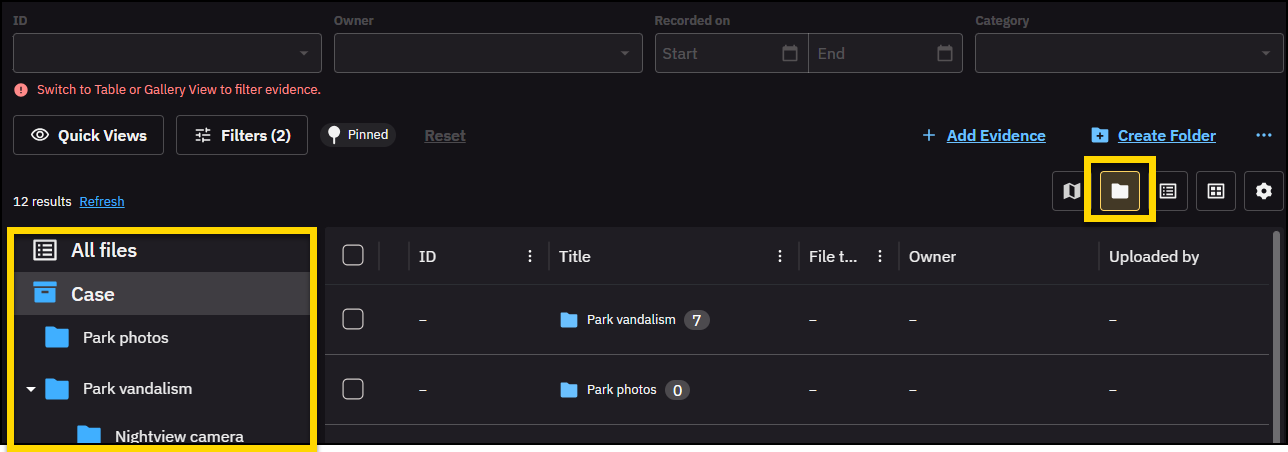
- Folder column(table view): Lists the folder or folders that each piece of evidence is added to. Select a folder to open it and view its contents.
- Filters:
- Filters displayed on the page: Select up to six filters to pin, so the ones you use most often are always available. On narrower screens, some filters might move to the Filters panel.

- Filters panel: The Filters panel lets you narrow results by file type, date, folder, or other metadata.
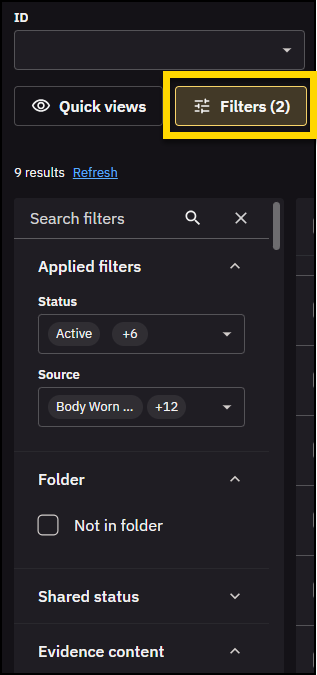
- Filters displayed on the page: Select up to six filters to pin, so the ones you use most often are always available. On narrower screens, some filters might move to the Filters panel.
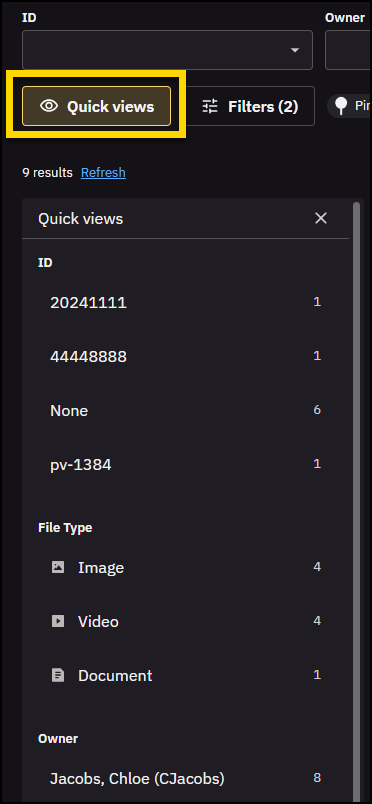
- Quick views: Provide predefined filters that let you quickly narrow evidence by common criteria, like whether evidence has been added to the case, file type, or owner.
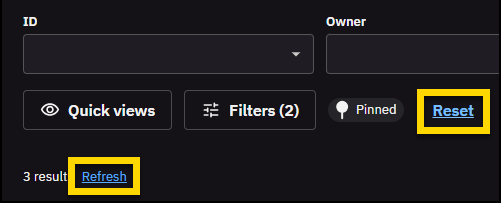
- Refresh and reset: After performing a search or applying filters, select Reset to clear all filers and start over. Select Refresh to update the evidence list with the most recent evidence and filter changes without reloading the page.
Filter and table settings
You can customize how filters and columns appear on the Evidence tab to match how you review cases.
Set and change the order of pinned filters
- Select Settings (gear). The Settings panel opens to the Filters tab.
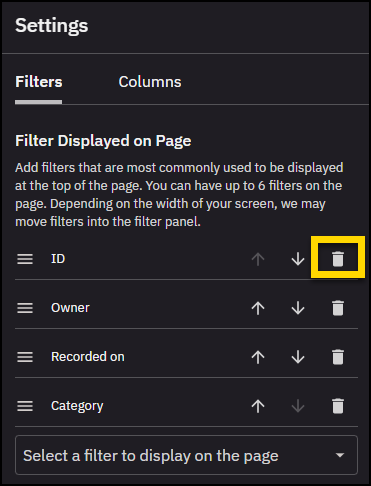
- Under Filter displayed on page, you can:
- Change the order in which a filter appears: Select and drag it or use the Move up or Move down arrow.
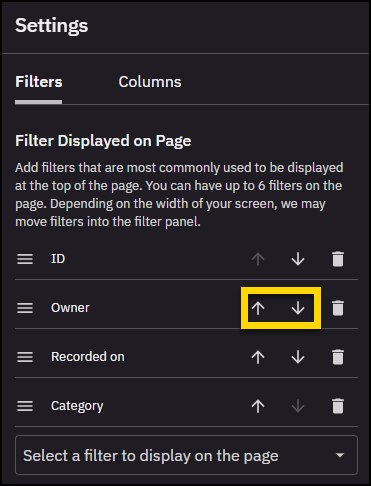
- Remove a pinned filter: Select Remove (trash can).
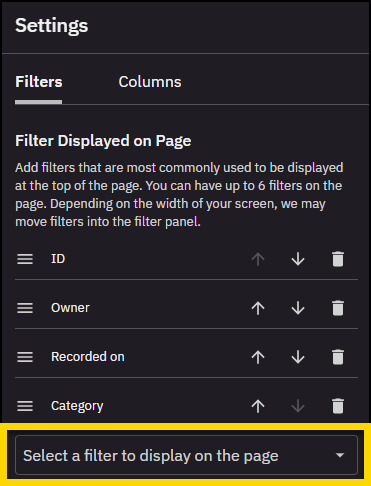
- Add a filter: Enter a filter name in the search bar or select one from the list. Selecting a filter automatically adds it to the pinned list.
- Change the order in which a filter appears: Select and drag it or use the Move up or Move down arrow.
- Select Done to save your pinned filters and return to the search page.
Your pinned filters and the Filters panel order are unique to you, and your selections are saved the next time you sign in.
Change the order of filters
Reorder filters within the Filters panel to keep the ones you use most often near the top.
- Select Settings (gear). The Settings panel opens to the Filters tab.
- Under Filters displayed in Filter panel, select and drag a filter to change the order in which it appears.
Alternatively, use the Move up and Move down arrows.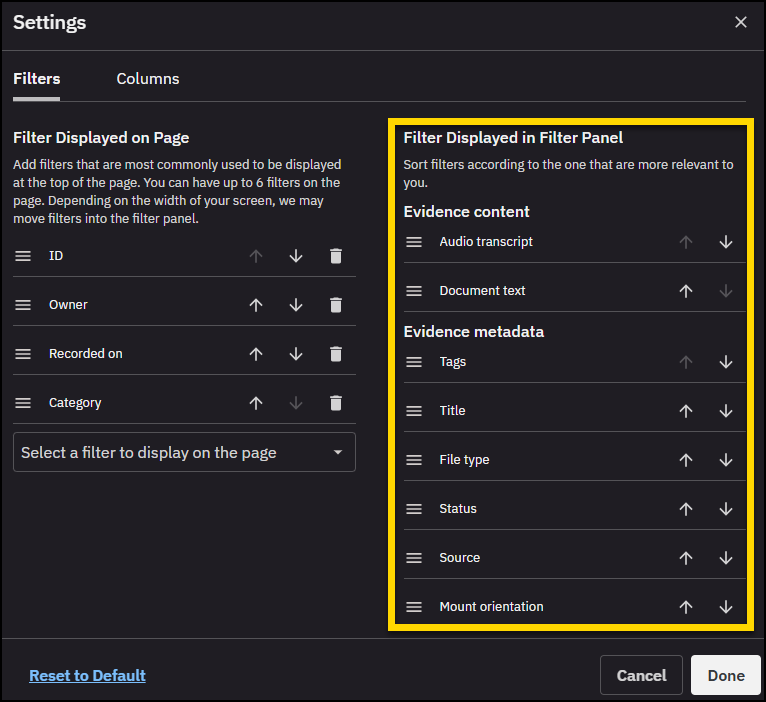
- Select Done to save your changes.
Work with folders
Folders help you organize evidence within a case. You can create, rename, move, or delete folders, and add evidence to one or more folders.
Create a folder
- On the Evidence tab, select Create Folder.
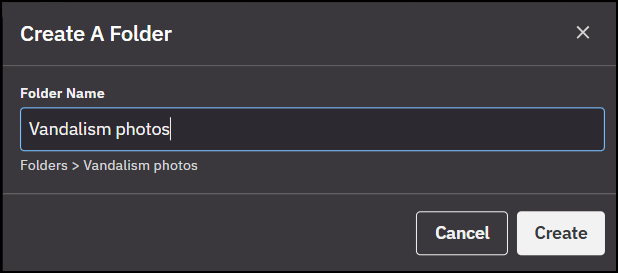
Alternatively, right-click in the folder tree, then select Create folder. - Enter a Folder Name in the Create a folder dialog box.
- Select Create. The folder is created and added to the folder view.
If you select evidence before creating a folder, those files are automatically added.
Create a subfolder
- Open the folder where you want to create a subfolder.
- Select Create Folder.
- Enter a unique Folder Name in the Create a folder dialog box. The folder is created and added to the folder view.
- Subfolder names cannot be duplicated within a folder.
- If a subfolder with the same name exists in the destination folder, you must either rename one of the subfolders or merge their contents.
Move a folder
You can move folders to reorganize the structure of evidence within a case.
- To move a folder, drag and drop it within the folder tree or between the folder tree and evidence table.
- The folder and its contents move to the new location.
Organize evidence in folders
You can organize evidence by adding it to a folder or moving it between folders. You can move individual or multiple pieces of evidence between folders using the folder tree, or move multiple files in bulk using the action bar.
Drag and drop evidence
- Expand folders in the folder tree so the destination folder is visible.
- Locate the evidence you want to add or move by either expanding folders in the tree or finding the items in the evidence table.
- Drag the evidence and drop it on the destination folder in the folder tree.
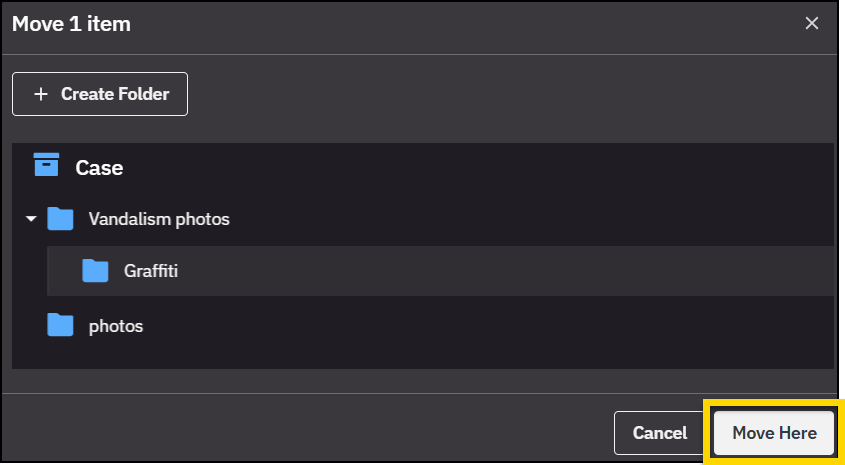
Move evidence in bulk
- On the Evidence tab, select the checkboxes next to the items you want to add or move.
- On the action bar, select Folder actions, then select Move to folder.
- In the dialog box, choose the destination folder, then select Move here.
Remove evidence from folders
Need to add steps - validate in sandbox.
Rename a folder
Need to add steps - validate in sandbox.
View who has access to a case
When a case is shared, profile icons appear on the case details page to indicate who has access.
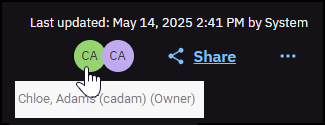
Hover over a profile icon to view the person's full name.
The case owner is shown in green and identified as the owner when you hover on their profile icon.
Select any icon to open the Share case dialog, which lists full details of who has access to the case.