Troubleshooting
Refer to these troubleshooting tips if the Rifle VR Controller (VRM4R) is not working as expected.
If problems persist, contact your Axon Representative or start the RMA process.
General recommendations
- Always power off the VR Controller when not in use by turning the switch to the Off position on the buttstock.
- Perform regular cleaning and maintenance on the VR Controller as stated in Maintenance.
- Store the VR Controller in a clean, dry environment to prevent corrosion or battery discharge.
Troubleshooting during use
If a malfunction occurs while operating the Rifle VR Controller (VRM4R), try these steps to help diagnose the issue:
- Reset the bolt mechanism. Pull the charging handle four to five times to reset the bolt mechanism.
- Check the battery. Make sure the battery is charged and properly connected.
- Inspect internal components.
- Open the receivers and inspect the bolt carrier group for proper lubrication. If the bolt appears dry, lightly apply high-quality gun grease or oil.
- Check for dust and debris inside the gearbox. Remove them with a nylon brush or compressed are, as needed.
If the issue continues, stop use and proceed to the applicable troubleshooting section below.
Power failure
- Turn the power switch for the VR Controller (on the buttstock) to the Off position before beginning troubleshooting.
- Remove the pad and battery cover from the rear of the buttstock.
- Remove the battery.
- Inspect the fuse for damage and discoloration.
- If the fuse is blown, do not reconnect power and proceed to step 5.
- If the fuse appears intact but the VR Controller still does not power on, contact your Axon representative.
- Check for and remove any dust or debris in the bolt operating section or gearbox.
- Once the area is clear of foreign material, replace the fuse with one of the spare fuses included in your Axon VR Controller package.
- Pull the charging handle to the rear and release it four to five times to verify smooth bolt movement and make sure there is no resistance.

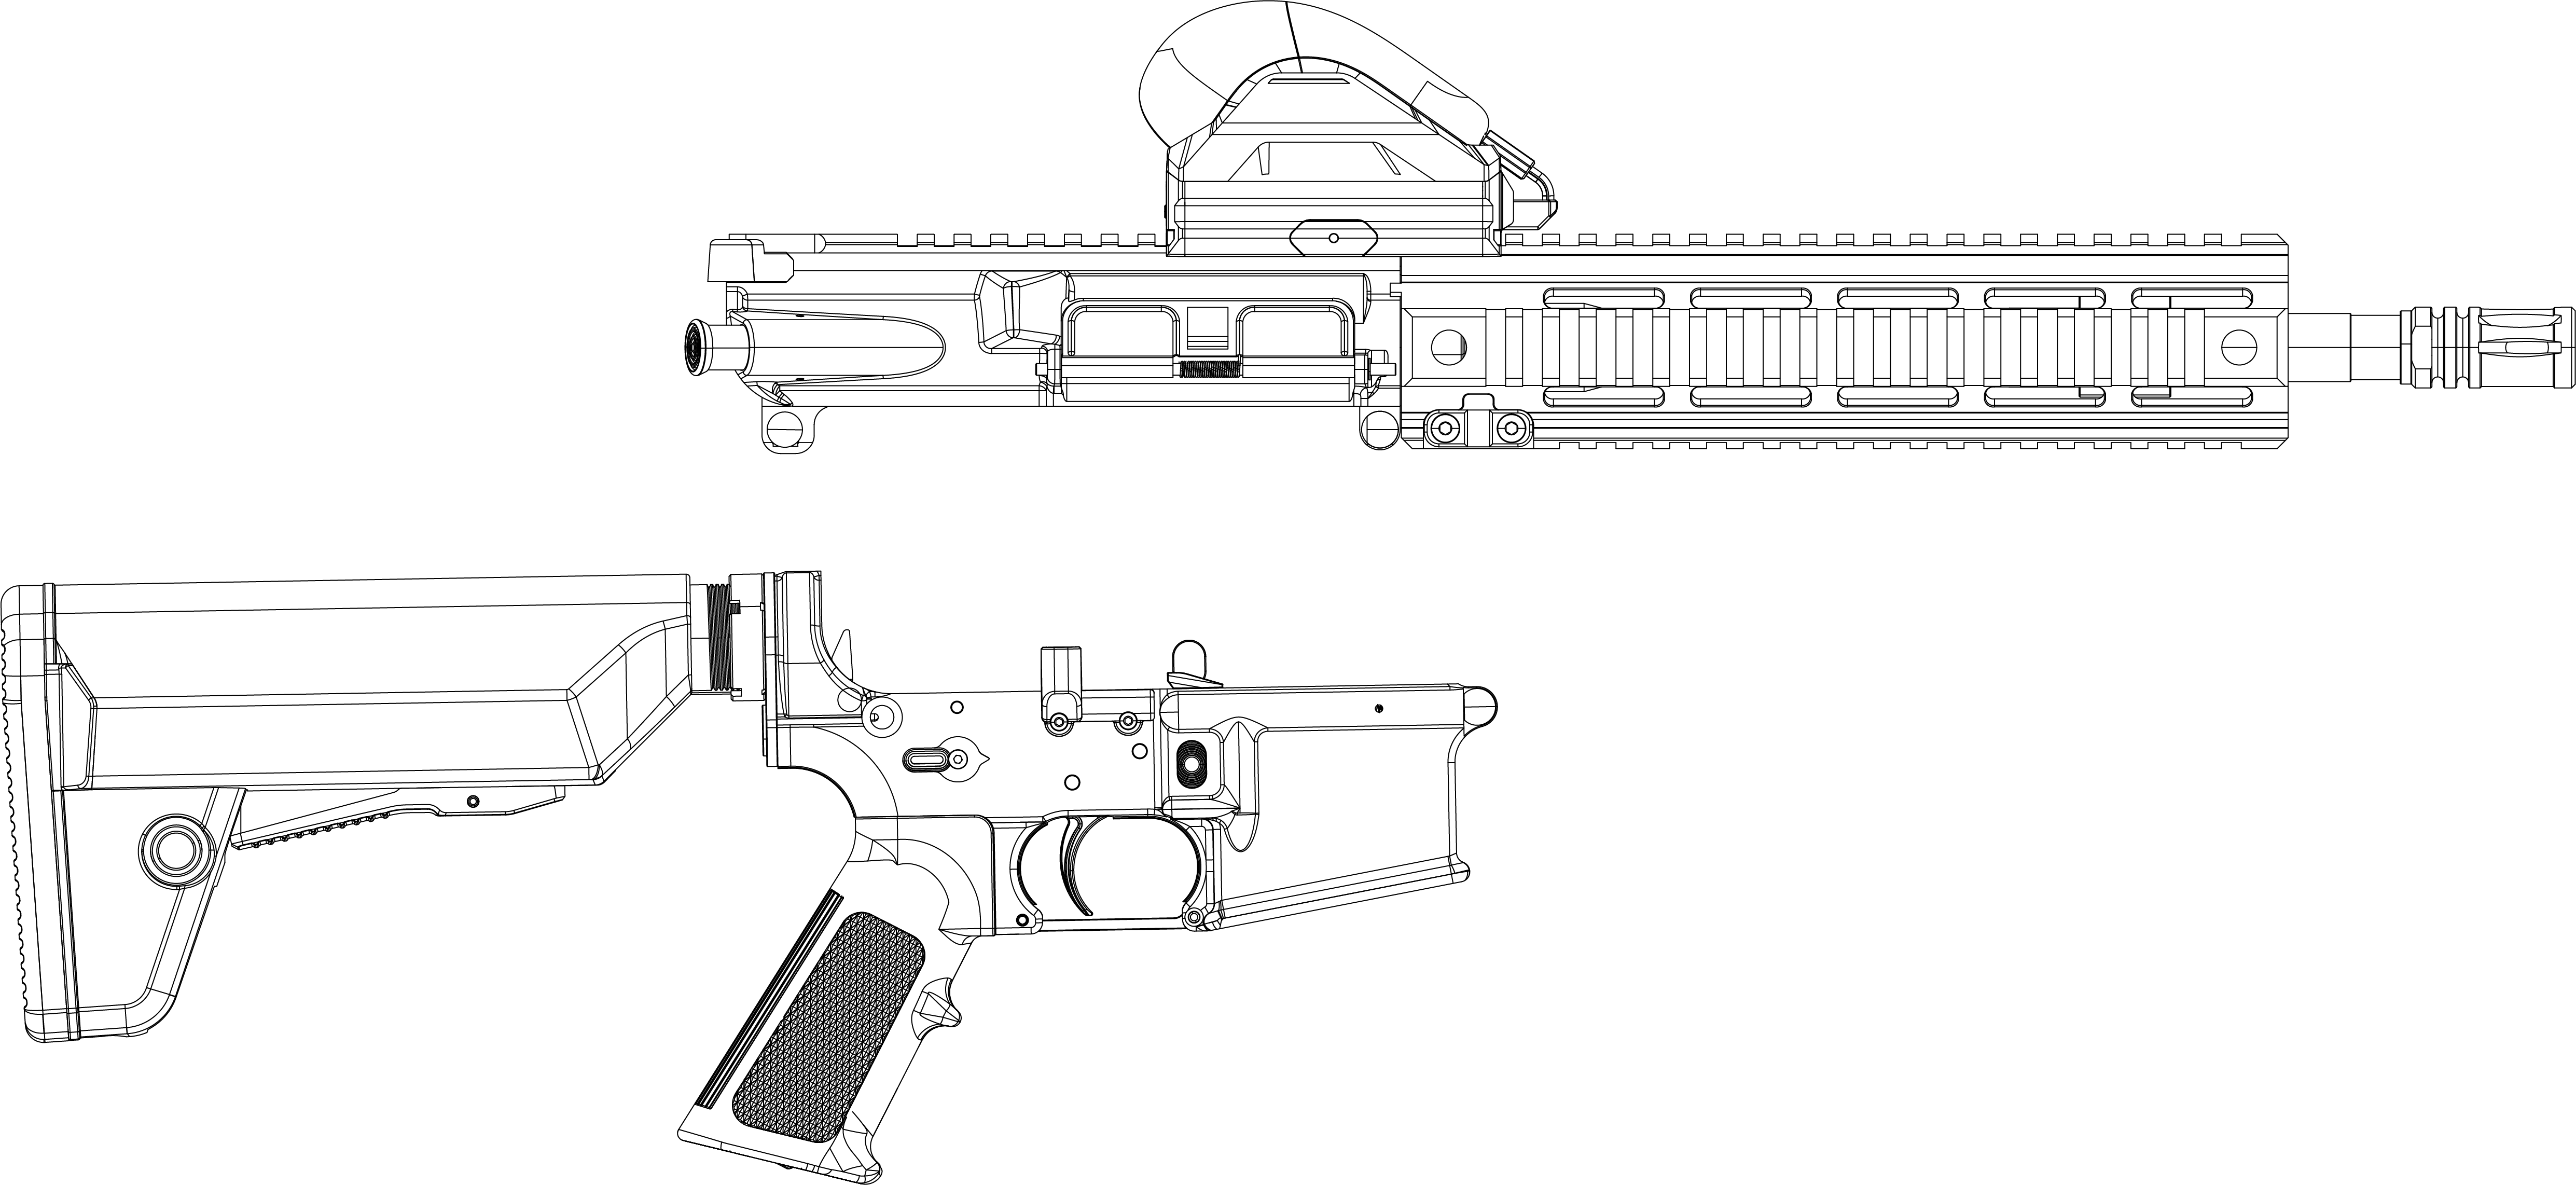
- Separate the upper and lower receivers.
- Reattach the battery.
- Replace the battery cover and pad.
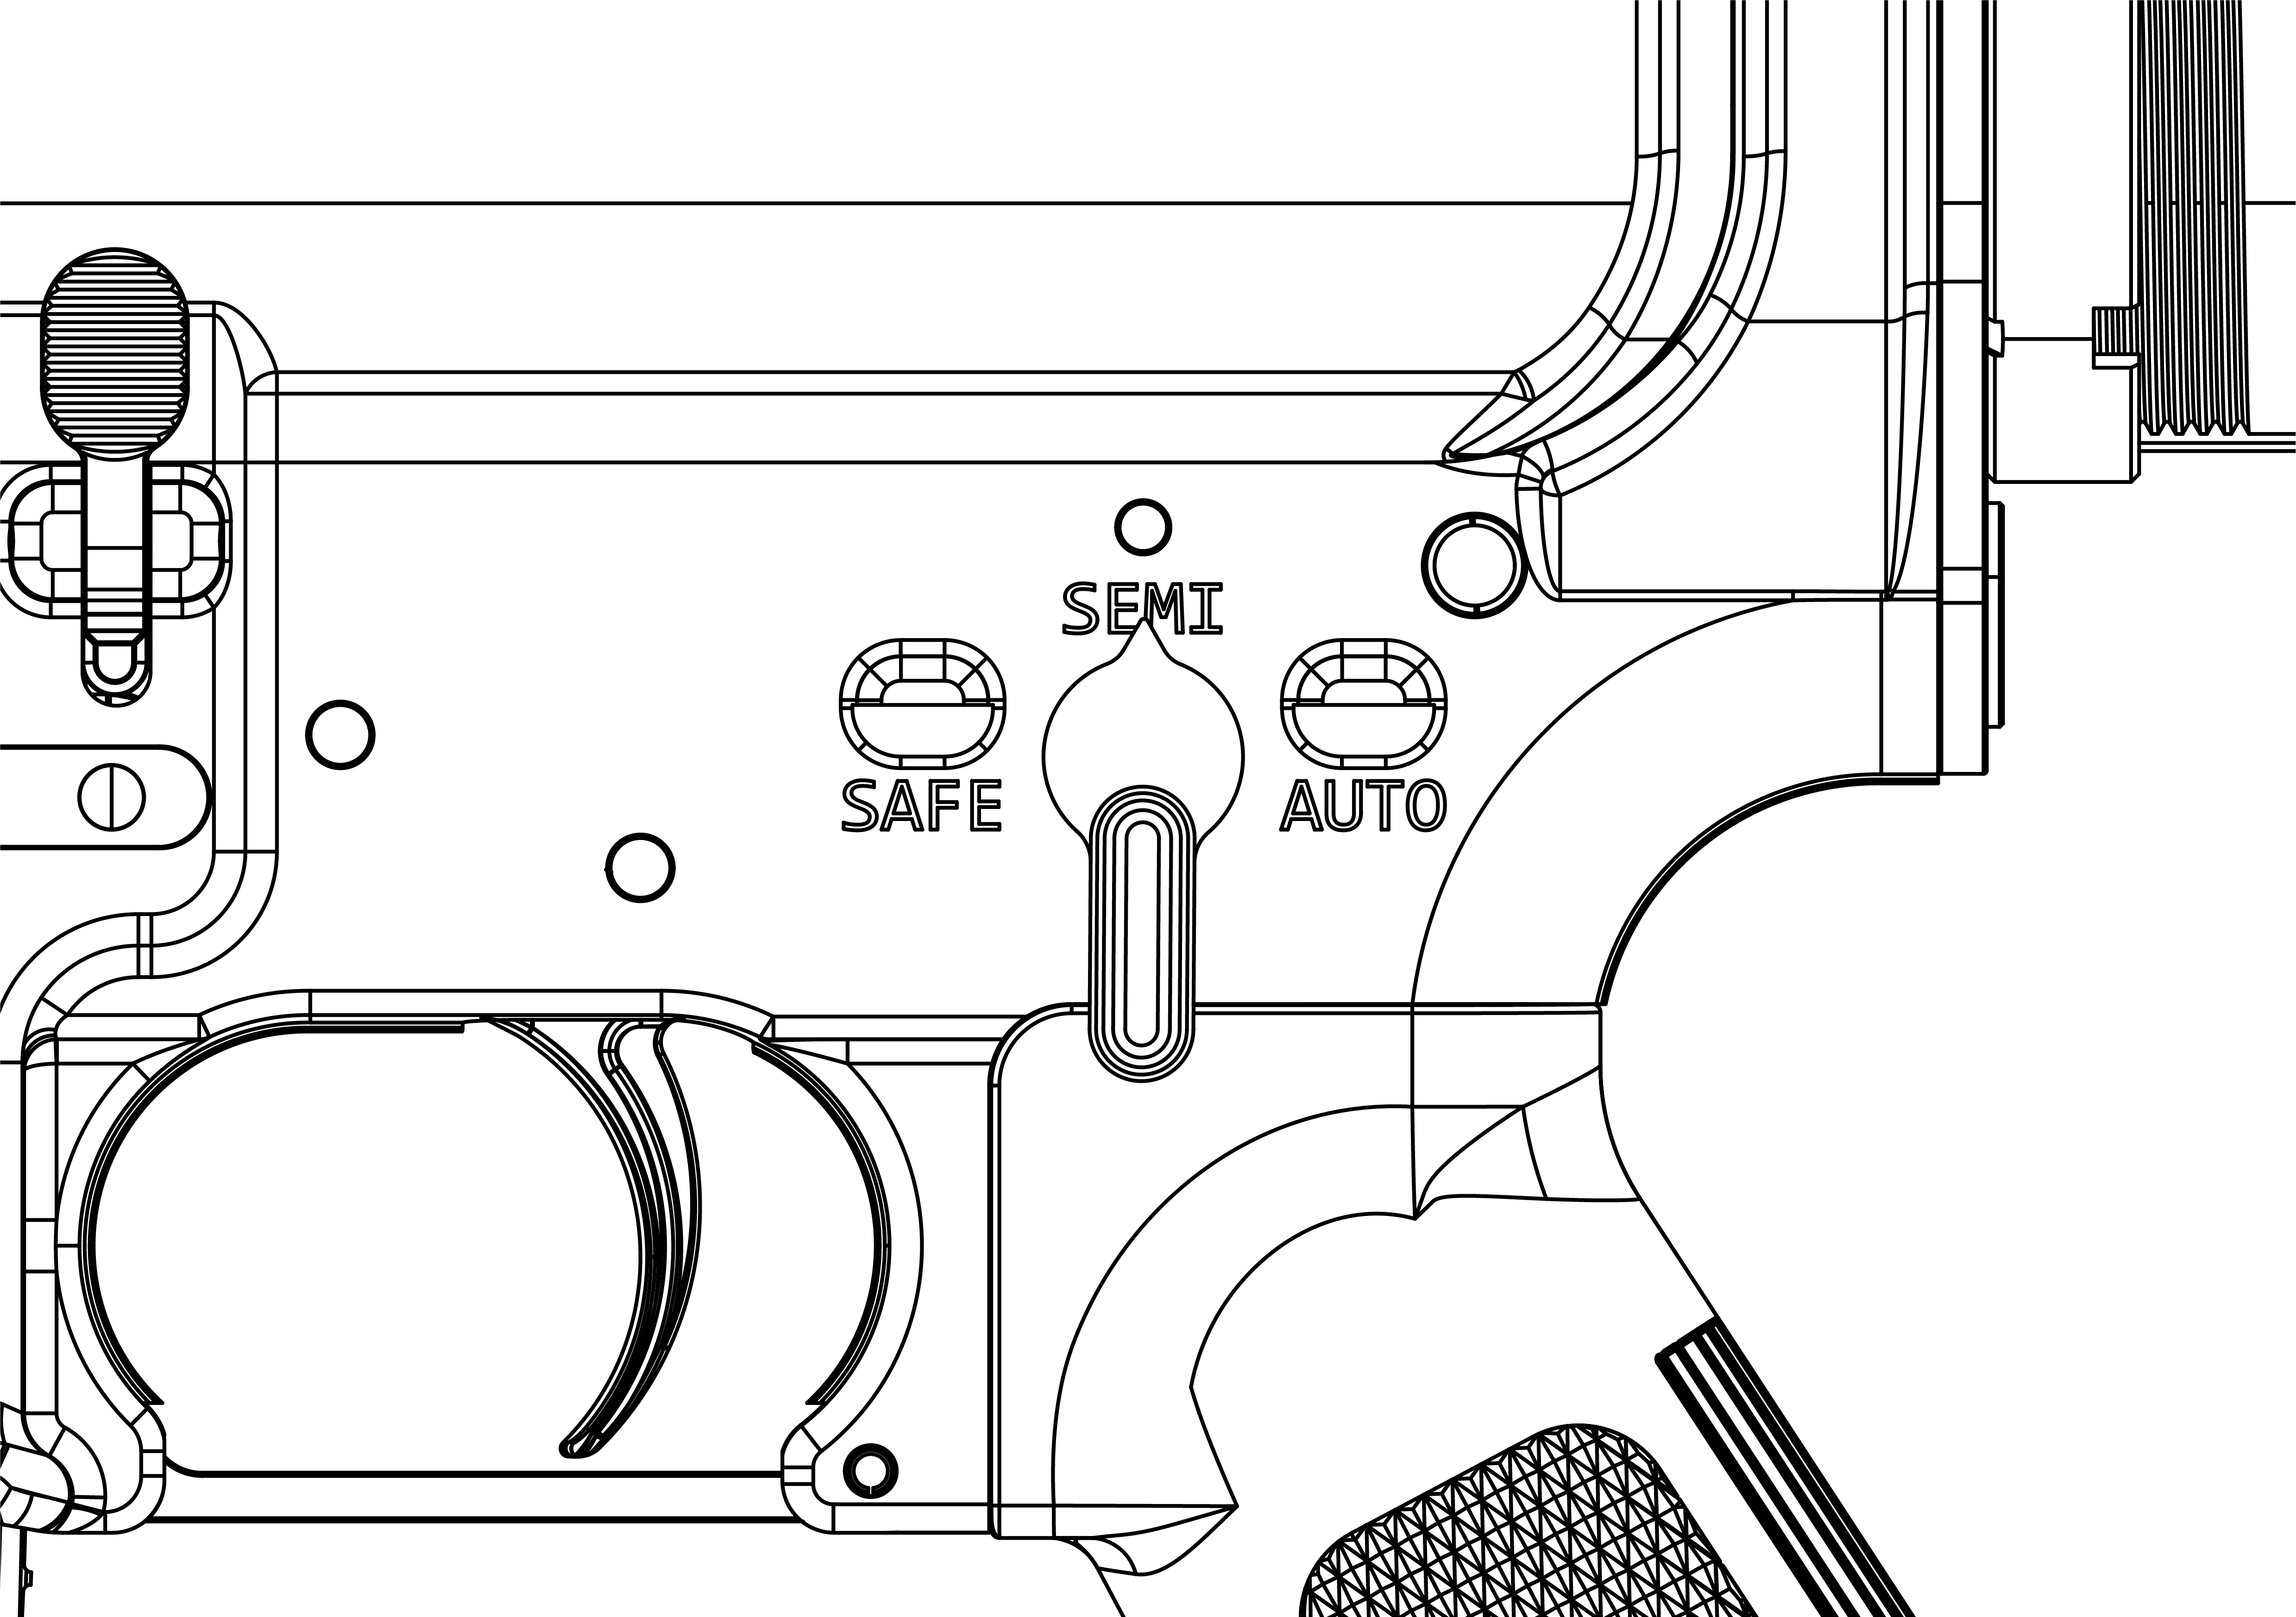
- Set the Safety selector lever to Semi and fire one shot to verify that the gearbox rotates smoothly.
- If the VR Controller operates normally, reassemble the receivers and resume use.
- If the VR Controller doesn't operate, stop use and contact your Axon representative.
Battery installation and replacement
Fire hazard warning: Use of unapproved batteries may result in overheating, combustion, or explosion. Store and charge batteries in fireproof containers.
The Rifle VR Controller (VRM4R) uses a rechargeable battery housed in the buttstock. To remove and replace the battery:
- Turn the power switch for the VR Controller (on the buttstock) to the Off position before beginning troubleshooting.
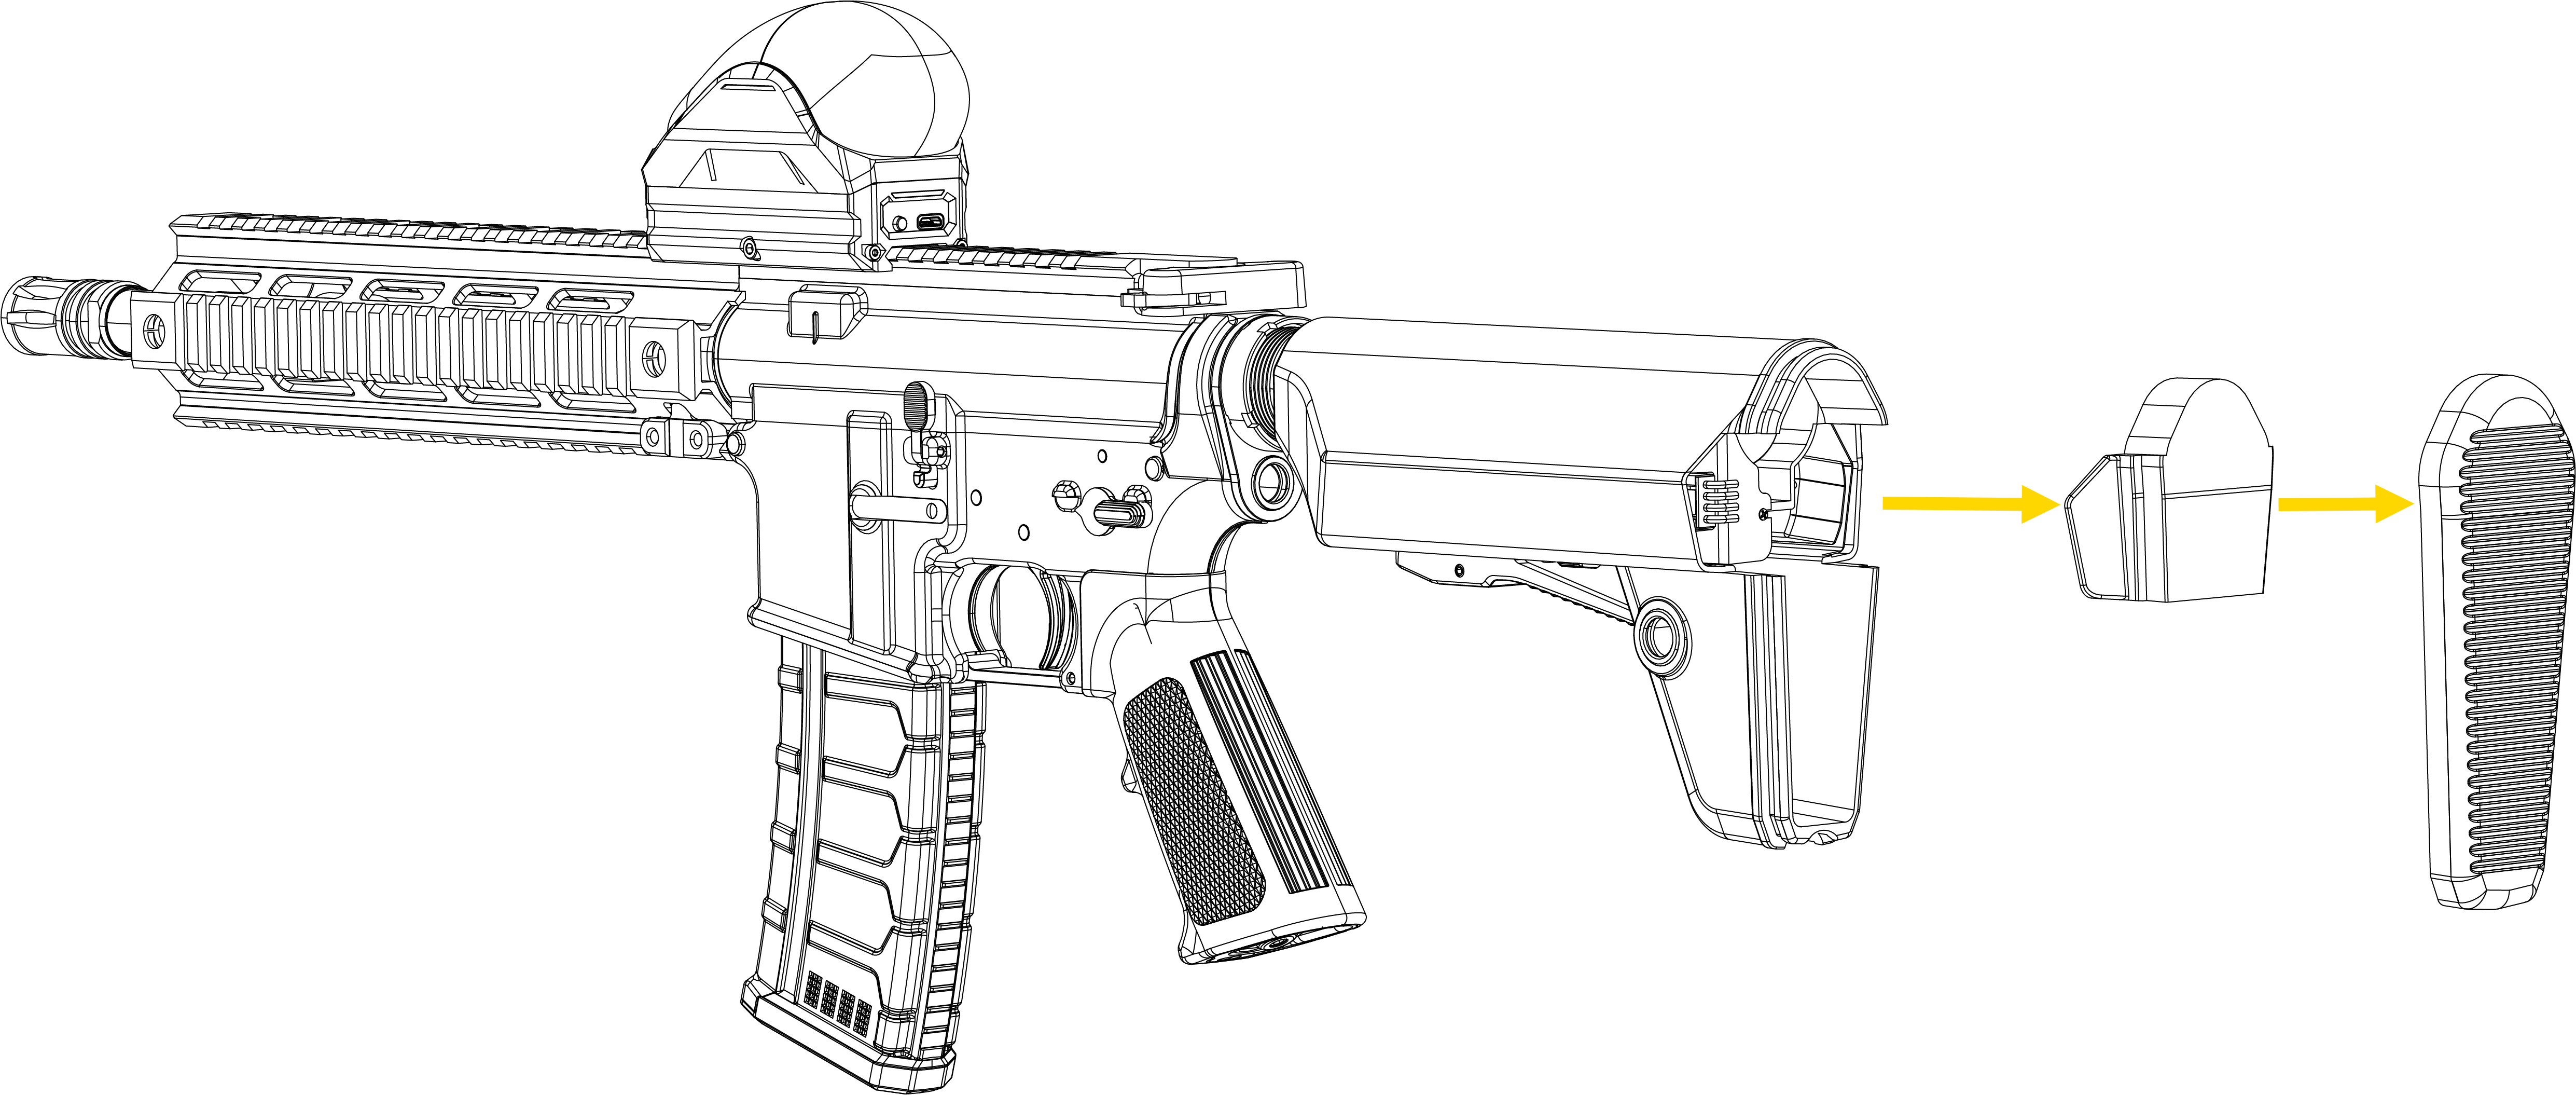
- Pull the stock pad straight back from the end of the buttstock to remove it.
- Remove the pad and battery cover.
- Remove the battery.
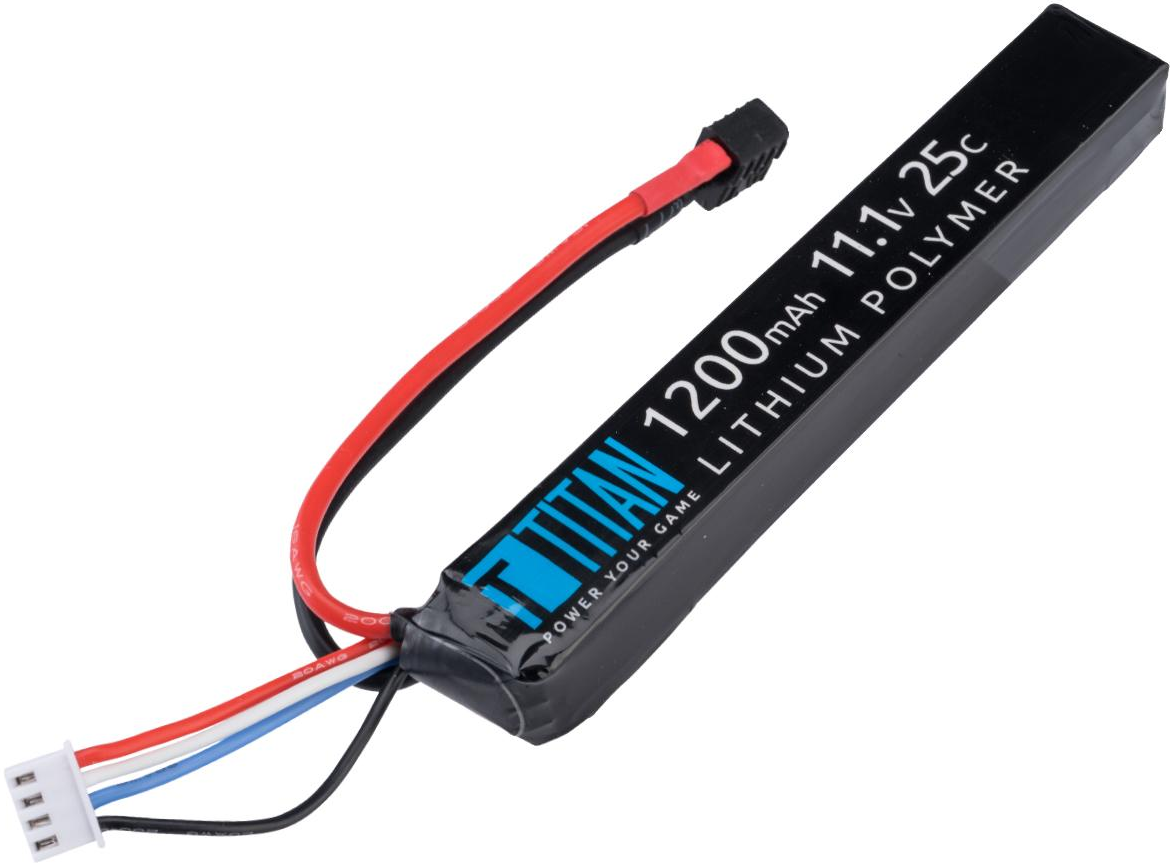
- Install the new battery in this order:
- Connect the T-connector to the gold T-shaped prongs on the rifle.
- Connect the balance connector (white 4-wire connector) to the corresponding port on the rifle, or the extension cable if one is already connected.
- Reattach the battery cover and pad.
- Turn on the power switch to the On position and confirm that the status LEDs on the HTC tracker light up.
Connecting the battery cables in the incorrect order may damage the charging board. Always connect the T-connector first, followed by the balance connector.
Motor wire connector check
If the VR Controller does not power on or the bolt fails to cycle after replacing the fuse or battery, check the motor wiring connectors. These wires can come loose from recoil.
- Turn the power switch for the VR Controller (on the buttstock) to the Off position before beginning troubleshooting.
- Use a screwdriver to remove the two screws that secure the grip and remove the cover.
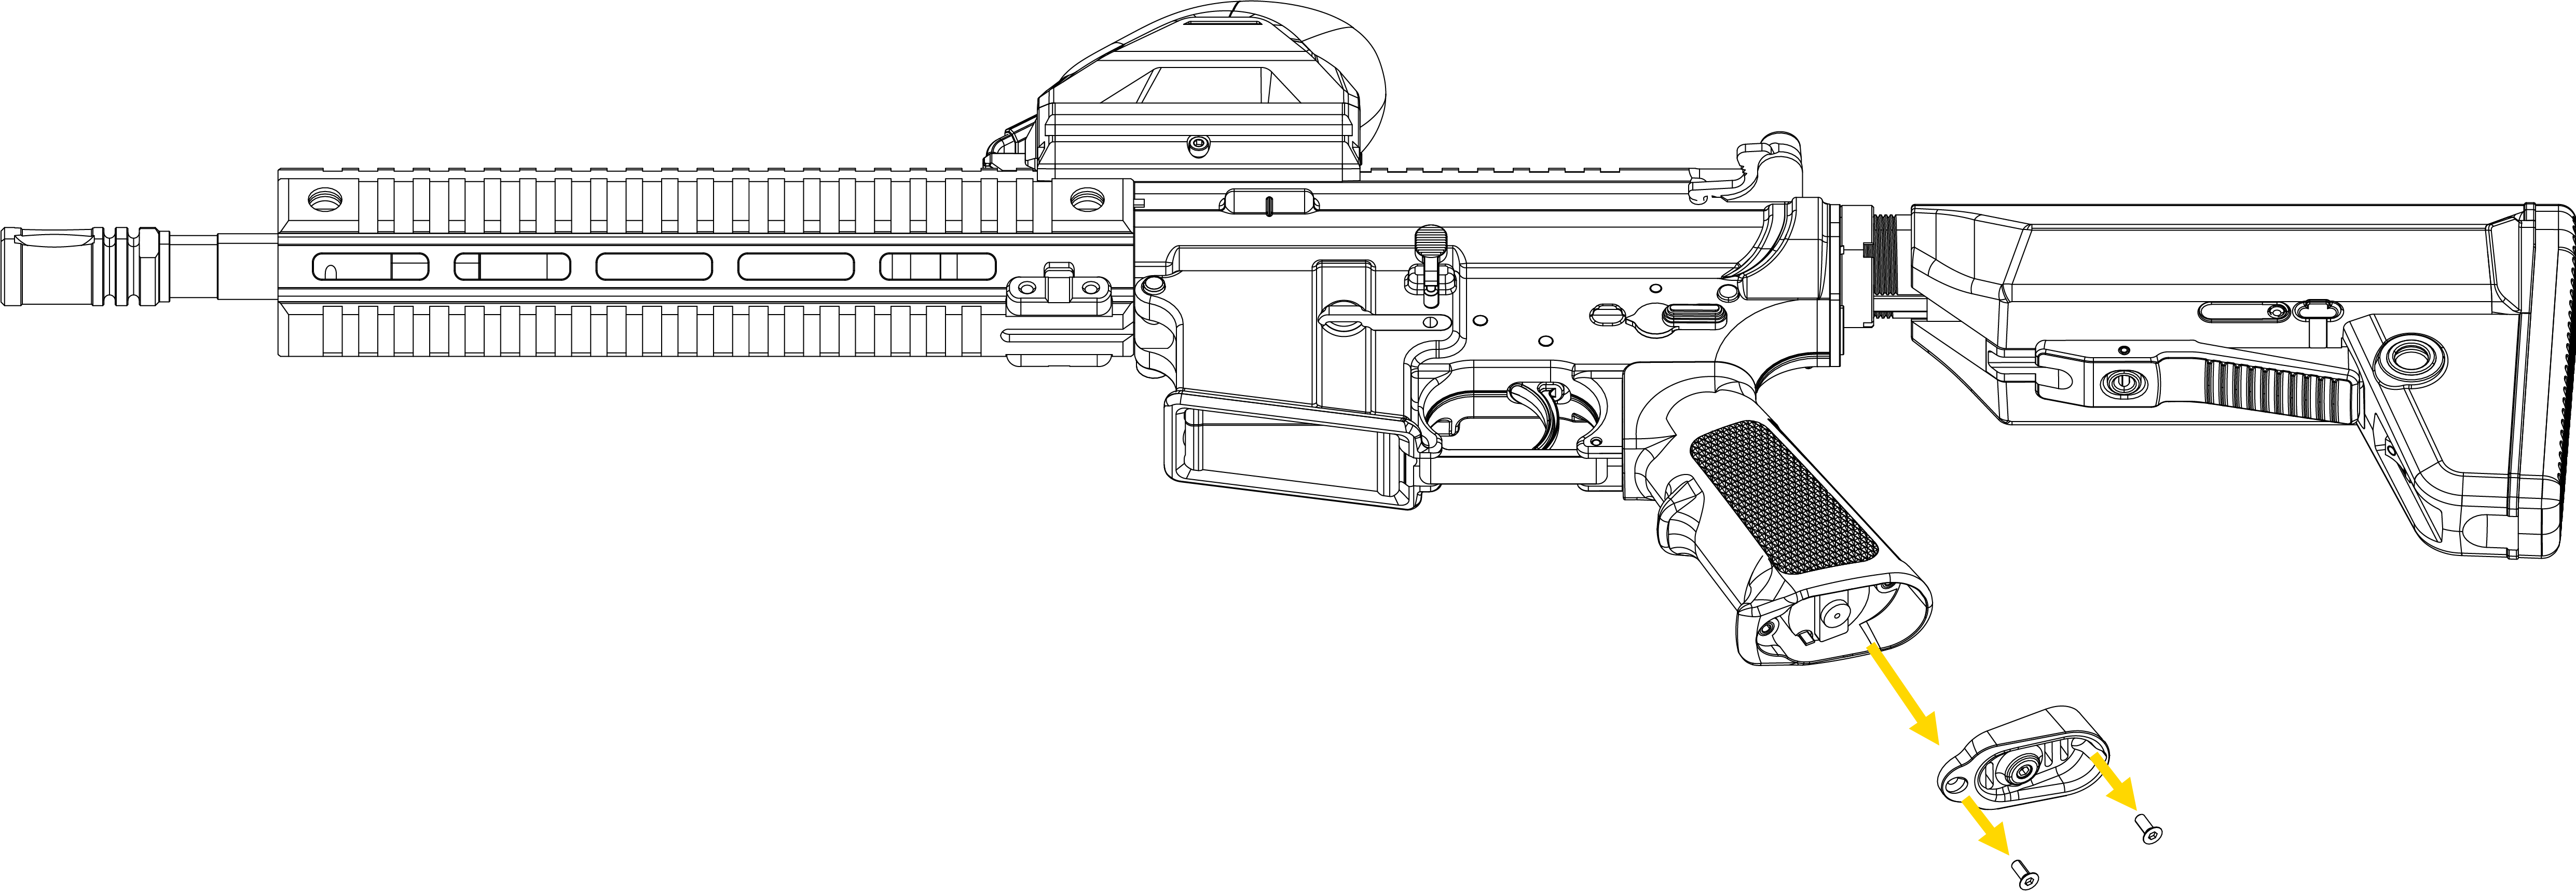
- Check if the connectors between the motor and wires are firmly attached.
- Check that no wires are pinched or frayed.
- If a connector it not pinched or frayed and is loose, reattach it.
- Reinstall the cover.
- Use a screwdriver to reattach the screws to the grip.
Bolt stops midway due to debris
- Turn the power switch for the VR Controller (on the buttstock) to the Off position before beginning troubleshooting.
- Pull the charging handle to the rear and release it four to five times to allow the bolt to return to its original position.
- Separate the upper and lower receivers.

- Remove the bolt carrier group and clean any dust or debris from the bolt and chamber.
- Turn the power switch for the VR Controller (on the buttstock) to the On position.
- Set the Safety selector lever to Semi and fire one shot to check the gearbox rotation.
- If the VR Controller operates normally, reassemble the receivers and resume use.
- If the VR Controller doesn't operate, stop use and contact your Axon representative.