Training and evaluation kit
Do not begin setup, training activities, or simulations in the presence of live firearms, including any holstered weapon. Never allow a real firearm in a room where VR training will take place. Check all participants with a pat-down prior to training.
Simulated weapon
White VR Controllers are only for use in virtual reality (VR) training environments. They neither accept nor deploy probes like a duty TASER energy weapon. Likewise, white handgun VR Controllers are only for use in training environments and do not accept nor fire bullets like a duty handgun.
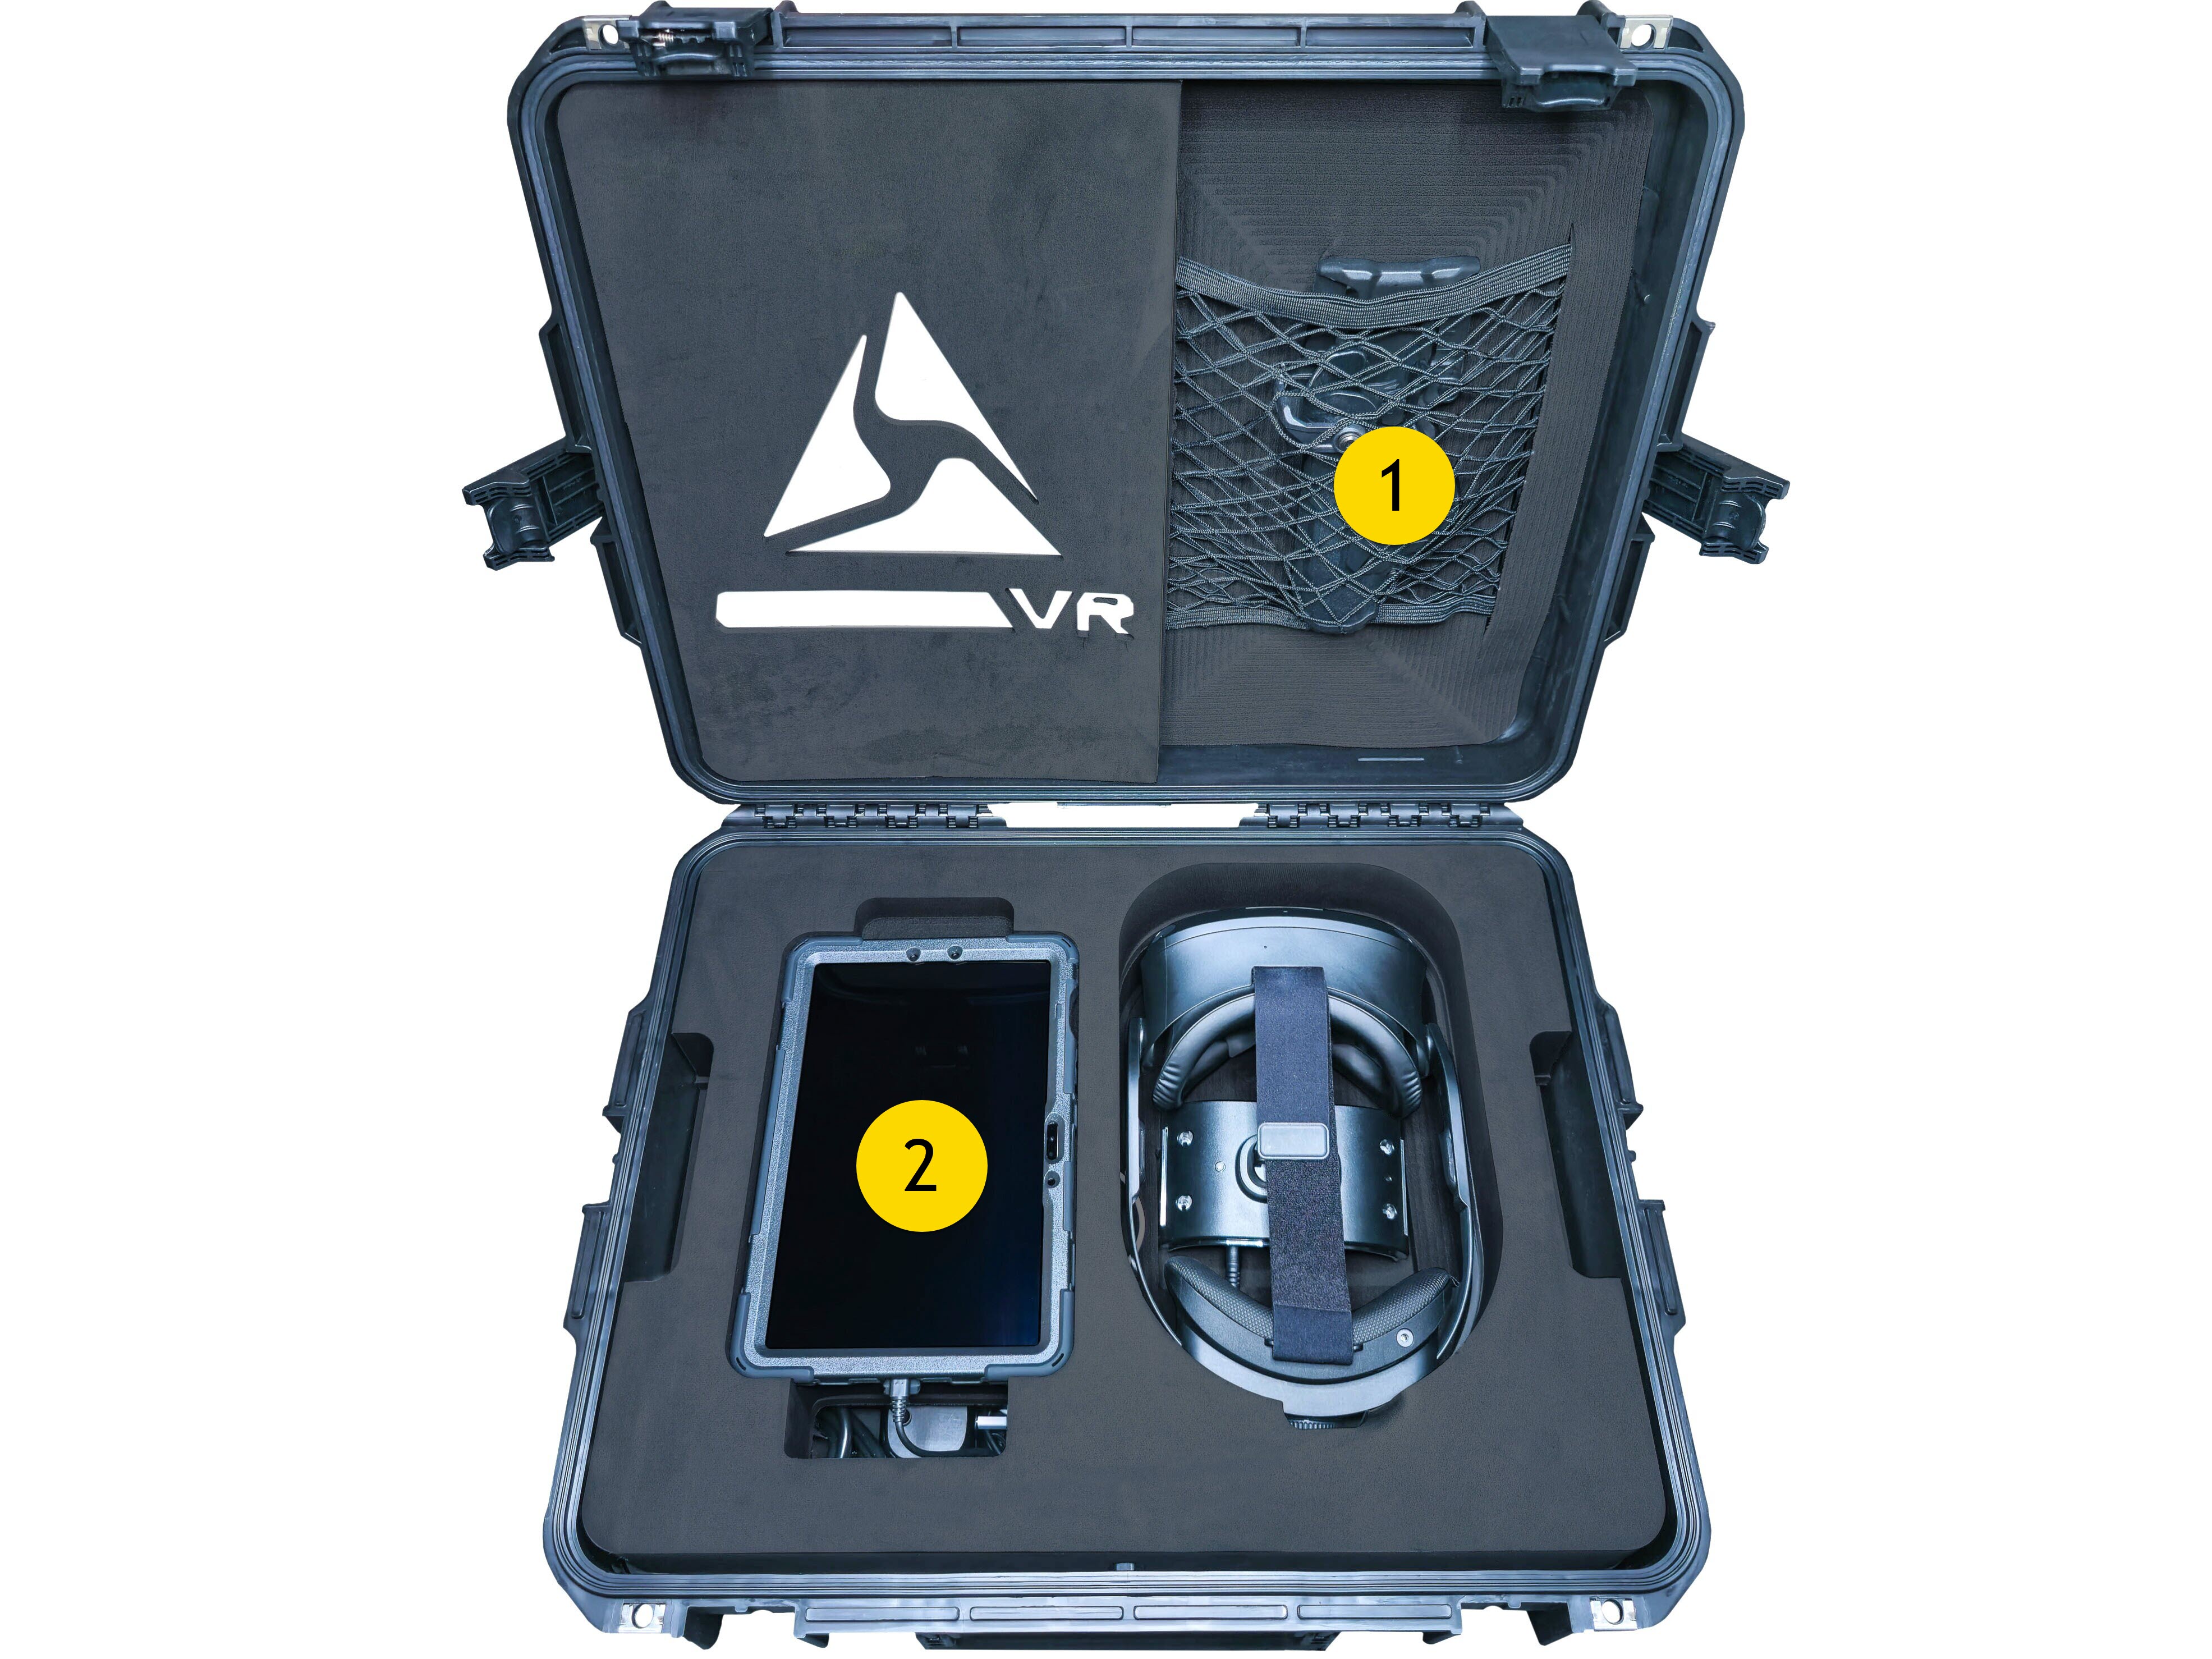
What's included?
Lift out the section containing the tablet shown in the first image to access the contents below it, shown in the second image.
The tablet has this guide installed on the home screen; access the hyperlinks in this document by viewing it on the tablet.
|
|
Tablet
Navigation
Use only a fingertip or the stylus pen to interact with the screen.
There are two main buttons associated with the tablet:
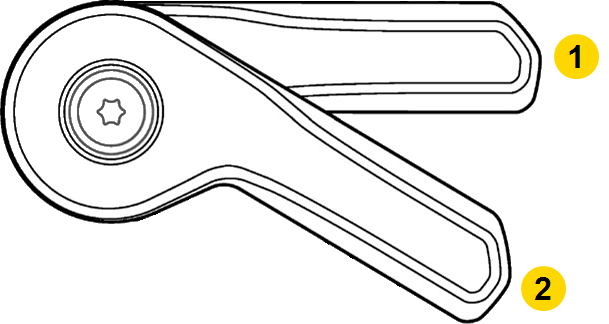
- Power: The smaller of the two buttons along the top left corner
- Volume: The larger toggle button next to Power
To turn the tablet on, hold Power for about three seconds.
Press the left/right half of Volume to increase/decrease tablet playback volume, respectively.
To wake the table from sleep, press Power or double-tap the screen.
To turn the tablet off:
- Hold Power and Volume Down at the same time, or
- Swipe down from the top twice, tap Power , tap Power off, then tap it again.
Headset
Begin headset setup only when seated in an area at least 3x3 feet (0.9x0.9 meters) or larger in size and free from obstructions. If standing, the recommended obstruction-free area is a minimum of 10x10 feet (3x3 meters) in size.
Get set up
- Tap the power button at the back of the headset to check battery charge. A full charge is four lights. If at least two lights do not illuminate, charge or switch to a full battery before continuing.
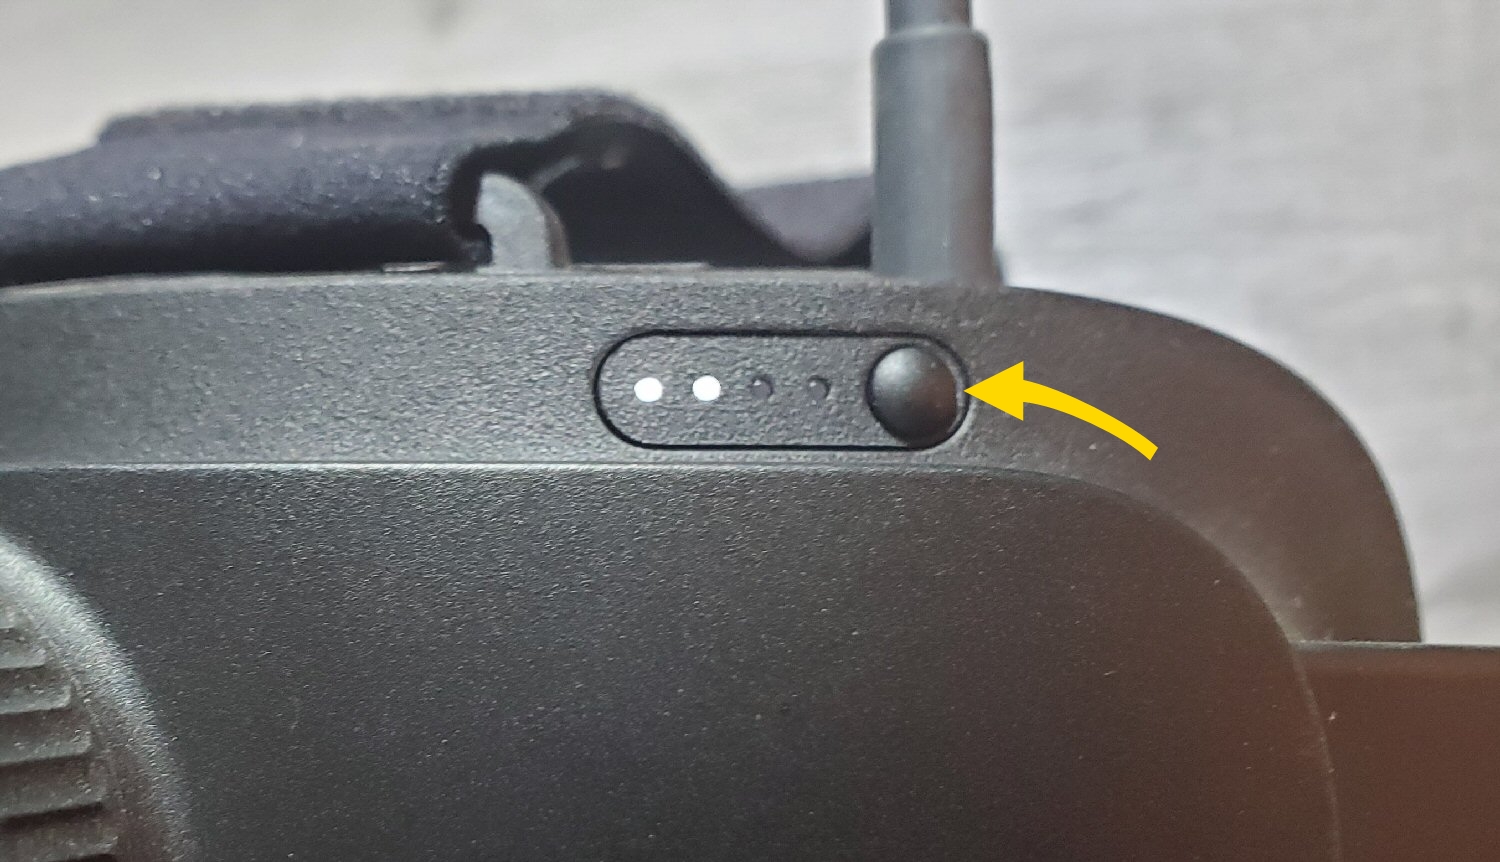
- Turn the headset on by pressing the power button until the power LEDs illuminate.
- Put on the headset and adjust the fit using the headband wheel at the back and the strap on the top.
- Once you've situated the headset on your face for maximum image clarity, adjust the eye-width knob at the bottom to refine focus. For details on headset and lens adjustments, see Adjust the HTC Vive Focus 3 headset.
- The headset will prompt you to define a boundary, or play area. The process is self-guided, but for additional help, see Setting up your play area at HTC.com. Unless the environment changes significantly, this will be saved until manually changed.
- When you've finished setting up the boundary, the headset Library opens, where you can select your desired VR training (see next section, Library).
- The Library uses hand tracking for navigation. To select a tile, hold your hand in front of the headset and make a pinch motion with your thumb and index finger. If you don't get the laser pointer, use your other hand. To scroll, pinch on any tile and drag.
- Adjust the volume as needed. The volume control is on the bottom left of the headset.
Library
The library gives you access to VR training. New content will download to your headset when it is connected to Wi-Fi. If your headset has more than six tiles, scroll to see all applications (see prior step 7). Trainings include:
1. Simulator Training
![]() Simulator Training lets you practice shot placement and different shooting scenarios, such as at targets that are stationary, running away, or running across your field of view.
Simulator Training lets you practice shot placement and different shooting scenarios, such as at targets that are stationary, running away, or running across your field of view.
Each exercise provides ten individual targets to practice on. At the end of the exercise, gaze at any of the 10 tiles for details on that target, such as shot placement and engagement distance.
For a complete list of Simulator Training exercises, see Axon Simulator Training exercises.
2. Community Engagement Training (CET)
![]() Community Engagement Training (CET) is designed to help officers de-escalate encounters with various people in the community. The scenarios range from responding to crisis calls involving the mentally ill to intervening on a fellow officer who may be unnecessarily escalating a situation to the brink of misconduct.
Community Engagement Training (CET) is designed to help officers de-escalate encounters with various people in the community. The scenarios range from responding to crisis calls involving the mentally ill to intervening on a fellow officer who may be unnecessarily escalating a situation to the brink of misconduct.
For a complete list of CET training modules, see Community Engagement Training (CET).
3. TASER Arena
![]() TASER Arena offers entertainment and education on the basics of TASER energy weapons, focusing on aspects like time, distance, and accuracy under stress. Equipped with just your TASER VR controller, you'll soon find yourself in immersive scenarios where you'll survive only with critical thinking and precision aiming.
TASER Arena offers entertainment and education on the basics of TASER energy weapons, focusing on aspects like time, distance, and accuracy under stress. Equipped with just your TASER VR controller, you'll soon find yourself in immersive scenarios where you'll survive only with critical thinking and precision aiming.
4. Virtual Reality-Based Training (vRBT) Live Action
![]()
Virtual Reality-Based Training (vRBT) Live Action is a content platform that combines 360⁰ video with Handgun and TASER VR Controllers for a highly immersive and realistic training experience. This innovative approach enhances rapid visual assessment, de-escalation techniques and hands-on technical proficiency with a handgun and TASER energy weapon. Primed with radio traffic from a dispatcher, trainees dive into high stress calls for service, demanding quick, critical decision-making ranging from issuing an audible alert to deploying their TASER energy weapon or firearm, effectively equipping them for complex real-world scenarios.
For a complete list of vRBT Live Action scenarios, see vRBT Live Action descriptions.
VR Controllers
When you launch VR training that uses VR controllers, ensure you power on your VR Controller. View details of the TASER VR Controller on the VR product page.
Power on VR Controller
Each VR Controller has a battery pre-installed.
To power on a TASER 7 or TASER 10 VR Controller, push the safety/selector switch up to the armed position.
|
|
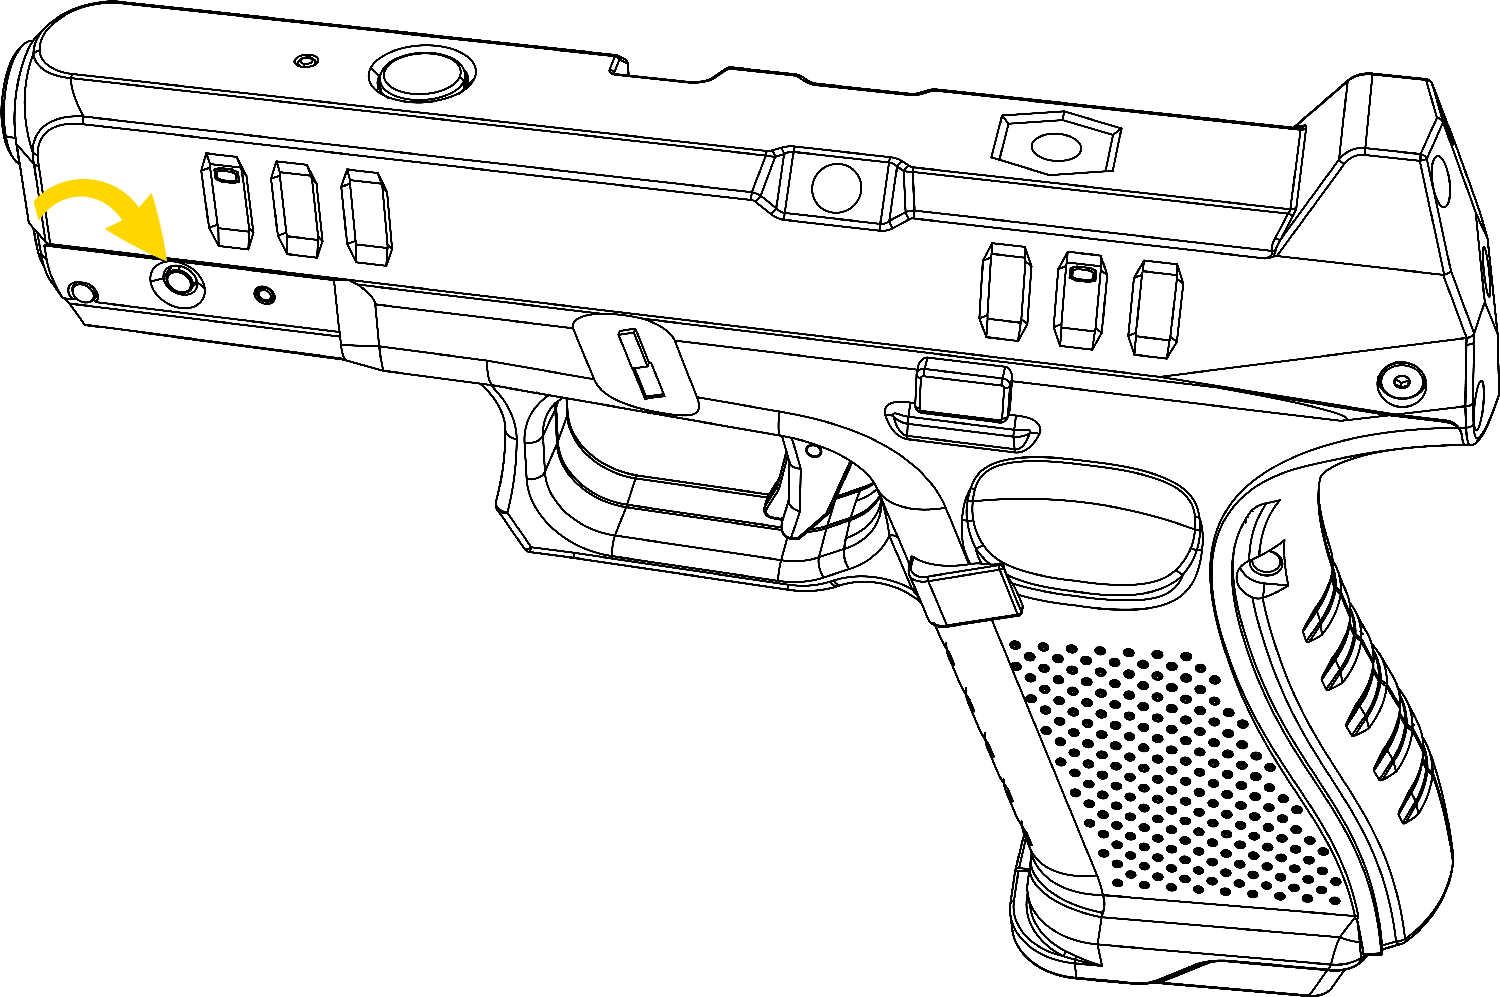
To power on the Handgun VR Controller (VR19H), push the power button.
Pairing
When you turn on a VR Controller, a pairing LED appears on top.
The pairing LED will be solid green  when paired. The TASER VR Controllers arrive already paired to the headset. In the unlikely event the controller loses pairing (pairing LED is solid blue
  ), see Pair VR controller with headset.
Holsters
This kit includes both a special right-hand and left-hand Safariland VR holster. Use only these holsters for the TASER VR Controllers. This kit also includes a Handgun holster for the Handgun VR Controller (VR19H).
Battery and charging
The TASER VR Controller uses the same battery as a duty TASER device. Because agency settings download to memory in the battery, charging a battery in your existing agency dock will bring your agency's TASER device settings from Axon Evidence, such as enabling or disabling the flashlight and/or laser, into the VR environment. The provided dock is only for charging; agency settings are pre-set in the batteries.
The status LED on the TASER VR controllers indicate current battery level (blinking) and trigger state.
Once the controller recognizes the battery, the LEDs display battery level and trigger presses as noted below.
| State/Message | Sidelight LED Color |
|---|---|
| Battery >50% | Green |
| Battery 15–50% |  Yellow Yellow |
| Battery 5–14% |  Orange Orange |
| Battery 0–5% - for TASER VR Controllers |  Red (rapid pulse) Red (rapid pulse) |
| Battery 0-5% - for Handgun VR Controller (VR19H) |  Red Red |
| Critical error for Handgun VR Controller (VR19H) - return VR Controller to Axon | Red (rapid pulse) |
| Trigger press – Armed |  Purple Purple |
| Trigger press – Safe | Blue |
When the TASER VR Controller indicates low power, replace with a charged battery. Insert the extra battery installed in the battery dock and place the expended battery in the dock to charge. When the battery is docked the LED on the dock will flash blue  and orange
  . When it is fully charged, the LED will flash green
  . For details on battery removal, installation, and charging, see Battery packs.
When the Handgun VR Controller (VR19H) is low on power, plug it in to a USB to charge.
Casting
Casting to the tablet enables displaying the headset content to the tablet for trainer evaluation or fellow trainee observation. The headset can also cast to most smart devices or a Chromecast.
To start casting:
- Press the button on the left of the headset and select Cast.
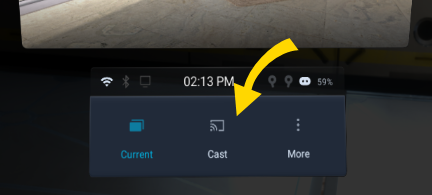
- On the tablet, pull down twice from the top of the screen, swipe left, select Second screen, and follow the prompts.
For additional details, see Screen Casting.
After use
Charging
Open the port on the side of the case, slide out the power cord, and plug into a wall outlet. Ensure:
- Both power power adapters are plugged into the round power strip
- The cables from the power adapters are plugged into the headset and battery dock
- A USB cable is connected to the tablet and one of the power strip USB ports
- A USB cable is connected to the VR Controller (VR19H) and one of the power strip USB ports
This will charge the tablet, installed headset battery, Handgun VR Controller (VR19H), and spare TASER 10 battery without needing to remove them from the case. All components were charged prior to shipping.
To change the headset battery, remove the magnetic rear pad and lift the battery straight out. For details, see Install the headset battery.
Wi-Fi update
The headset and controller are preloaded with all of the most recent available content. Optionally, you can connect to a Wi-Fi network so your headset can check for and download any recent updates from HTC and controller and app updates from Axon.
From the library, go to Settings > Connectivity > Wi-Fi and follow the prompts. For additional details, see the FAQ Why can't I connect to my secure Wi-Fi network?
Survey
 Please help us make this T&E kit better by submitting your comments at https://surveys.axon.com/s3/axon-vr-t-e-kits (or use the QR code).
Returning your T&E kit
Be sure to pack up both headset batteries, both TASER batteries, and any cables or components that have been removed from the kit such as power strip, USB cable, or power modules. Check the list at the beginning of this article for images and a component list. Please return the same batteries that came with the kit.
FAQs
FAQs for common issues encountered when setting up and using Axon VR with an HTC VIVE Focus 3 headset are available at online topics for the controller and headset.