Customize VR Controller optics
You can attach different virtual optics to a Handgun or Rifle VR Controller in Simulator Training and vRBT (Virtual Reality-Based Training) Live Action.
Coming Soon
The VR Rifle Controller will be available soon.
Once saved, these settings will be applied in future sessions on that specific headset.
To customize VR Controller optics:
- Open Simulator Training or vRBT Live Action.
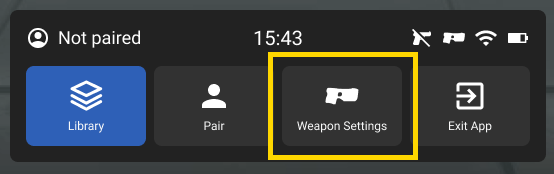
- Select Weapon Settings in the menu bar.
- Customize the weapon settings, which are described below.
- Select Confirm to save.
Weapon Settings


- Handedness: Select the primary hand for holding the Handgun VR Controller.
- Optic Type: Select the type of optic:
- Iron sight: Automatically deactivates the Optic Color and Optic Shape settings.
- SCS-H
- RDS-R
- Night Sight (Irons)
- RDS-T
- RDS-A
- Optic Color: Select the color of the optic.
- Optic Shape: Select the shape of the optic.
- Optic Preview: Preview how the optic will display.
- Brightness: Adjust the brightness level of the optic in a day or night setting.
- Height Over Bore: Adjust the mechanical offset between the optic and barrel to simulate realistic rifle trajectory. Available options include:
- Low: Minimal optic height above the barrel.
- Medium (default): Moderate optic height above the barrel.
- High: Increased optic height above the barrel.
As optic height increases, point of impact will be lower than point of aim at close distances due to mechanical offset between the sight line and bore. This reflects real-world rifle behavior when the sight line is positioned above the bore.