Evidence transfers
The evidence transfers feature in Evidence Local allows you to monitor and manage the movement of evidence files between local storage, remote servers, and Axon Evidence.
To access and configure evidence transfers, users must have the following permissions:
- Manage Associations and Destinations
- Sendfiles to folders/cabinets with the "send to" feature enabled
- View Incoming/Outgoing Transfers
- View Destination of a File
Step 1 - Configure a transfer destination
Before transfers can occur, at least one destination must be set up in the system. Destinations define where evidence files will be sent
Step 2 - Create a transfer association
Associations define which files will be transferred and when, based on rules and constraints such as custom metadata.
Once these steps have been completed, evidence can be transferred using the "Send To" feature.
Monitor transfer status
- Sign in to your Axon Evidence Local account.
- Select Evidence from the top menu.
- Select the Evidence Transfers tab.
- Select one of the following tabs:
- Incoming transfers: Displays files currently being received by this server.
- Outgoing transfers: Displays files currently being sent from this server.
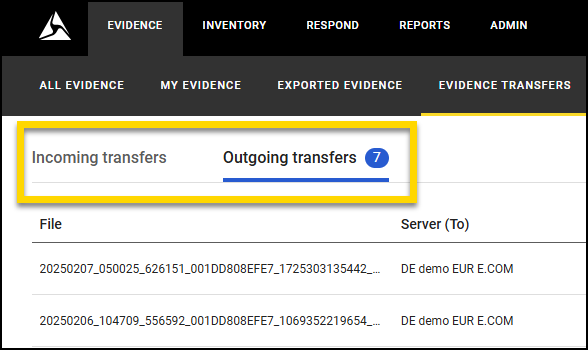
If there are any transfers in progress (incoming or outgoing), a blue circle with a number will appear on the corresponding tab. The number indicates how many active transfers are underway.
Transfer status types
- In-Progress – Transfer is actively occurring
- Pending – Transfer is waiting for destination availability
- Queued – Waiting due to concurrent transfer limits
- Waiting – Temporary issue, retrying
- Failed – Transfer failed due to an error
- Completed – Transfer was successful and will be cleared shortly
Reorder outgoing transfers
To change the order of outgoing transfers:
- Go to the Outgoing transfers tab.
- On the row of the transfer you wish to re-prioritize, select Move Up (up arrow) or Move Down (down arrow) to adjust its position in the queue. You can only reorder outgoing transfers. Incoming transfers are processed automatically and cannot be re prioritized.