This
Viewing this page requires the ALPR System Administration permission.
Sign up for Flock Safety and add vehicle characteristics
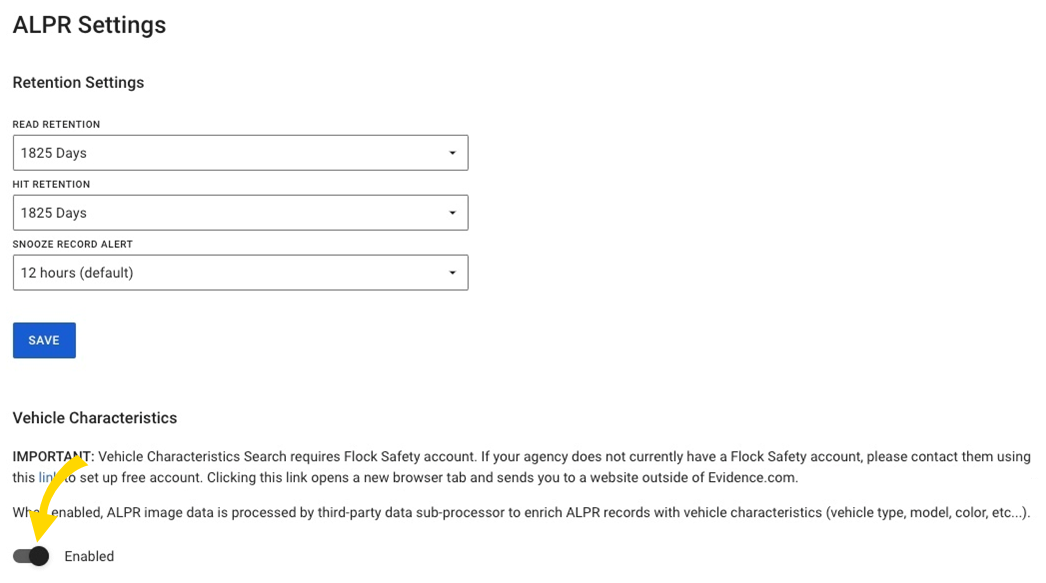
- In Axon Evidence, select Admin, then under Agency Settings select ALPR Settings. If your agency doesn’t already have a Flock Safety account, sign up for a free account using the link under Vehicle Characteristics.
- Enable Vehicle Characteristics.
Create Axon API client
| Important | If an integration already exists in Flock, you need to edit the existing integration with the newly created Axon API configuration information. There is no option to create a second integration in the Flock system. Additionally, Axon API access clients can't be modified. To adjust your client settings, create a new client and then edit the existing Flock system integration with the new access client information. |
- In Axon Evidence, select Admin, then under Security Settings select API Settings.
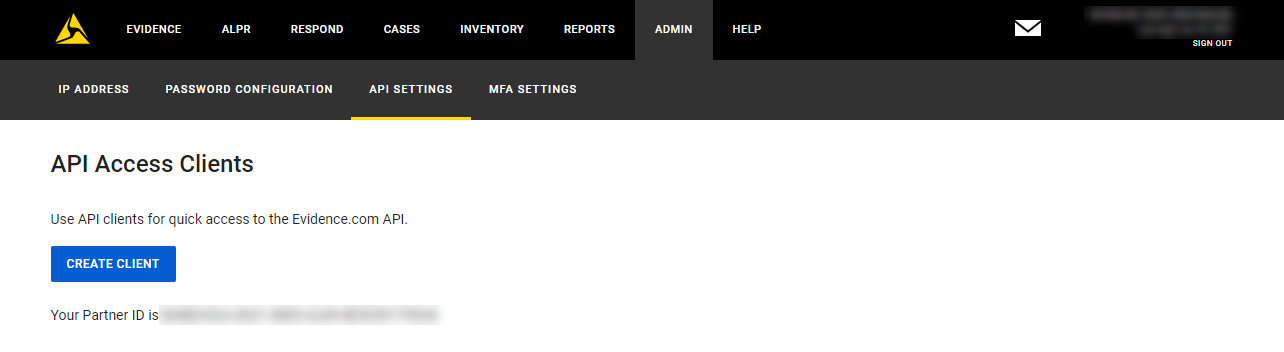
- Select Create client. For each API resource, the new page provides authorization settings for all currently supported operations. By default, all operations are prohibited.
- In the Client Description box, enter a meaningful description of the new client, such as Flock Integration.
- Select the client permissions for the Flock integration by setting the following permissions to Allowed:
- Under Cases
- any.list
- any.modify
- any.read
- Under Evidence:
- any.create
- Under Users:
- read
- Under ALPR:
- readrecord.any.list
Important Do not select this permission if you don't have Axon ALPR or it may generate errors in Flock search.
- readrecord.any.list
- Under Cases
- Select Save
 . Keep this tab open until you complete the remaining steps.
- In a new browser tab, open Flock Safety User Management (https://users.flocksafety.com/).
- Scroll down and select Admin, then Integrations, then Add Integration.
- Choose Axon from the Integration Type list and paste your Axon details into the fields as follows:
- Subdomain – Your agency’s Axon Evidence subdomain appears in the URL as https://www.<subdomain>.evidence.com and is often your agency's name.
- Partner ID – Your Axon partner ID is the same for every API client you create in Axon Evidence and appears on the confirmation screen.
- Client ID – Your API client ID is unique for each API client you create in Axon Evidence and appears on the client creation confirmation screen.
- Client Secret – Your API client secret is unique for each API client you create in Axon Evidence and appears on the client creation confirmation screen. This key cannot be recovered after you close the client creation confirmation screen.
- Once the integration is added, return to the tab with Axon Evidence and select Done
 .
.
Update Flock roles
Once you have configured the Axon Evidence integration using the steps above, you need to provide your users the appropriate permissions to upload evidence. See Flock Safety's Using roles to assign permissions for more information.
To assign the Upload evidence permission in Flock:
- On the Flock Safety page, select the Admin tab, then Roles.
- Select the check boxes for Can Add Evidence to Axon and Search.
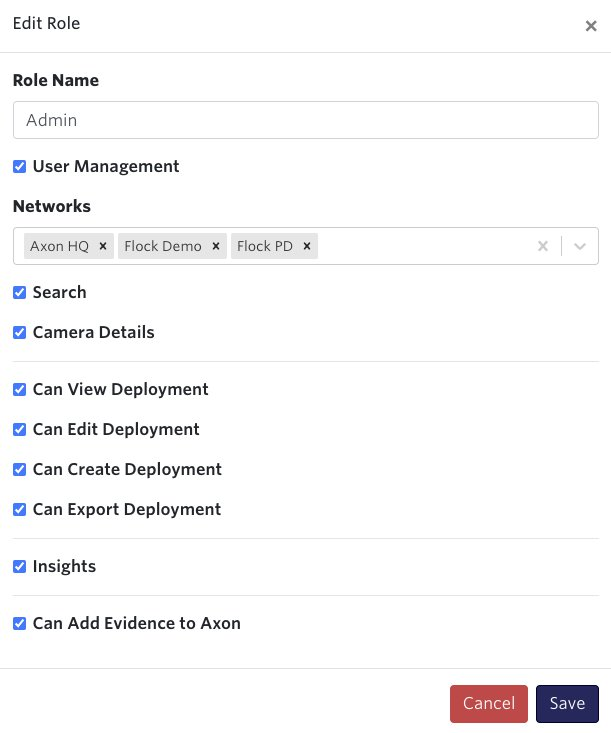
- Select Save.
Any users assigned this role can now add Flock read records to your agency’s Axon Evidence environment and search for Axon ALPR images in Flock Safety Search.
Flock search results will now include an Add Evidence option to upload information to Axon Evidence.
Flock Safety search ï this topic ð Cradlepoint configuration
Last modified - 28 April 2026