Work with evidence in a case
Review evidence in a case
You can review evidence in a case on the Evidence tab. While all evidence file types can be added to Review mode, only file types that are currently supported by Axon Evidence displays. If the file type is unsupported, you are prompted to download the evidence.
- In the evidence list on the Evidence tab, select the check box of the evidence you want to review.
- Select Review. If you select Review All without selecting any evidence, all evidence files on the page open to review
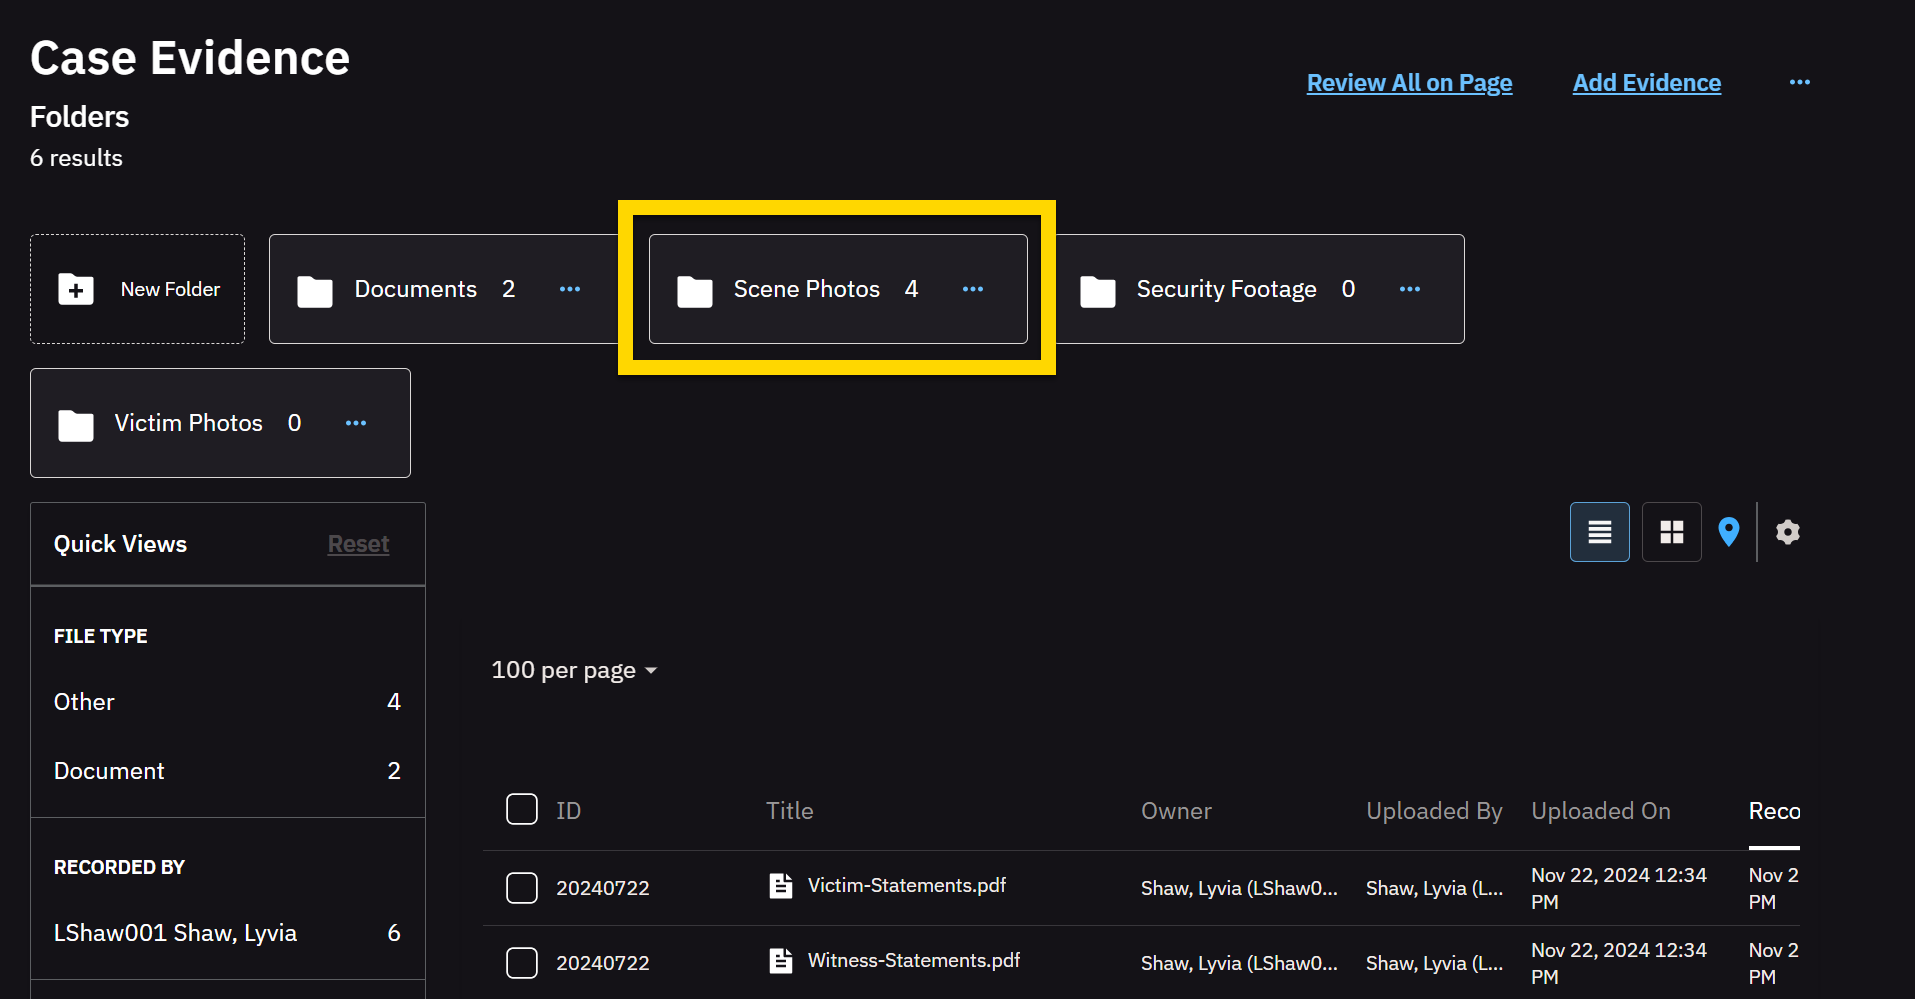
Folder Actions
You can perform the following folder actions:
- Add to Folder:
- Select one or more evidence files.
- Select Add to Folder. A dialog box appears.
- Search for a folder name or add a new folder name.
- Select Add.
- Remove from Folder: This option is only selectable if an evidence file is already in a folder.
- Select the folder you want to remove evidence files from.
- Select one or more evidence files.
- Select Folder Actions.
- Select Remove from Folder. A dialog box opens asking you to confirm that you want to remove the selected evidence from the folder.
- Select Remove.
You can remove all files from a folder by deleting the folder. To delete a folder, select the More Actions (•••) button and then select Delete. You can then select to either delete the folder structure and keep the evidence in the case, or delete the folder, subfolders, and remove the evidence from the case.
Edit metadata
- Update the metadata of evidence files:
- Update ID
- Add Category
- Update Evidence Group
- Reassign
Manage access
- Inside my agency: This action allows you to change the access levels, duration, and users for the selected evidence files.
- Outside my agency: This action has two options:
- Add name to external access list: Send people outside your agency a link to the selected piece of evidence and give them permissions to view, download, view audit trail, and post notes for selected pieces of evidence. You can also set the duration and give permission to reshare the evidence.
- Email a download link: Send people outside your agency a link to the selected piece of evidence and set the permissions for including audit trails, table of contents, and transcripts. You can also set how long the link to the evidence is active. There is an optional message you can include when sending the download link.
- Edit access class:This action allows you edit access to the evidence to users and groups on the access control list and users in roles with the View Restricted Evidence permission. This includes access level and duration.
More Actions:
The following actions can be found by selecting the More Actions (•••) button.
Auto-Transcribe
To auto-transcribe the evidence, perform the following:
- Select one or more evidence files.
- Select the More Actions (•••) button.
- Select Auto-Transcribe.
- Select the language you want to transcribe the files into.
- Select Start.
Reassign
To reassign evidence files, perform the following:
- Select one or more evidence files.
- Select the More Actions (•••) button.
- Select Reassign.
- Enter the last name, first name, badge ID, or email address of the person you want to reassign the evidence files to.
- Select Reassign.
Redact
To redact evidence files, perform the following:
- Select one or more evidence files.
- Select the More Actions (•••) button.
- Select Redact.
- Configure your bulk redaction by selecting the download format, blur level, and whether or not to redact the audio.
- Select Redact.
Download
To download evidence files, perform the following:
- Select one or more evidence files.
- Select the More Actions (•••) button.
- Select Download.
- Select the download format and whether to include a table of contents, transcripts, and audit trails.
- Select Download.
- Enter your reason in the text field.
- Select Submit.
Export List
To export a list of evidence files, perform the following:
- Select one or more evidence files.
- Select the More Actions (•••) button.
- Select Export List.
- Select the file type to export as.
- Select Export. The results are downloaded and found within your browser's downloads folder.
Marking as reviewed
To mark an evidence file as reviewed, perform the following:
- Select one or more evidence files.
- Select the More Actions (•••) button.
- Select Mark as reviewed.
- To mark all unreviewed evidence files as reviewed, select Mark all as reviewed.
Add to another case
To add evidence files to another case, perform the following:
- Select one or more evidence files.
- Select the More Actions (•••) button.
- Select Add to another case.
- Enter the case ID.
- Select Add to Case.
Remove from case
To remove evidence files from the case, perform the following:
- Select one or more evidence files.
- Select the More Actions (•••) button.
- Select Remove from case.
- Select Remove.
Removing evidence from a case will remove access from all case share recipients and use the assigned evidence category to determine retention.
Add to Project
To add evidence files to a project, perform the following:
- Select one or more evidence files.
- Select the More Actions (•••) button.
- Select Add to Project.
- Choose one of the following:
- Add to an existing project – Select a project from the drop-down list.
- Create a new project – Enter a project title and description.
- Select Next. The Photobook opens.
View a Case Map
If evidence in a case has location information, you can view the evidence on a map.