Canvas LED Editor
Overview
The Canvas LED Editor tool enables you to customize the AB Mini front display while the camera is in buffering mode. You can customize still images or animations to portray your brand or any designs as you see fit. During recording, the camera will always display the recording animation, and when the recording ends it will return to the default buffering animation
You can use other your own design or you can create or modify one of the provided designs to upload to your device.
The download template provides a curated bundle of formatted pixel art stills and animations that you can modify or use directly on your devices.
The steps to create pixel art and set as the default for your devices are as follows:
- Select a pre-made template OR select a pixel art editor tool to design your art
- Confirm the file format and follow LED tips to optimize battery life
- Dock your device and sync to preview the display
- Set the design as the default
Technical requirements
Supported file types and pixel art dimensions
The preferred file type is PNG (.png). JPEG(.jpg) is also supported. The following is an example PNG file with a still sprite open in a pixel editor.
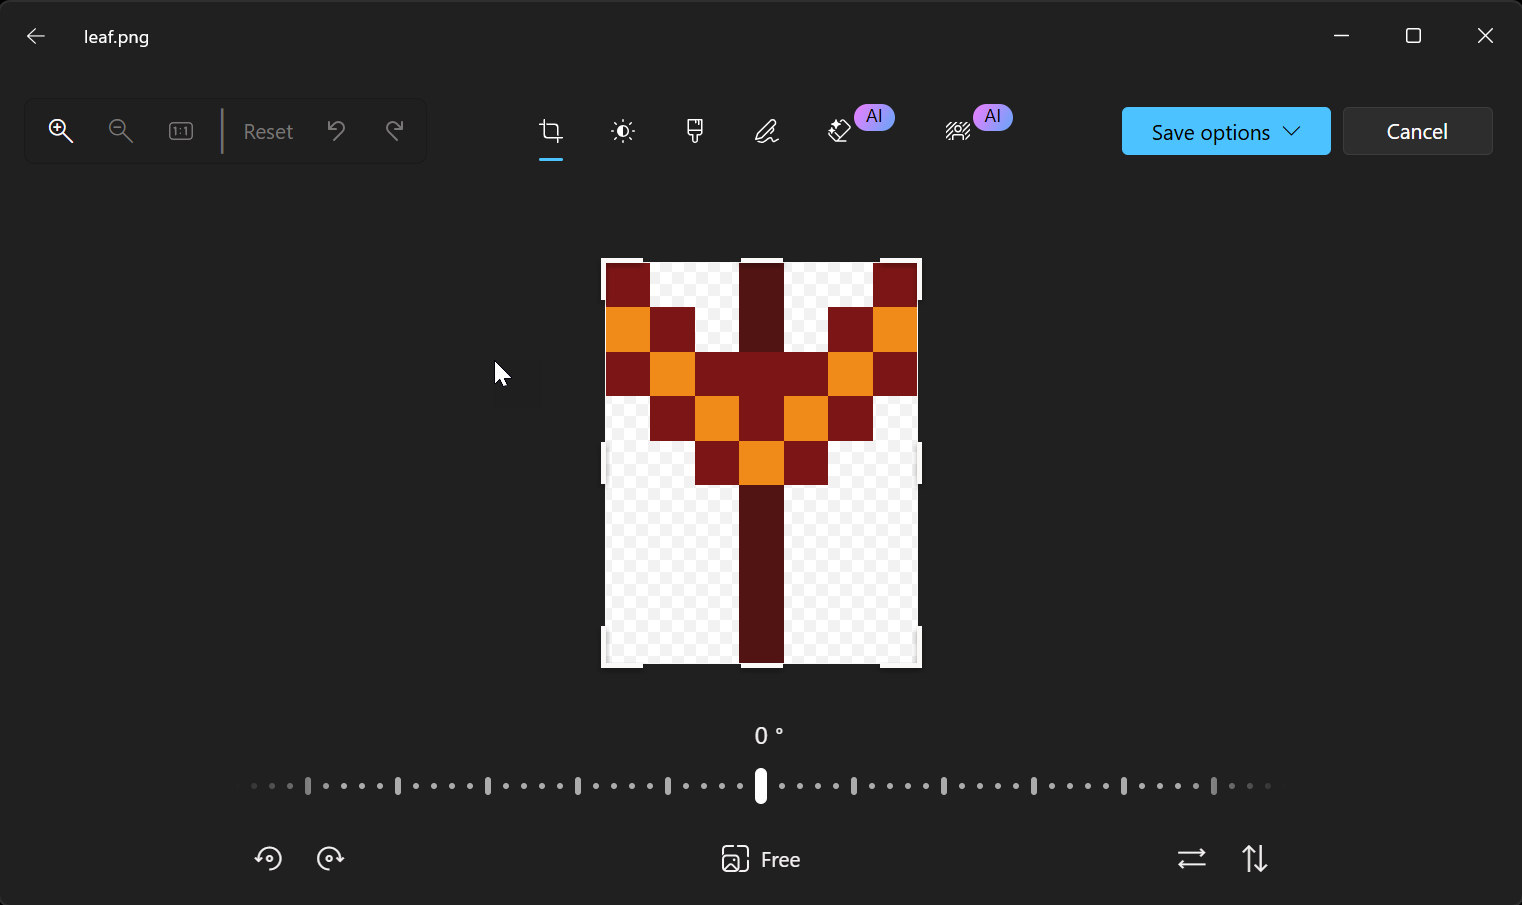
- All images must be exactly 7x9 pixels.
- Designs not matching this resolution will be rejected.
The following is an animation sprite open in a pixel editor.
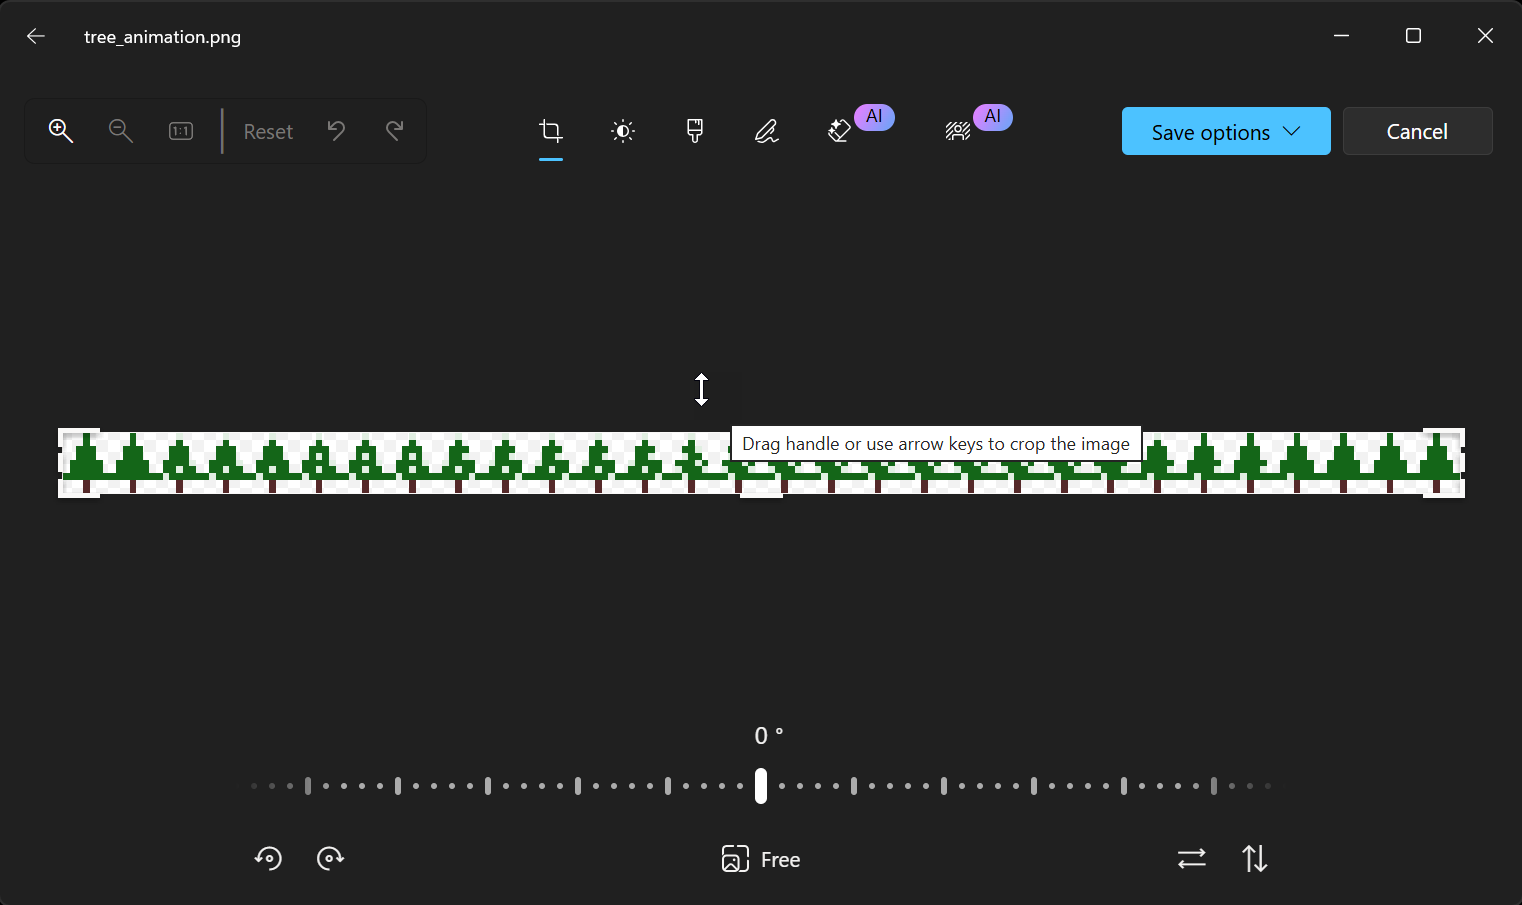
For animations, only 210x9 pixel PNG or JPEG files are supported. GIFs and zipped folders are not supported.
Color guidelines
- Use RGB color codes for best LED display compatibility.
- Follow the suggested color palette for best visibility: Red, Orange, Yellow, Green, Blue, Indigo, Violet.
-
Color Guardrails:
-
* Max 70% of pixels enabled per frame (approx. 44 LEDs)
-
* Recommended max for runtime: 50% or fewer (approx. 32 LEDs)
-
* The recommended adjustments are automatically applied and you can choose to revert them to your original design or proceed with the auto adjustments
-
We recommend that a maximum of 70% of the pixels are enabled per frame (approximately 44 LEDs), and a max runtime of 50% or fewer (approximately 32 LEDs). If these thresholds are exceeded, you will receive a warning message that must be manually overriden.
Animation requirements
The full cycle for the animation is ten seconds. The image/animation displays for three seconds, and then the display is off for seven seconds before beginning the ten second cycle again. This isn’t customizable or changeable.
| Parameter | Requirement |
|---|---|
| Frame Count | 30 frames (fixed) |
| Frame Rate | 10 frames per second |
| Total Duration | 3 seconds (Active Duration) |
| Display Cycle | Every 10 seconds |
Once you've finalized your pixel art, you can the preview on a device and then set it as your new default.
Use the Canvas LED editor
Step 1: Access the Editor
-
To edit and upload the design to your AB Mini devices, you must have permission. From the Roles & Permission page, enable "Access Canvas LED Editor" for your Role.
-
To access the Canvas LED Studio, go to the Device Management portal > Axon Body Mini setting page
-
The button to access the editor "AB Mini Canvas Editor" is visible at the top of the page.
Step 2: Upload
Upload your file via drag-and-drop or the file browser:
- Still icons:
.pngor.jpg - Animations:
- 30 sequential
.pngor.jpgframes =210×9px - Reminder: all designs must be
7×9pixels, and animated files must contain exactly 30 frames at 10 FPS.
- 30 sequential
Step 3: Preview
- The platform displays your design on an AB Mini LED simulator.
- Use the toggle to compare your original upload and the Axon-optimized version (optimized LED count and color usage for battery life)
- Choose the preferred design, name it (e.g., “July 4 Flag” or “Nurse Appreciation Heart”), and click Continue.
Step 4: Dock camera to sync
The camera must be docked for the image to sync.
Step 5: Test on a Camera (optional)
Because color and brightness may vary between screen and device, it is recommended to preview your design on a real AB Mini.
Assign your design to a test camera by:
- Selecting an assignee or serial number
- Powering on the target AB Mini
- Clicking Test to push the design
- Review the physical display, then click Next.
Step 6: Publish
You’ll now define the publish plan for deploying your design.
- You can either Replace default design to replace the current default (this applies to all assigned devices’ available roles and all unassigned devices), OR create a publish plan. All cameras come with the Axon logo as a default until you create and set your own image as the default.
- To create a publish plan:
- Name your design
- Select the roles the plan applies to
- Schedule start and end date/time
- Confirm publish plan details and click Publish
Your design will now appear in the ‘Design Management’ section of the Canvas LED Studio under the Designs tab, where you can make further edits or changes as needed.
The design displayed is determined by the assigned users' role. If the camera is not assigned to a role, it will default back to your organization's default design.
If a design or role is deleted, all cameras assigned to that role and associated design will revert back to your organization’s default image.
Homepage Details
After you upload and sync designs, they are visible in the homepage of the Canvas LED studio. There they can be modified, deleted, etc. You can also see which roles or users are associated with each design.
AB Mini Canvas LED display and settings
Display settings
Once a custom image or animation is synced to device(s), that image will display whenever the device is buffering. If a custom image is not created or synced to device(s), the device will instead show the preloaded Axon logo animation by default. The custom image or animation is only shown during buffering and will not appear during other device states, such as recording, livestreaming, charging, or when docked, as each of those states has its own predefined animation.
Light settings
In the Axon Body Mini device settings page, you can adjust the brightness level of your device to either auto, or high/medium/low. You can also turn adjust the Front LED Display setting to be enabled when recording only, when recording and buffering, or disable it completely.


