Upload files to Axon Evidence
After adding files and folders, and editing metadata as needed, you can upload the files to Axon Evidence.
Note: The maximum file size for a single file is 1.5 TB.
- Check the box next to each file you want to upload. If you don't select specific files, all files will be uploaded.
- Select Upload, or Upload all if you haven't selected specific files.
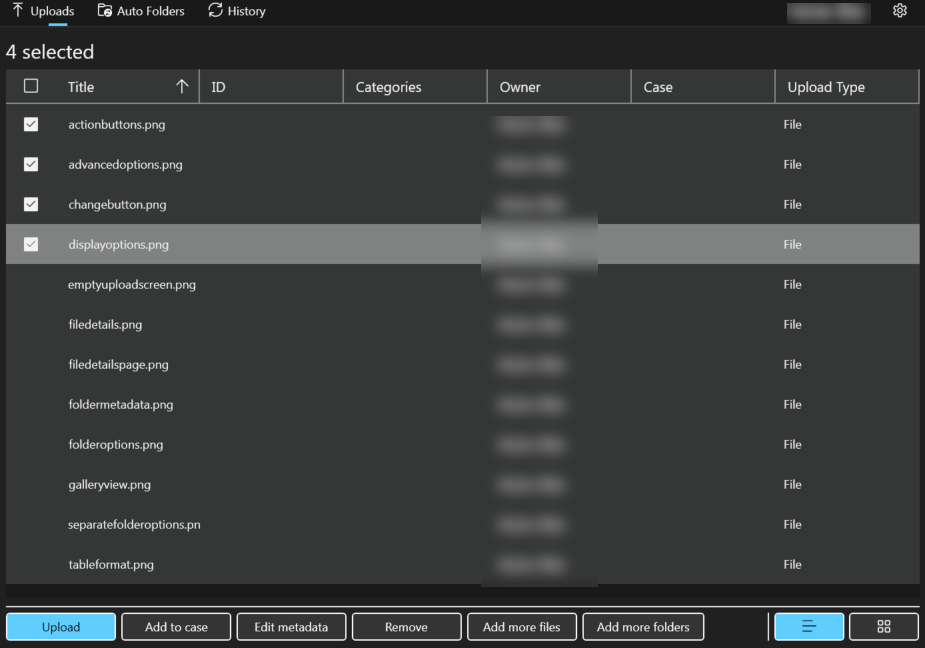
- The application starts the upload. The status of the upload is shown at the top of the page.
- Optionally, you can choose the Pause icon to pause the upload, choose the drop-down arrow, and select to have the files automatically removed from your Windows device after the upload is complete.
- Pause

- Remove files option
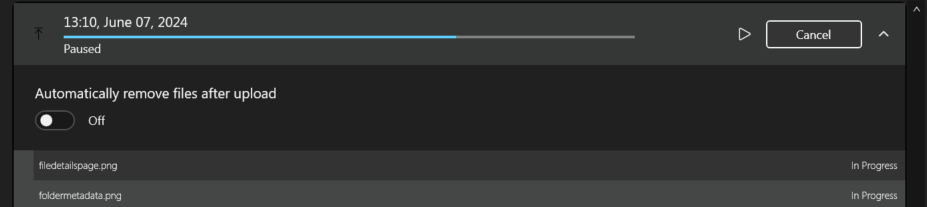
- Pause
- Select the Play icon to resume the upload.
The upload status information will remain until you manually remove it from the page by selecting Dismiss.
Configure folders for automatic upload
Configuring folders for automatic file uploads is performed on the Schedule Upload page. This process is used to automatically upload files to Axon Evidence from a designated folder on your computer on an hourly schedule.
- Evidence Upload XT must be running for the automatic file uploads to occur.
- You can save any files you want to upload into a folder; the next time you sign in to Evidence Upload XT the application will check all the Auto Folders for content to upload and repeat every hour after that.
- To check when the last file upload completed, select History on the Upload Files page.
Add an Auto Folder
- Create or select a folder anywhere on your computer to designate as an Auto Folder. This is where you'll put the files you want to upload.
- On the Upload Files page, select Auto Folders.
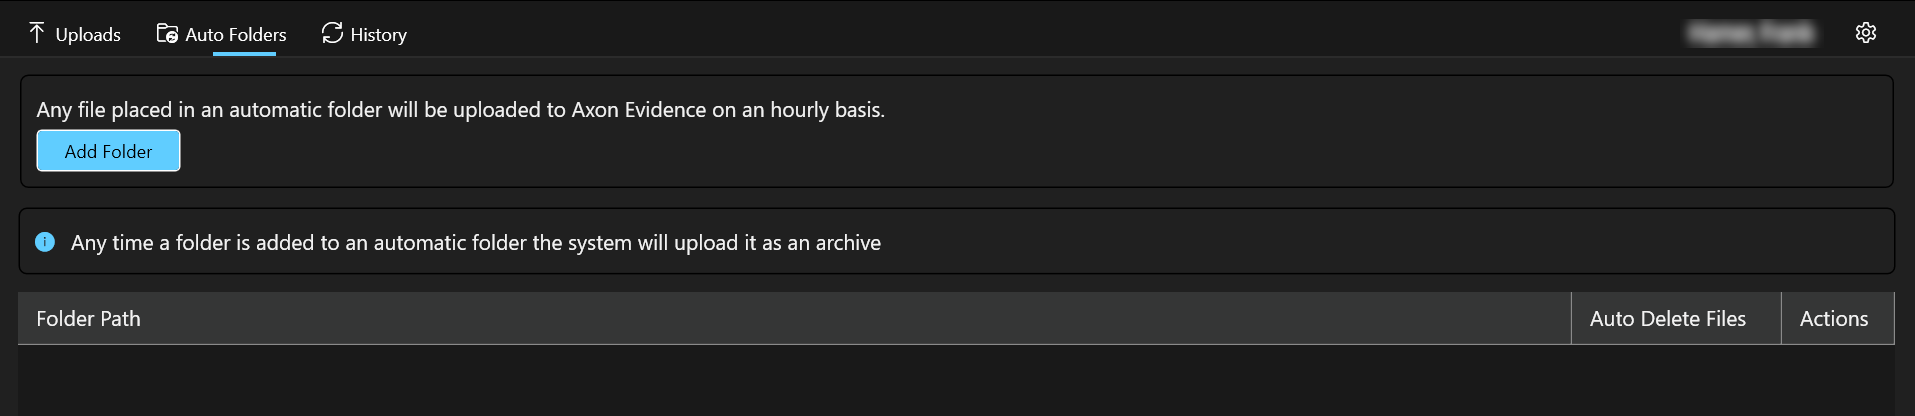
- Choose Add Folder. Navigate to the folder location, select it, and then select Open. The folder information is shown in the Folder Path.
- If you want the files deleted from the folder after uploading, select Auto Delete Files.
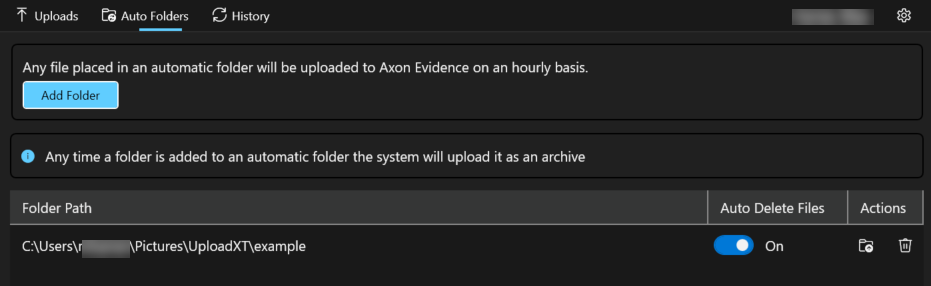
You can select the folder icon to the right of the folder path to see the contents of the selected folder.
Remove an Auto Folder
- On the Upload Files page, select Auto Folders.
- On the Auto Folders page, select the Delete (trash can) icon next to the folder you want to remove. This action will not remove the folder from your computer. It just removes it from the Auto Folder list.