Configure destinations
In Axon Evidence Local, Destinations define where evidence files are sent when triggered by an Association. Supported destination types include:
- Another Evidence Local server
- A network or local folder
- An Evidence.com domain
Required Permission: Users must have the Manage Associations and Destinations right to access and configure destination settings.
Add a Destination
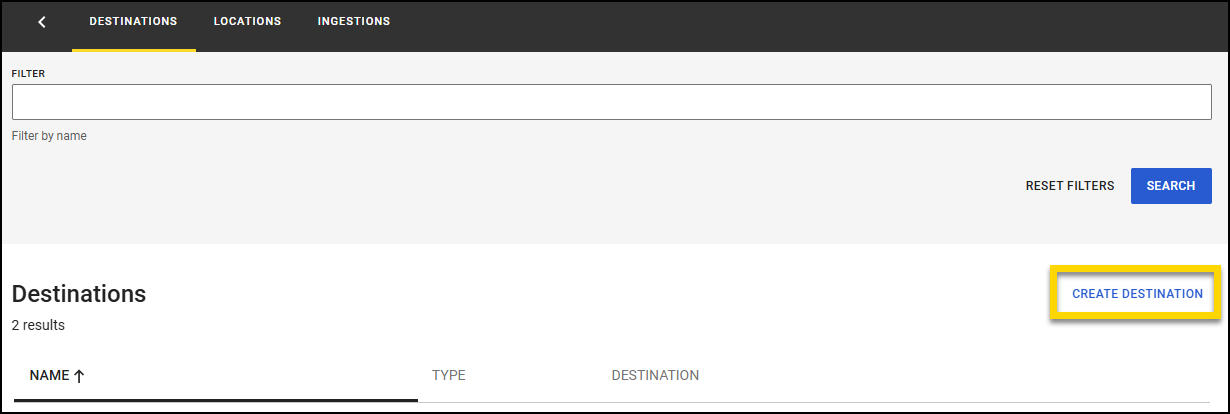
- Select Admin.
- Under Storage Configuration, select Destinations.
- Select Create Destination to open the Add Destination pane.
- Enter a name for the destination.
- Choose a destination Type:
- Remote Server: Sends files to another Evidence Local server.
- Folder: Transfers files to a local or network path.
- Evidence.com: Transfers files to an Axon Evidence domain using API credentials.
- Enter the destination value, depending on the type selected:
- Remote Axon Evidence Local Server
- Enter the Location IP address or DNS name of the target server.
Note: This server must also be set up to receive files from the sending server.
- Enter the Location IP address or DNS name of the target server.
- Folder
- Enter the Location UNC path (e.g., \\Server\Share\Path) or a local path relative to the Evidence Local server.
Note: Be sure the Evidence Local server has read/write access to the specified path. Use UNC format for network shares to avoid permission issues. - You can optionally enable:
- Include basic metadata: Adds a metadata file alongside each exported file.
- Prepend the value of selected custom metadata to the filenames:Prepend the value of selected custom metadata to the filenames: Adds a prefix to the exported filename. If this box is checked, you must also choose the metadata you wish to add from the Custom Metadata dropdown list. Only metadata fields that have been configured in the system will appear in this list.
- Enter the Location UNC path (e.g., \\Server\Share\Path) or a local path relative to the Evidence Local server.
- Evidence.com
- Enter a URL of the Axon Evidence instance (e.g., https://agency.evidence.com).
- Enter the Secret, Client ID, and Partner ID from your Axon Evidence API client. You must first create an API Client in Evidence.com under Admin > Security Settings > API Settings.
Note: The client secret is only visible once—make sure to copy and store it securely.
- Remote Axon Evidence Local Server
- Select Add. The destination is created and appears in the Destinations list.
Edit a destination
- Select Admin from the top menu.
- Under Storage Configuration, select Destinations.
- On the row of the destination you wish to edit, select More actions (...).
- Select Edit to open the Edit Destination pane.
- Modify the destination details as needed.
- Select Save.
Delete a destination
- Select Admin from the top menu.
- Under Storage Configuration, select Destinations.
- On the row of the destination you wish to edit, select More actions (...).
- Select Delete to open remove the destination.