Sign in and connect
Sign in
Don't switch to another screen during installation, especially during the network connection setup, as doing so may cause the installation to fail.
- Once installed, tap the app icon found on your phone screen to launch the Axon Outpost Manager (AOM) application.
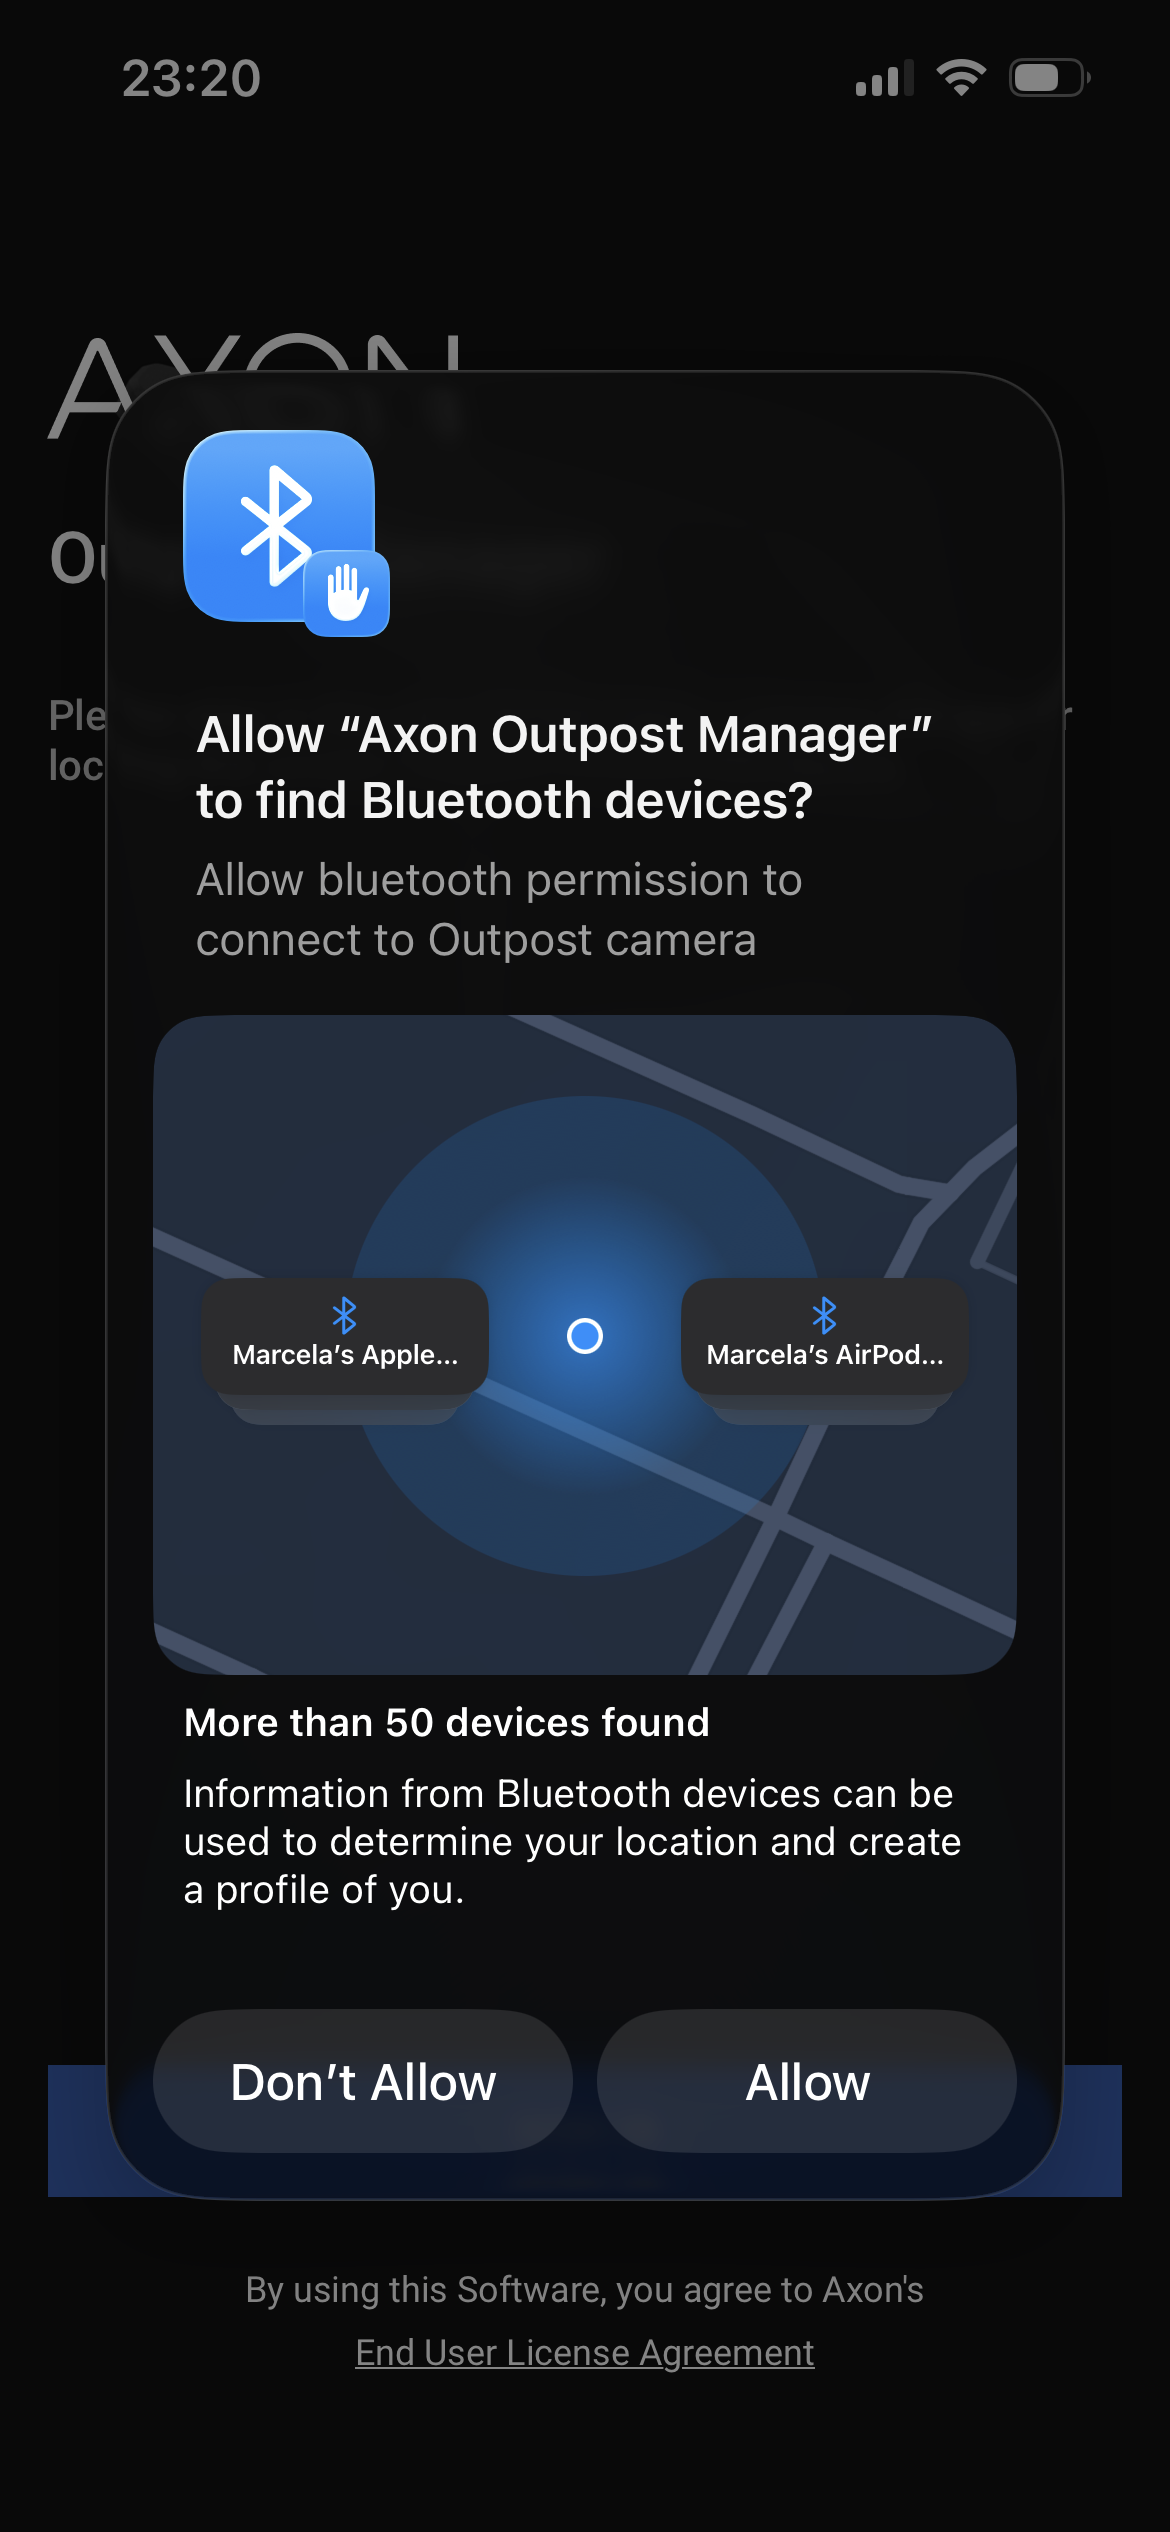
- If you are using the application for the first time after installation, you will be asked to confirm whether you allow the use of the Bluetooth connection. It is MANDATORY to click the Allow button to proceed with the next step.
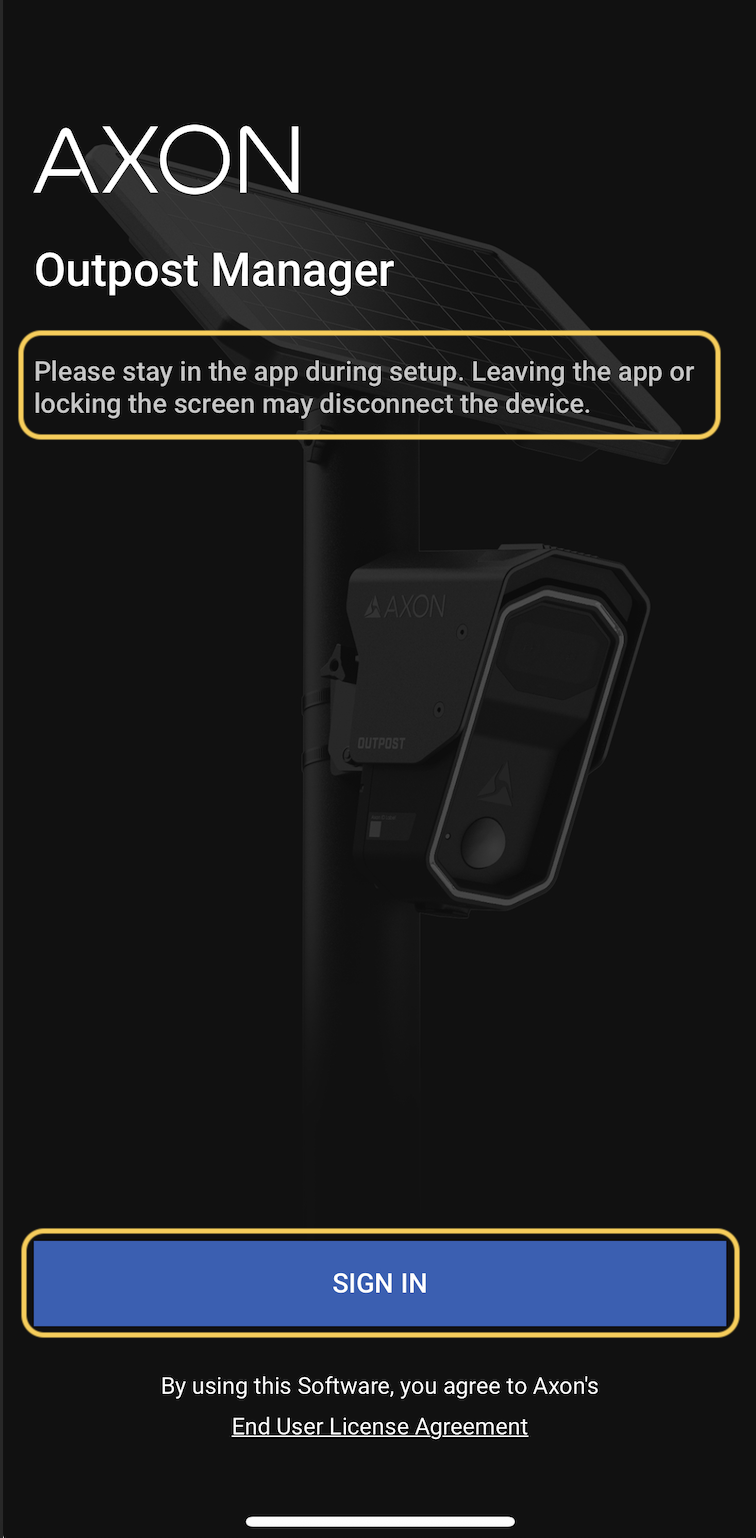
- Sign into Axon Evidence by selecting Sign In. Please note that during installation you must not switch to another app or put AOM in background, especially during the Network connection setup, as doing so may cause the installation to fail. If iOS puts AOM in background for events like incoming calls, restart the set-up. Click the SIGN IN button to proceed to the next step.
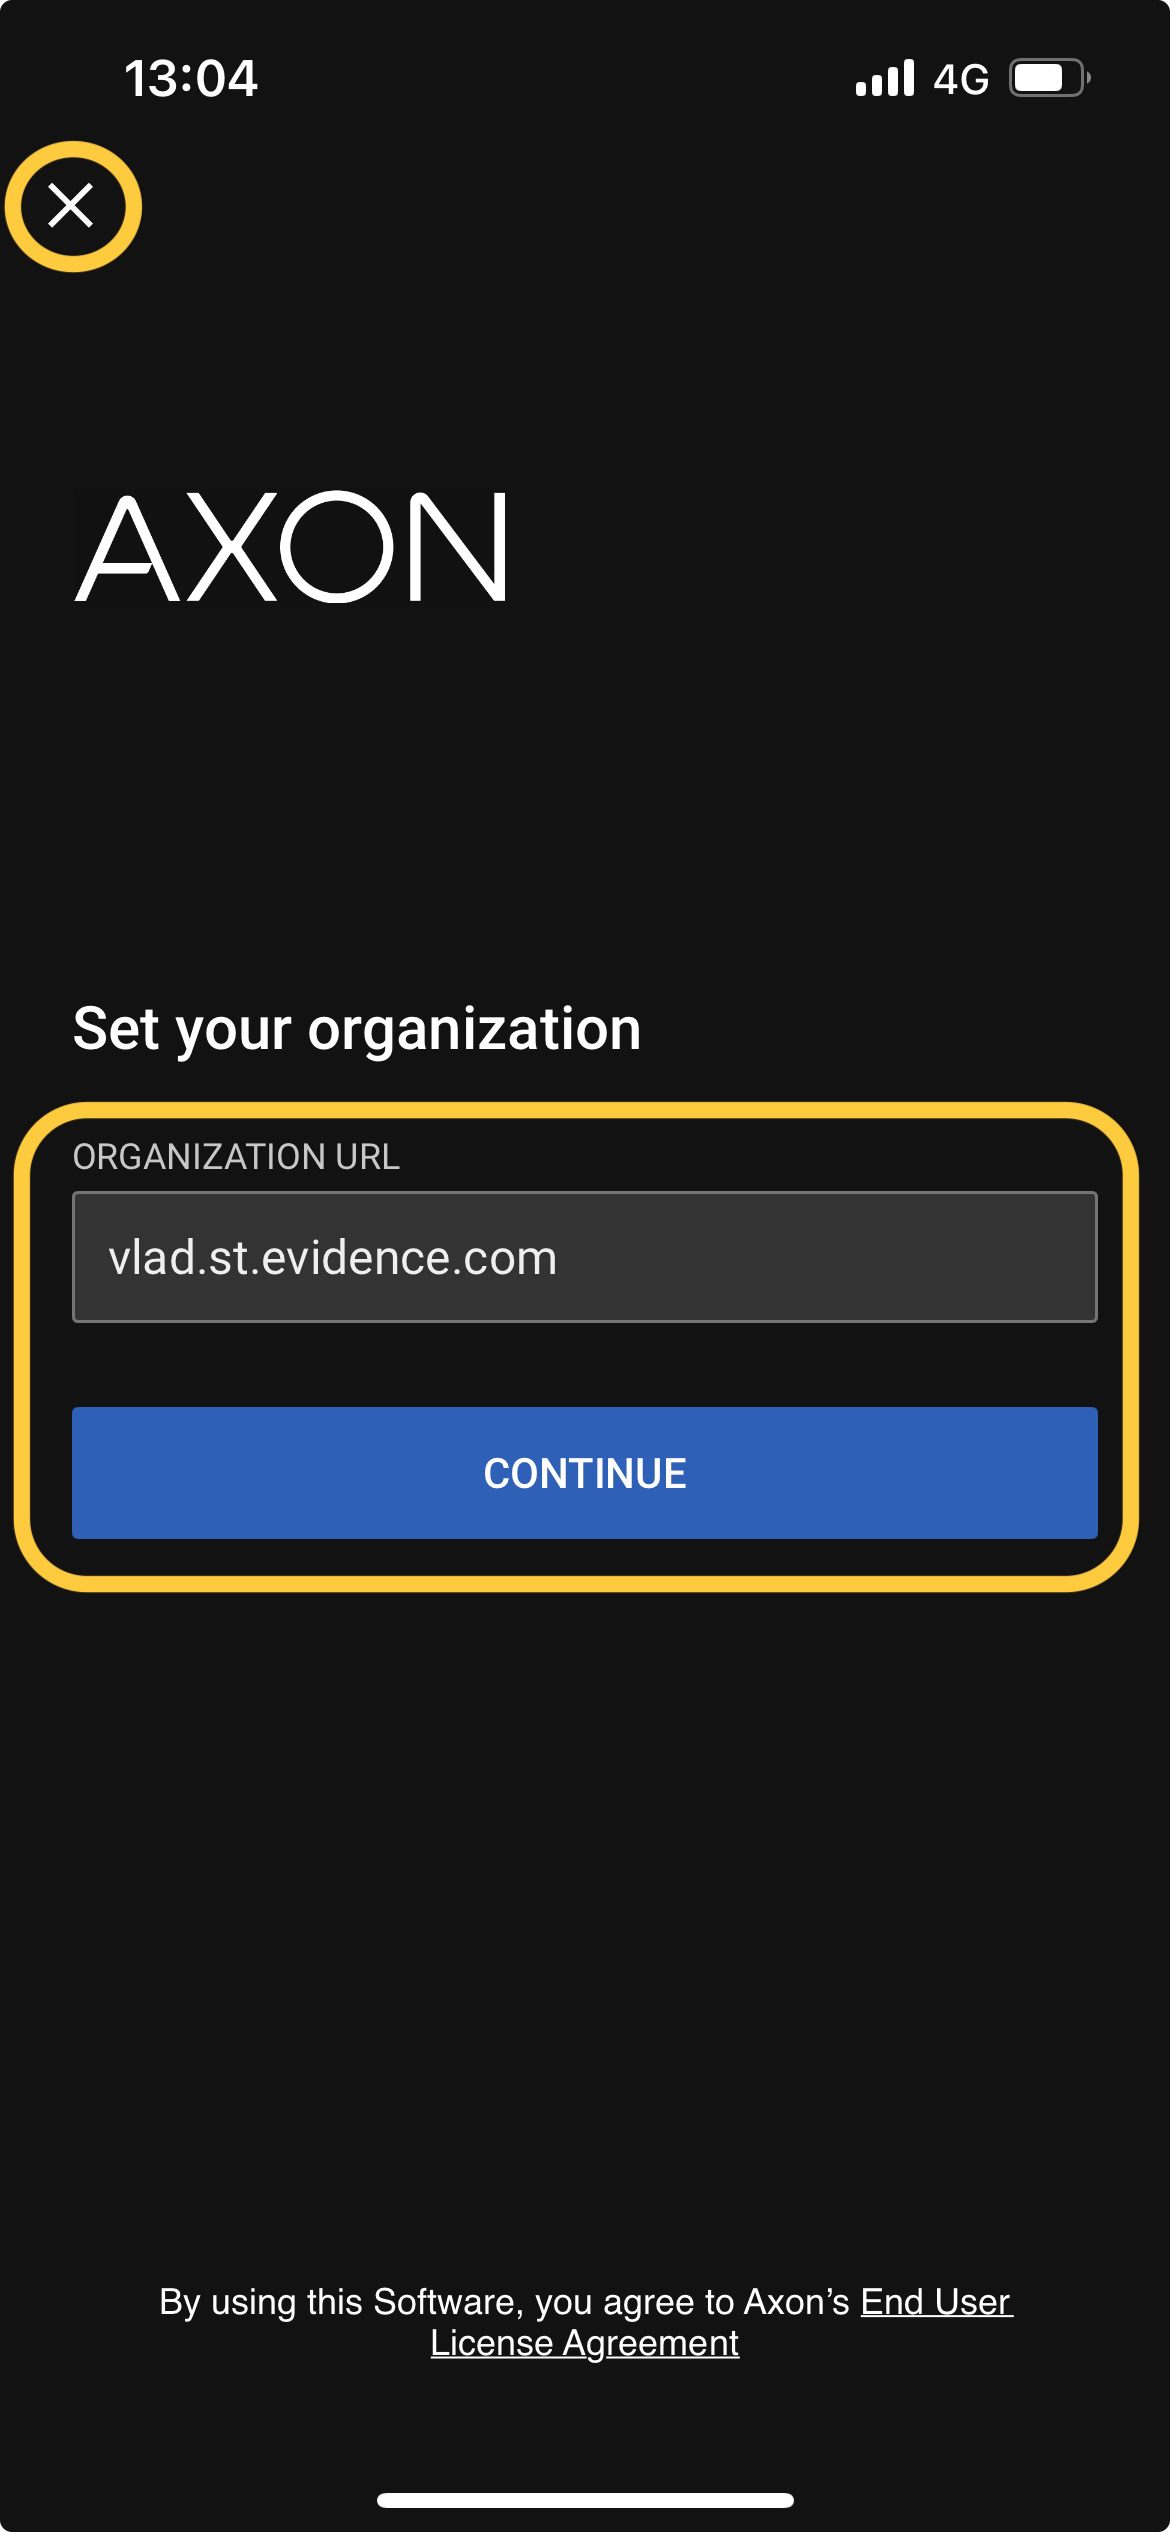
- Tap the X, then enter your agency URL, select Continue, and follow the prompts to sign in.
-
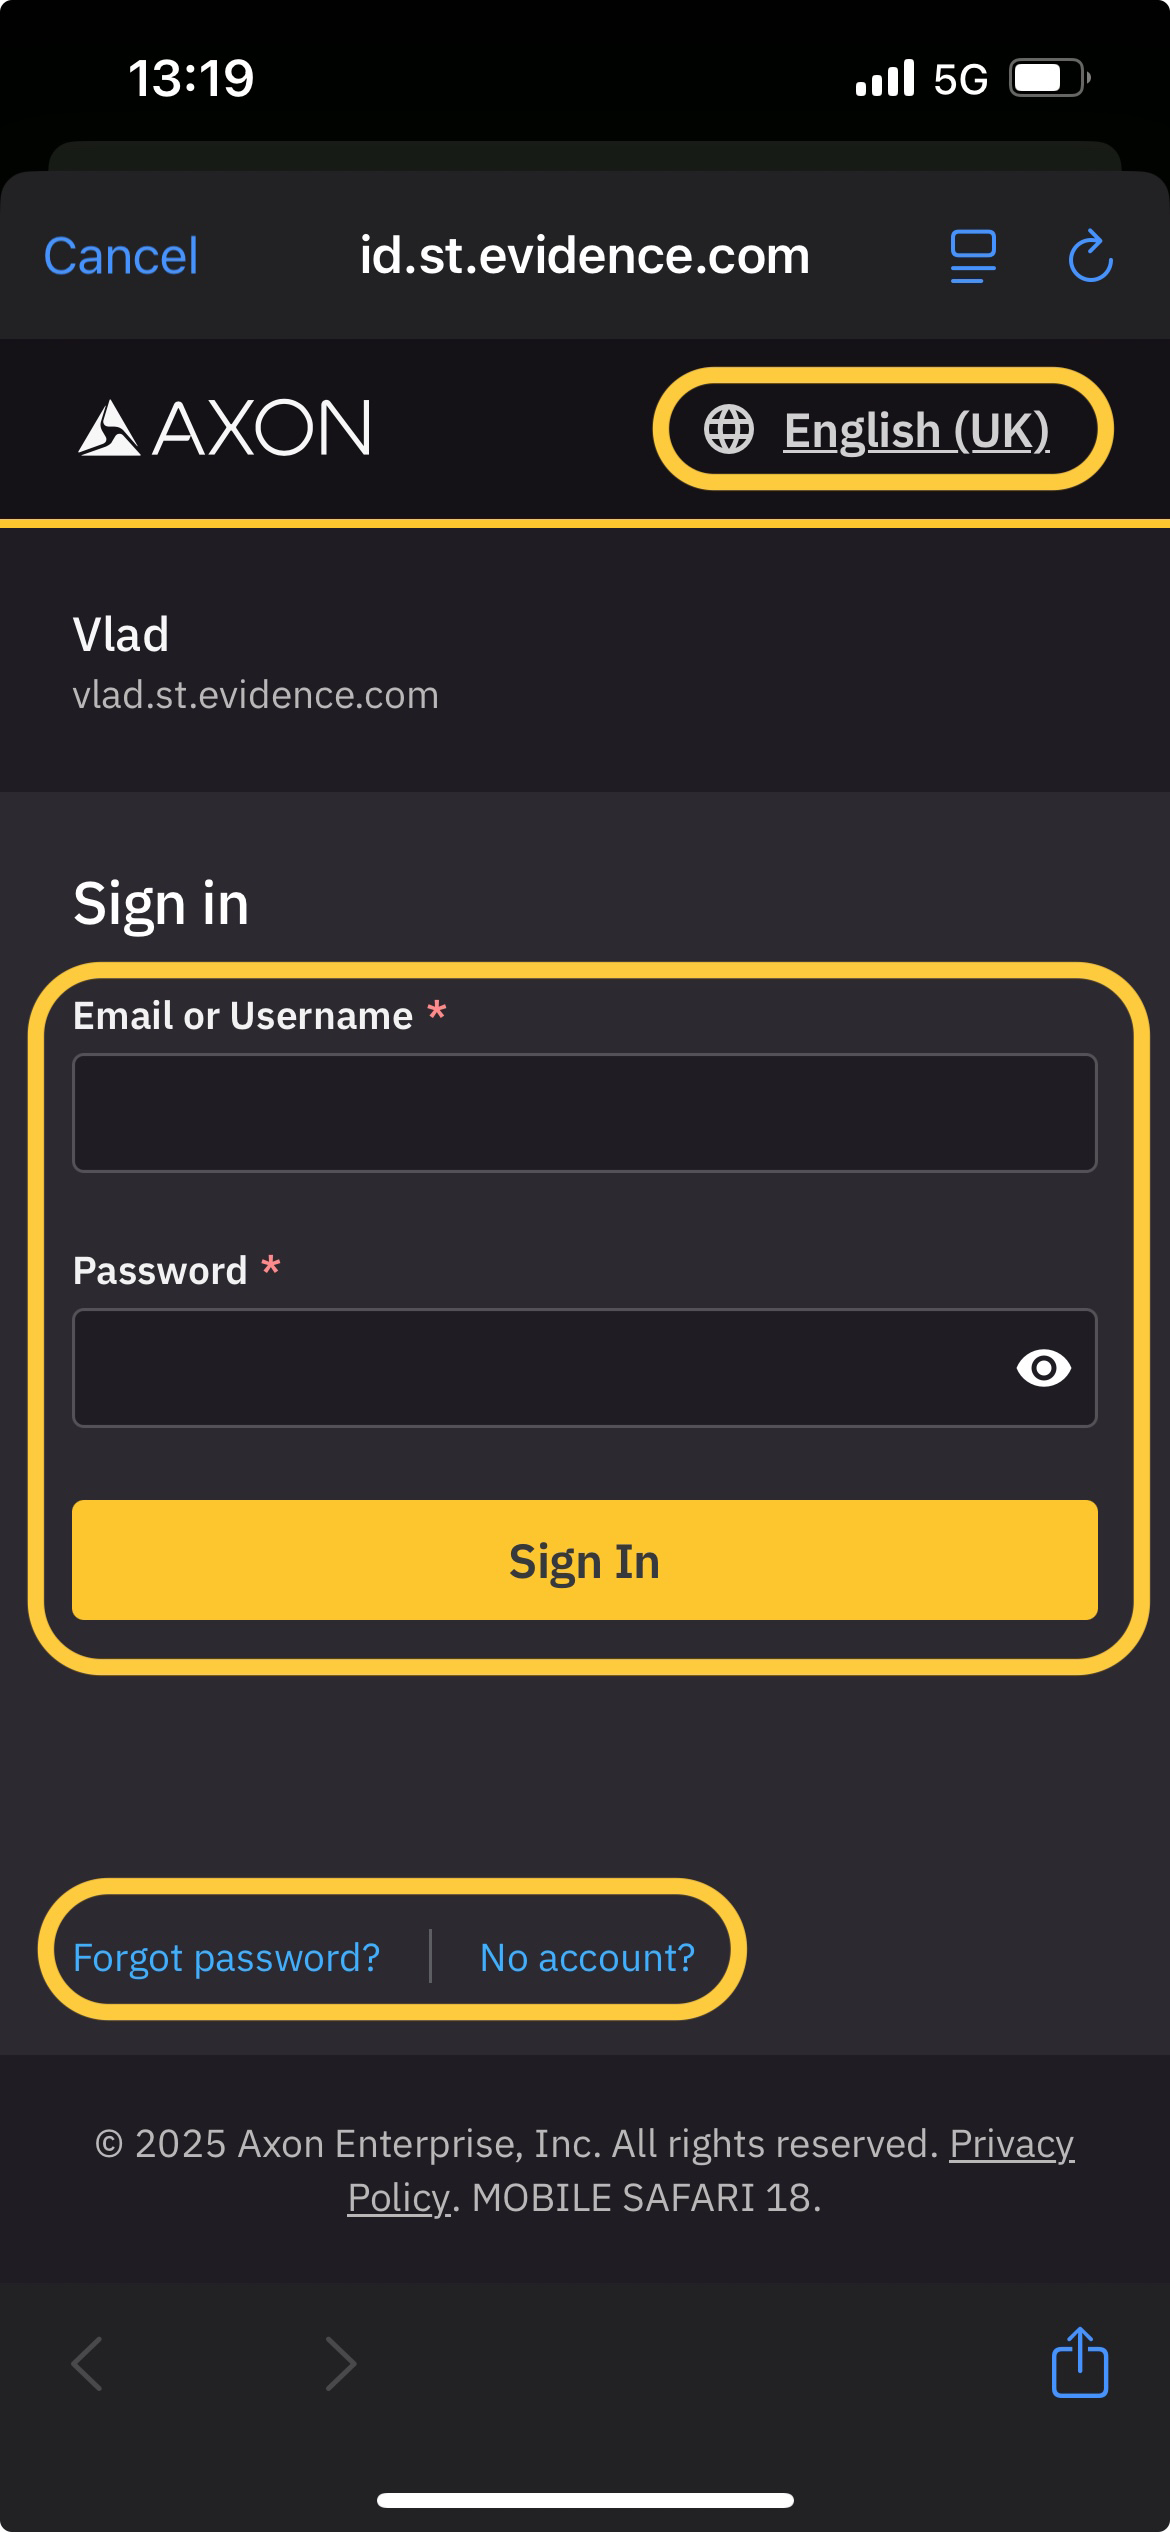
After successful agency verification, continue on the SSO sign-in screen. Your agency URL appears at the top of the screen.
- If you forgot your password, select the link to recover your password at Axon Evidence.
- If you don't have an account yet, contact your agency’s Axon Evidence admin for credentials.
- Change the language if desired. This option is only available during SSO sign-in.
- Enter your Email/username and Password and select Sign in.
-
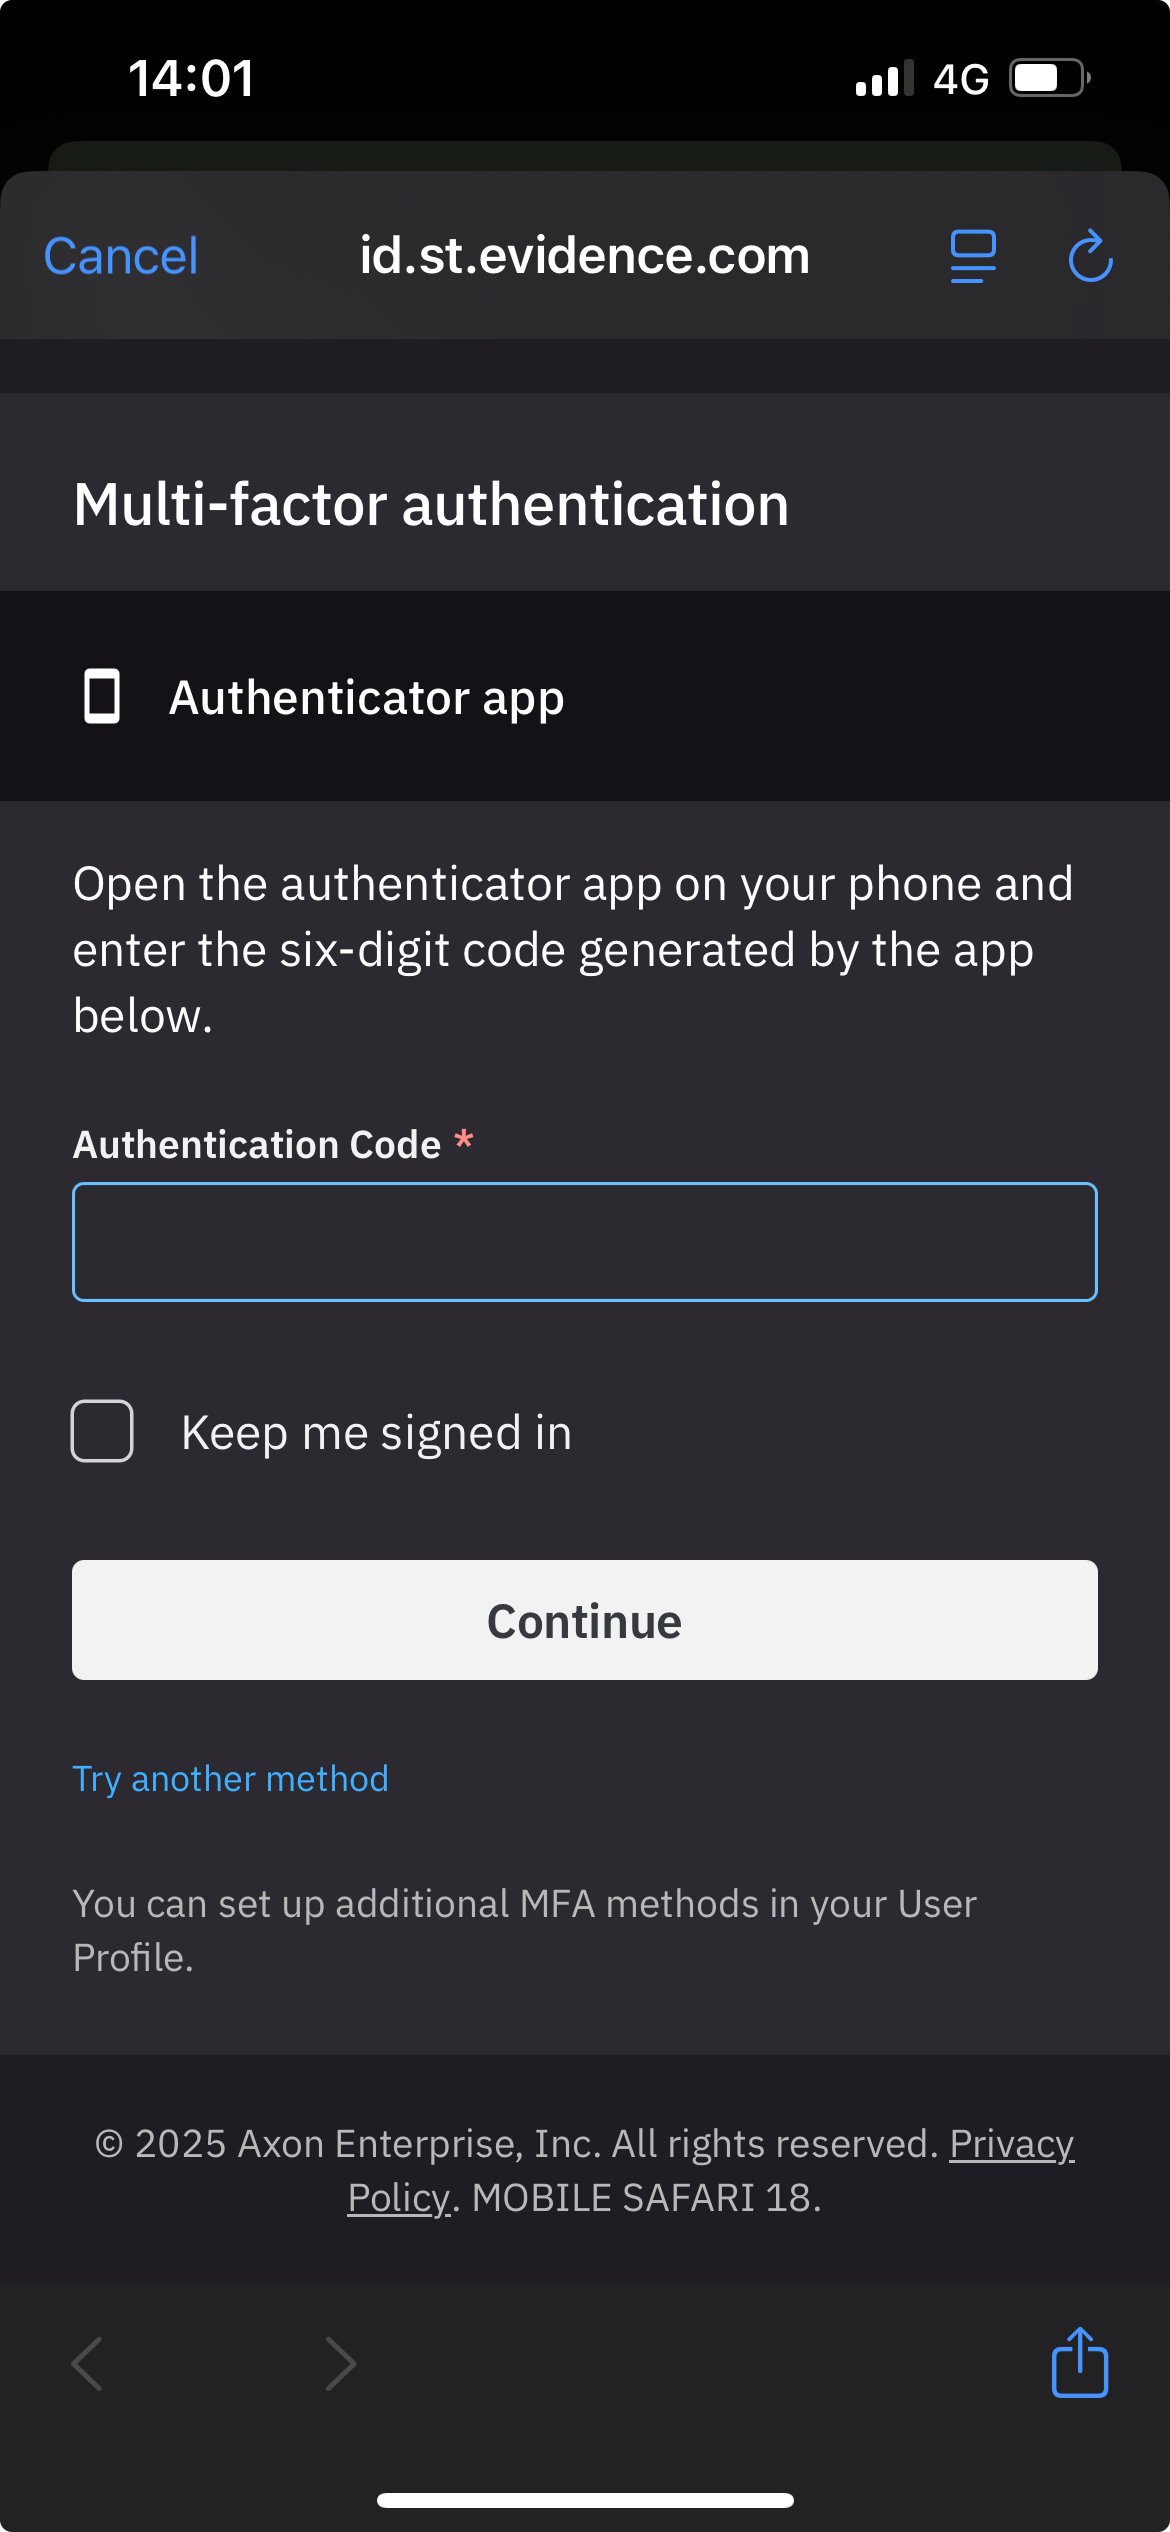
After successful sign-in, continue with Multi-Factor Authentication (MFA).
Connect to a camera
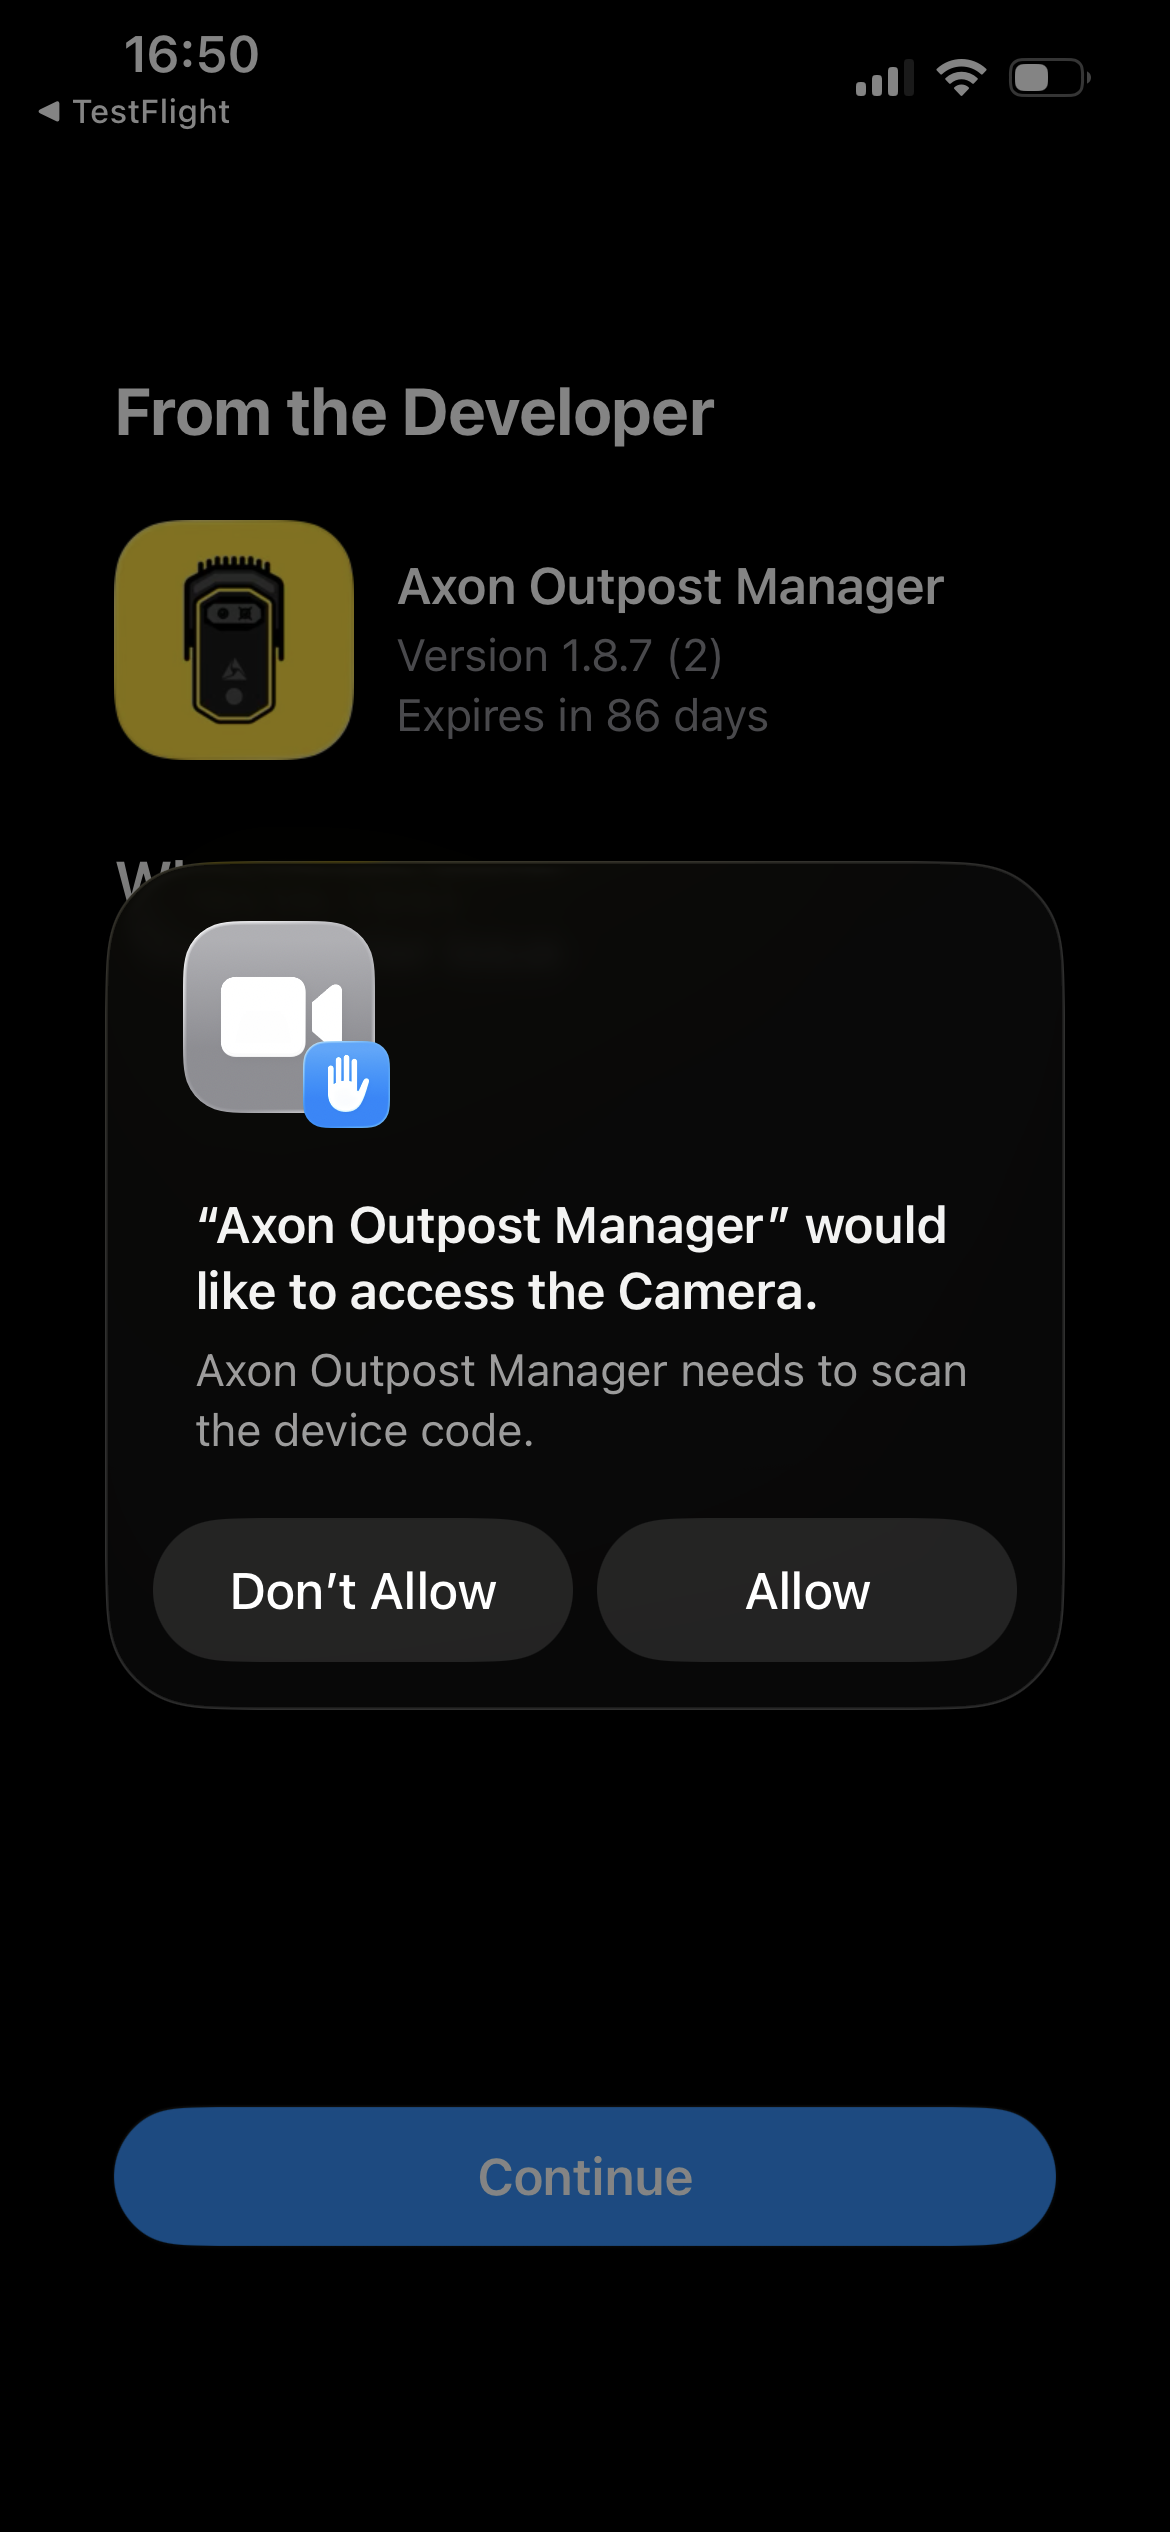
- When scanning your first Axon Outpost camera, select Allow so your smart device's camera can scan the camera's barcode.
Note: If you are using the application for the first time after installation, this is the time you will be asked to confirm whether you allow the app to use your location so the device’s position can be tracked in Fusus as soon as the installation is successful. It is MANDATORY to select the “Allow While Using App” option so the installation can continue.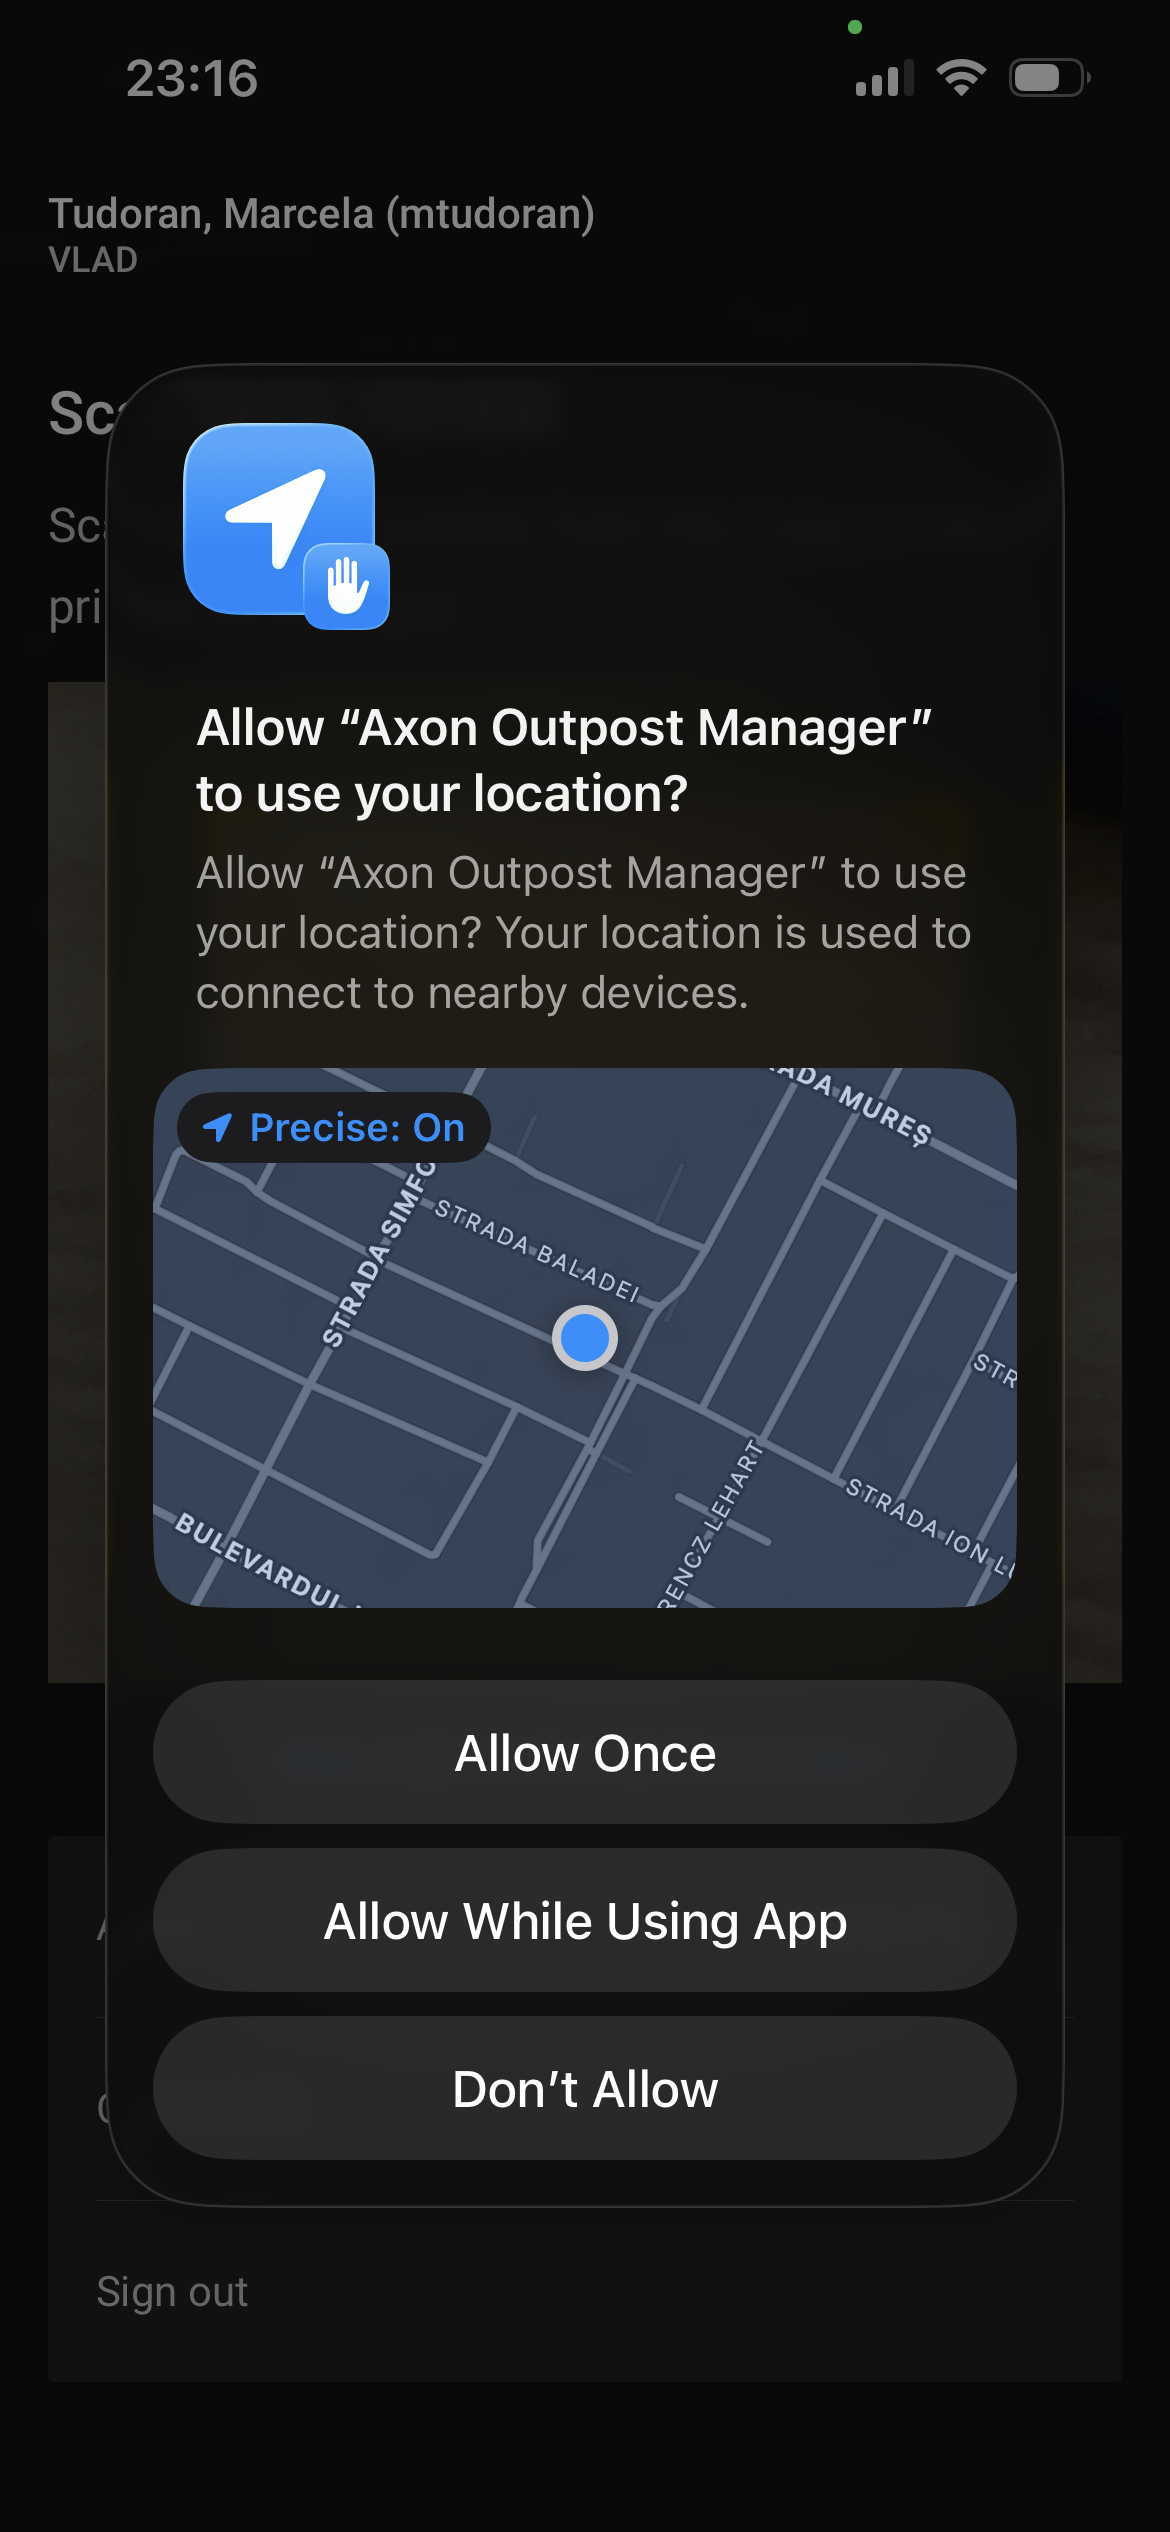
-
After allowing the app to access your location, it will also request permission to use your phone’s camera so the QR code can be scanned.
AOM provides vibration feedback at key points in the installation workflow to confirm whether an action was successful or unsuccessful. This can help when it is difficult to view the screen, such as while working on a ladder or in bright sunlight.
-
One vibration confirms a successful action, such as:
-
Scanning a valid Outpost QR code
-
Connecting to the Outpost through Bluetooth and Wi‑Fi
-
Establishing an LTE or USB-C network connection
-
Registering the Outpost to the agency
-
Scanning a valid battery enclosure QR code or capturing its serial number
-
-
Two vibrations indicate that an action was unsuccessful, such as:
-
An invalid or unrecognized QR code scan
-
A Bluetooth, Wi‑Fi, LTE, or USB-C connection failure or timeout
-
A camera registration failure
-
A battery enclosure QR-code scan failure
-
Note: Haptic feedback is available only when vibration and haptic settings are enabled on the iPhone. If you want this feature to be enabled, before installation, confirm that the following iOS settings remain enabled (by default are enabled):
-
Settings > Sounds & Haptics — Enable the Ringtone/Alert Haptics toggles and System Haptics.
-
Settings > Accessibility > Touch > Vibration — Enable Vibration.
If any of these settings are disabled, you may not feel AOM vibration feedback during the installation workflow.
Note: Always review the message displayed in the app and follow the on-screen instructions after receiving a vibration.
Upon successful sign in, the Scan Serial Number screen will appear, where two options are available.
-
- Using your device’s camera, scan the QR code located on the back of the Axon Outpost device.
If the QR code is damaged or cannot be scanned, tap “Manually enter serial number”. You will be redirected to a screen where you can type in the device serial number (e.g., D20A12345, D20C12345, D20B12345). From this screen, you can switch back to the QR scan screen or submit the serial number.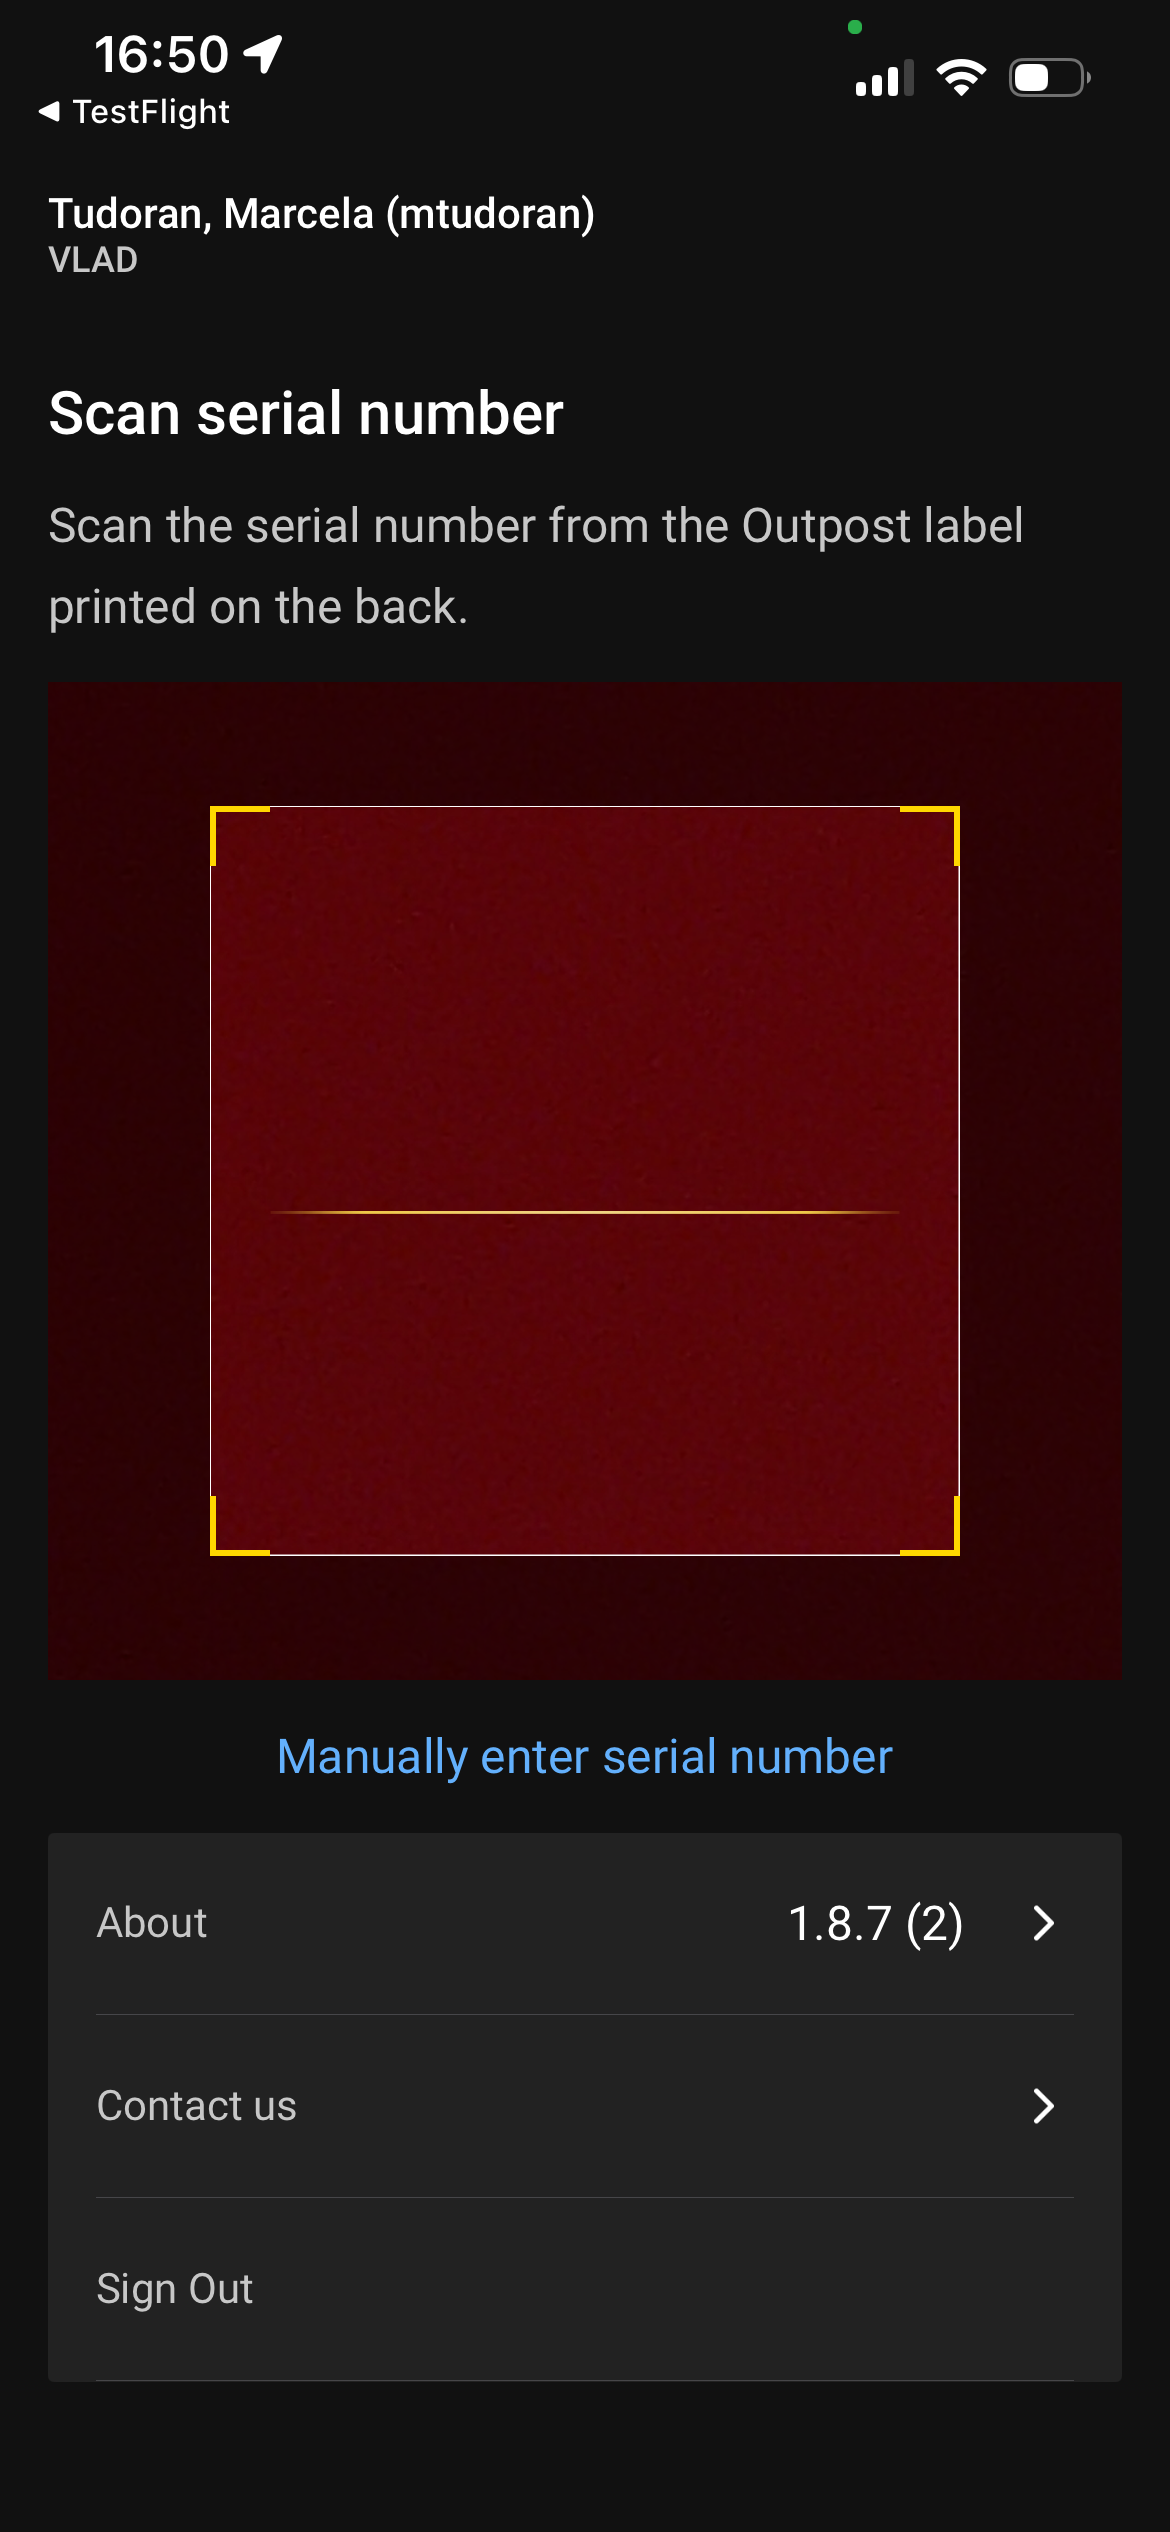
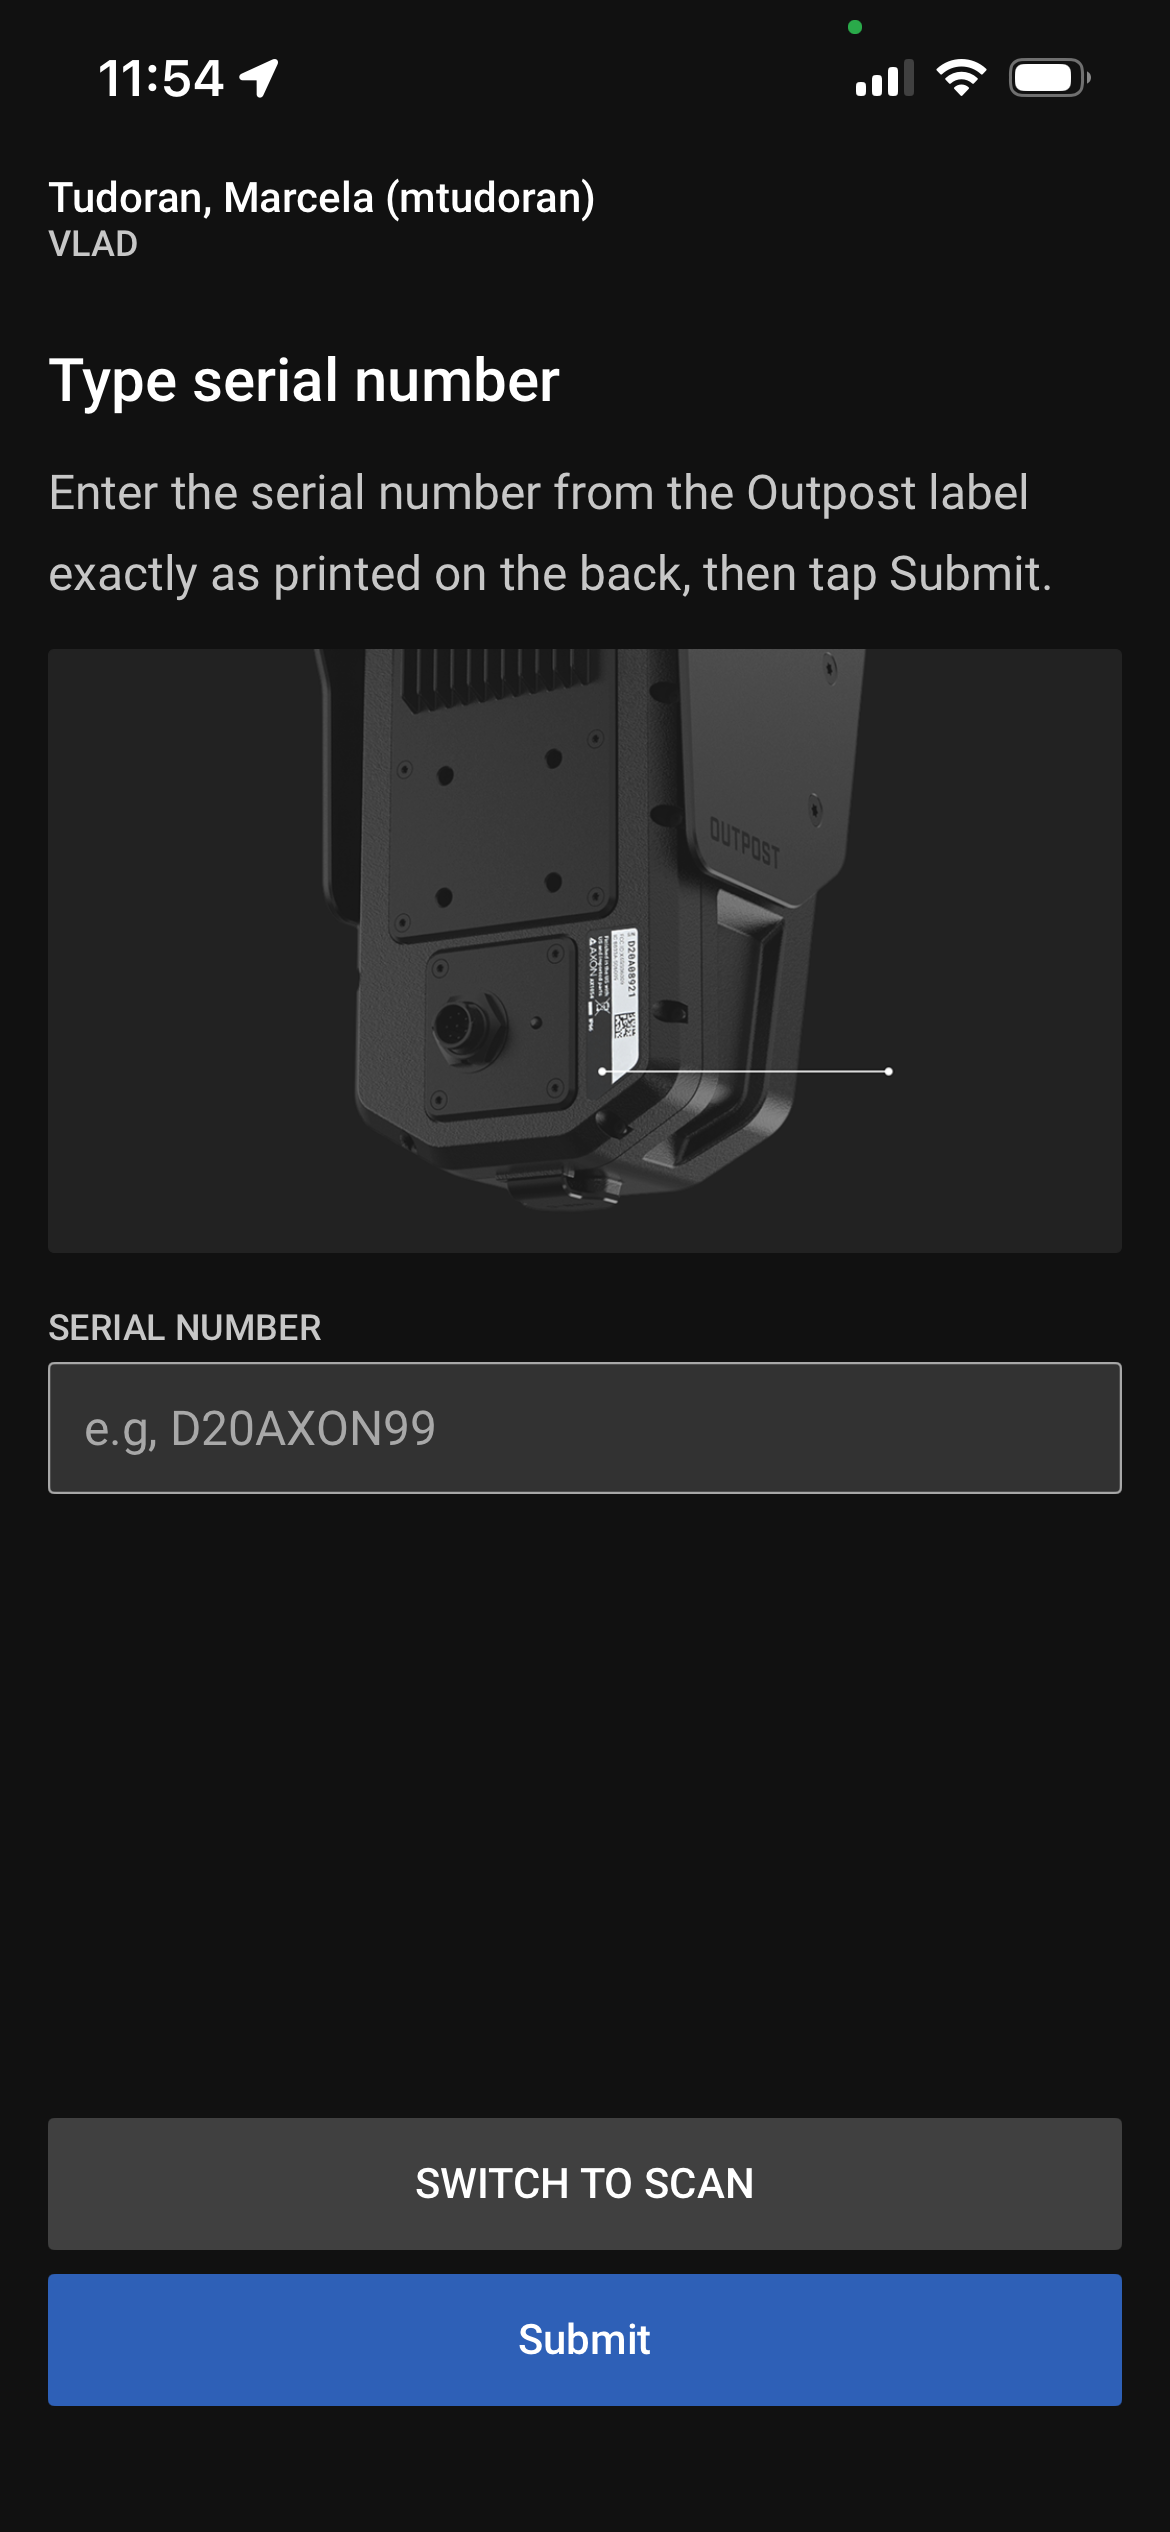
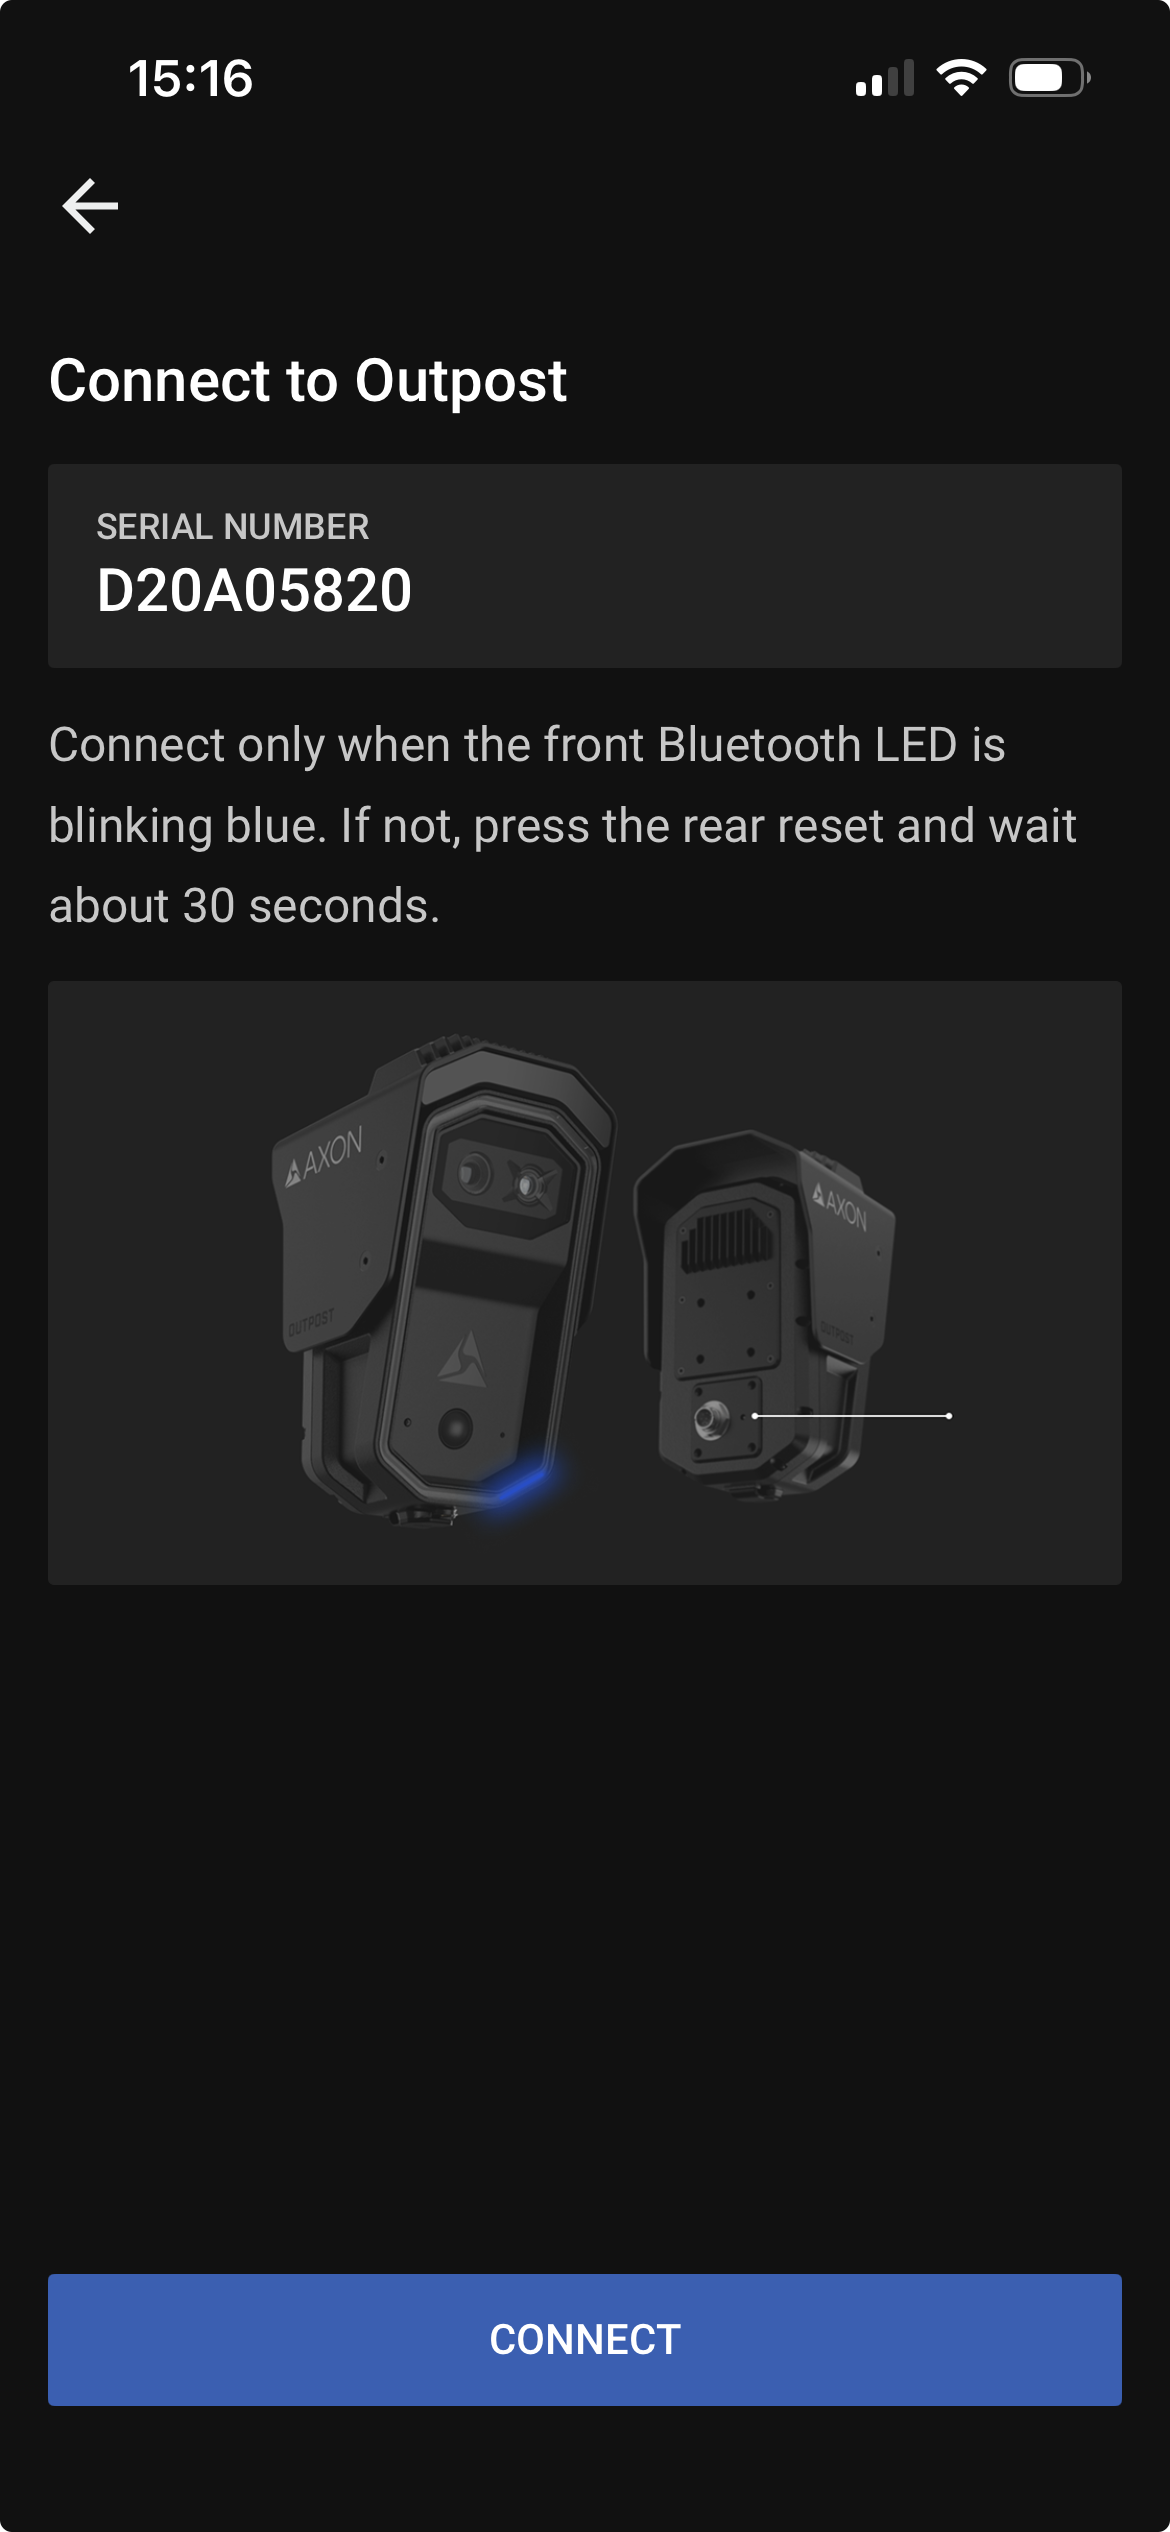
Additionally, you can view more information about the app, including the app version, Terms and Policies, open-source licenses, or contact the company using one of the available options.Tap the Connect button on the screen after submitting the serial number. - Once the device has been scanned (or the serial number has been entered), tap Connect. The app will then attempt to connect to the device.
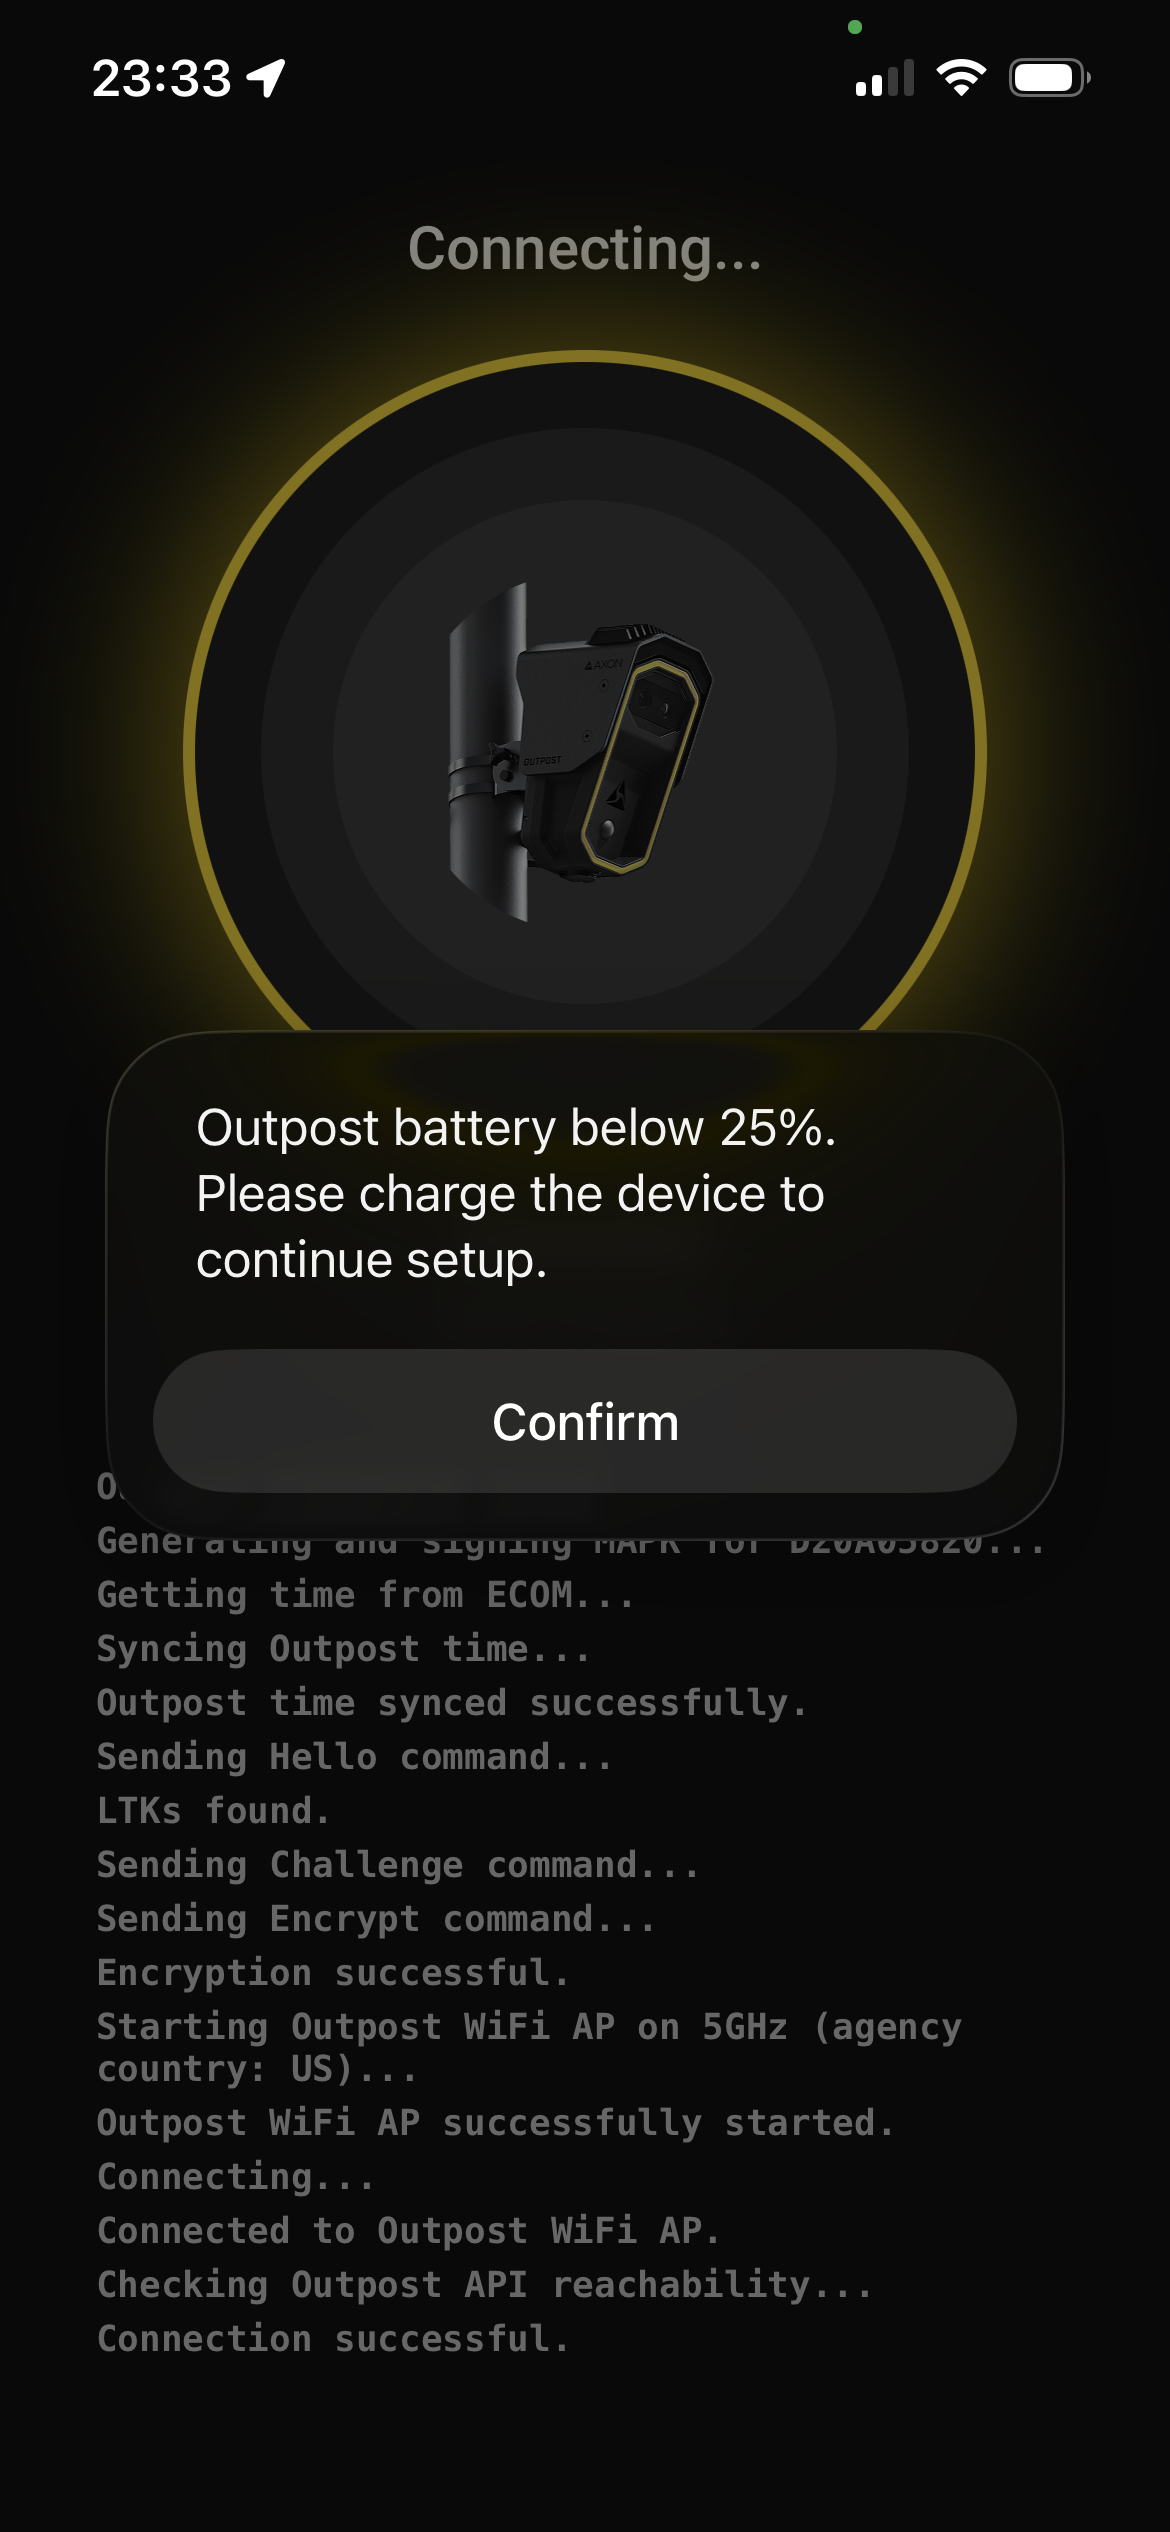
- If the device’s internal battery is not sufficiently charged, you will receive a low battery warning and be unable to continue setup until it charges further. Ensure external power is connected and re-attempt setup. Once you tap the Confirm button, you will be redirected to the scanner page.
Note: During the connection step, ensure the Outpost device is in Bluetooth pairing mode. If it is not, press and hold the button on the back of the device for no more than 5 seconds (3–5 seconds recommended) until the lower-right corner of the LED ring starts blinking blue. The button is located near the charging port. Important: Do not hold the button for longer than 5 seconds, as this will place the device into Shipping Mode. -
Once prompted, it is MANDATORY to click “Join” to connect to the camera’s Wi-Fi network.
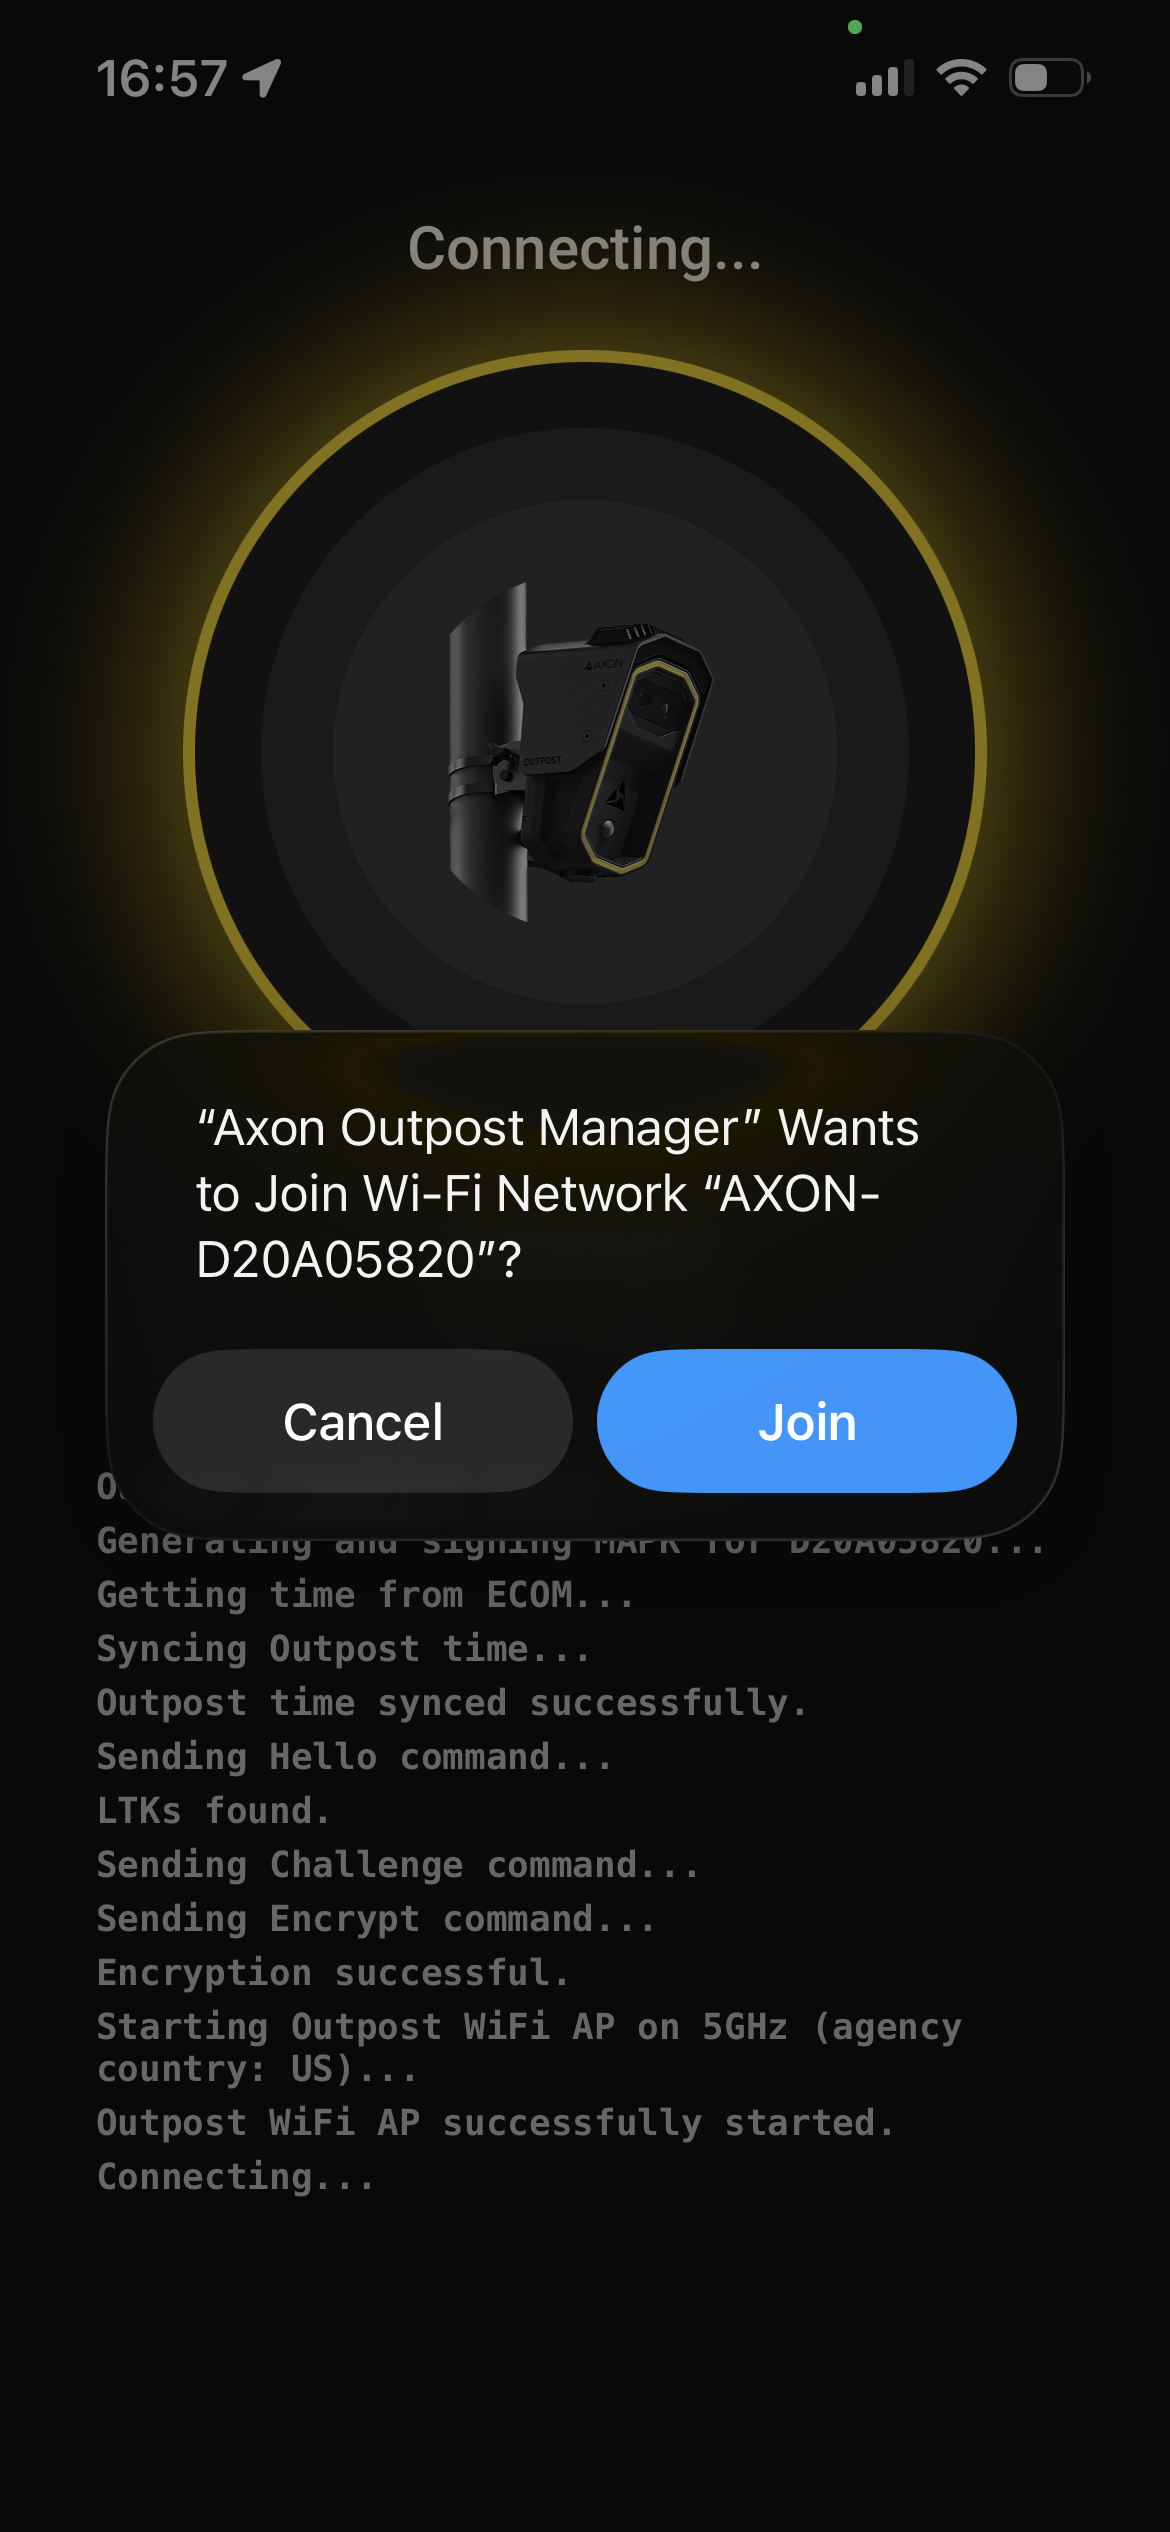
Note: If the device is not found, ensure the Outpost camera is in pairing mode (the lower-right corner of the LED ring is blinking blue).


