Set up a camera
To set up an Axon Outpost camera, first Sign in and connect to the camera.
Camera information
Once connected to a camera (see link above), the AOM app shows several options such as Reset network, Run ALPR Test, Camera orientation, and Disconnect. If the camera is not yet registered, you'll only see Device time and Firmware version.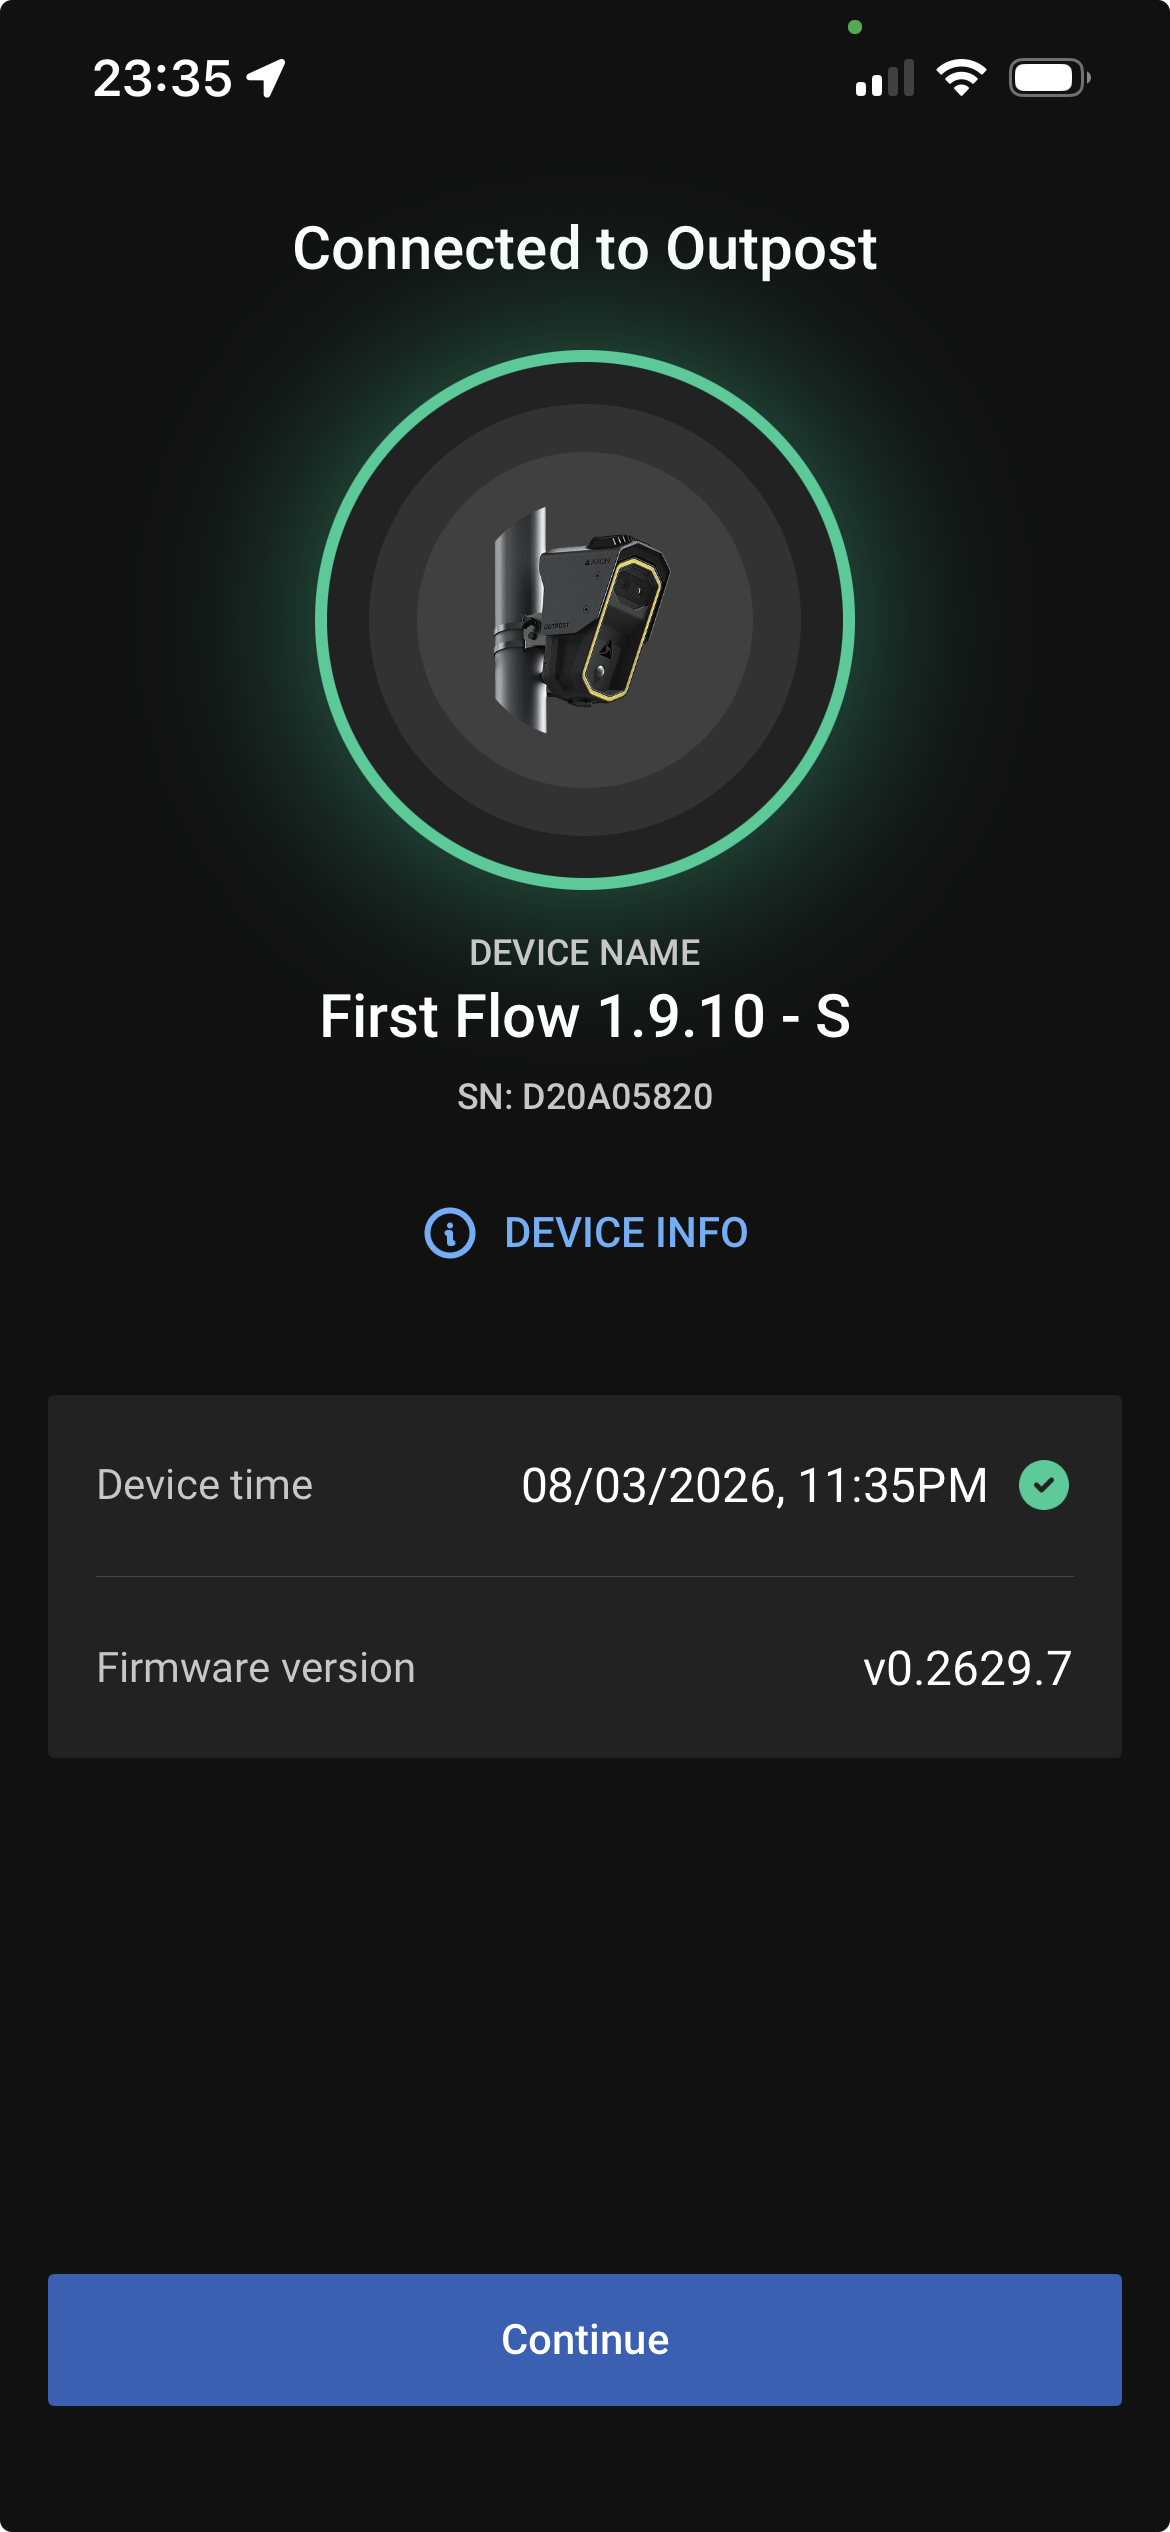
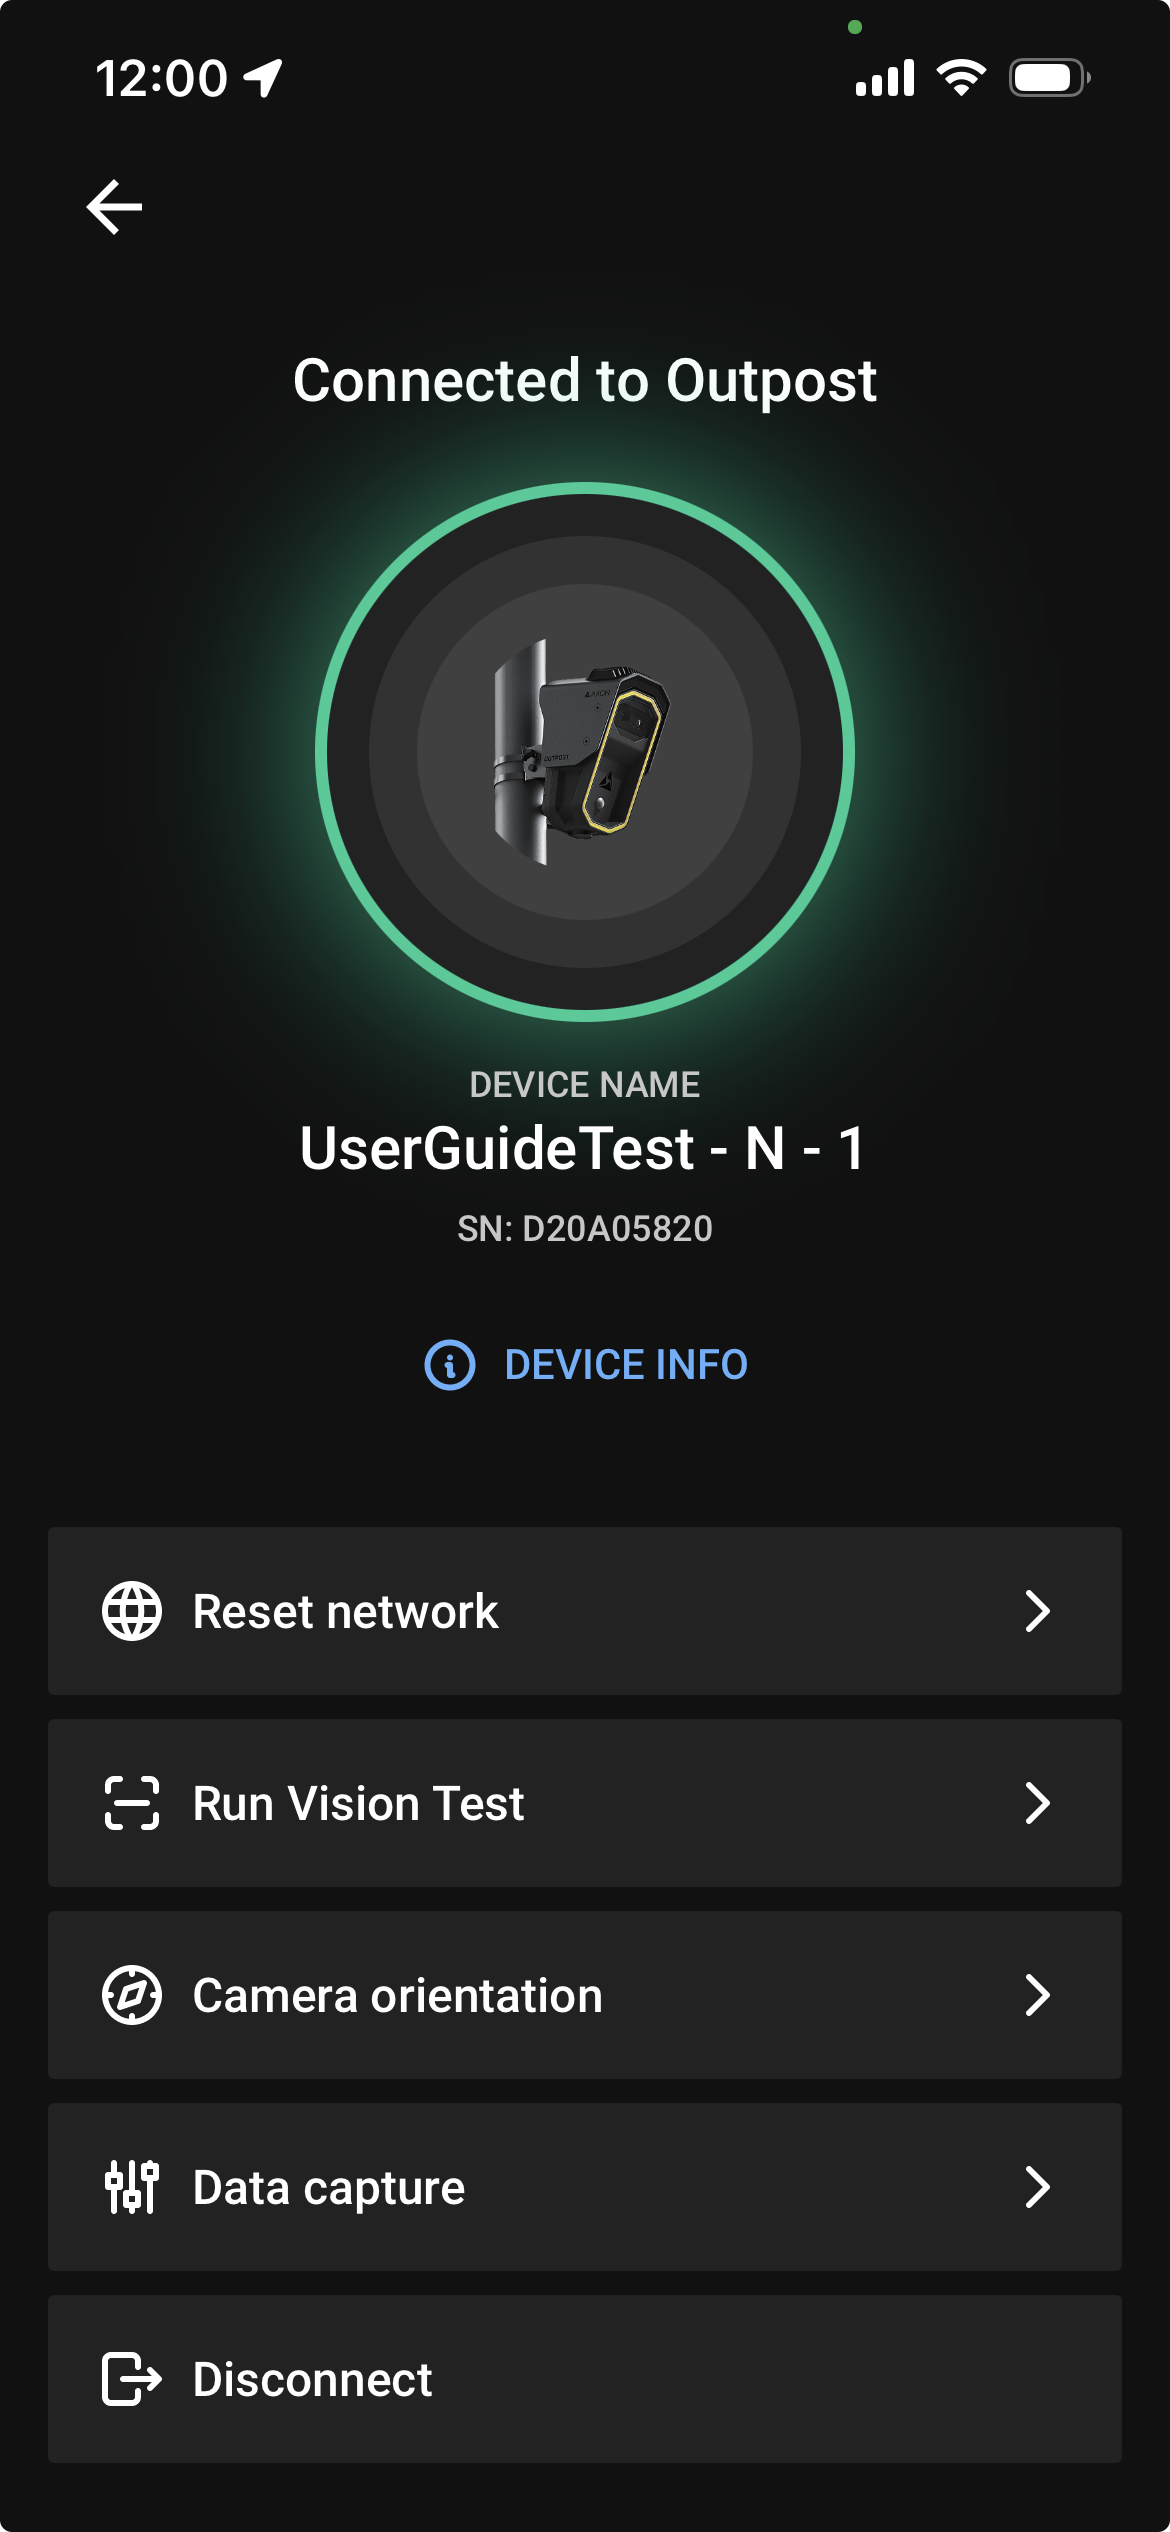
Tapping the Device Info button opens a screen displaying various details about the connected device, including:
-
Device
-
Network Interfaces
-
Solar Input
-
External Battery
-
Load Output
-
Internal Battery
-
MPPT System
-
Storage
This information is accessible whenever the Device Info button is visible.
Network connection
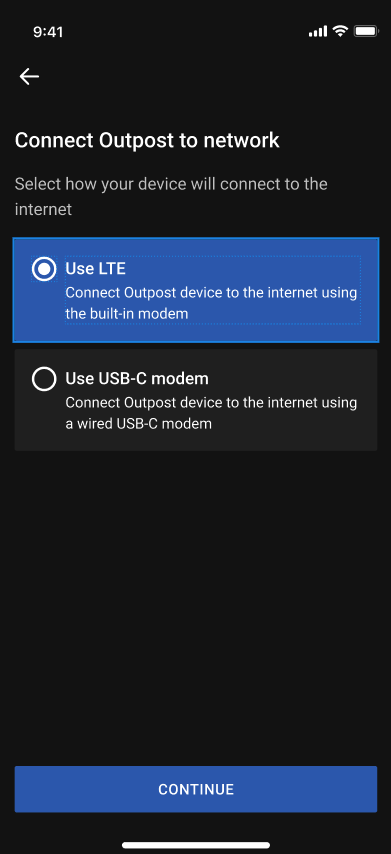
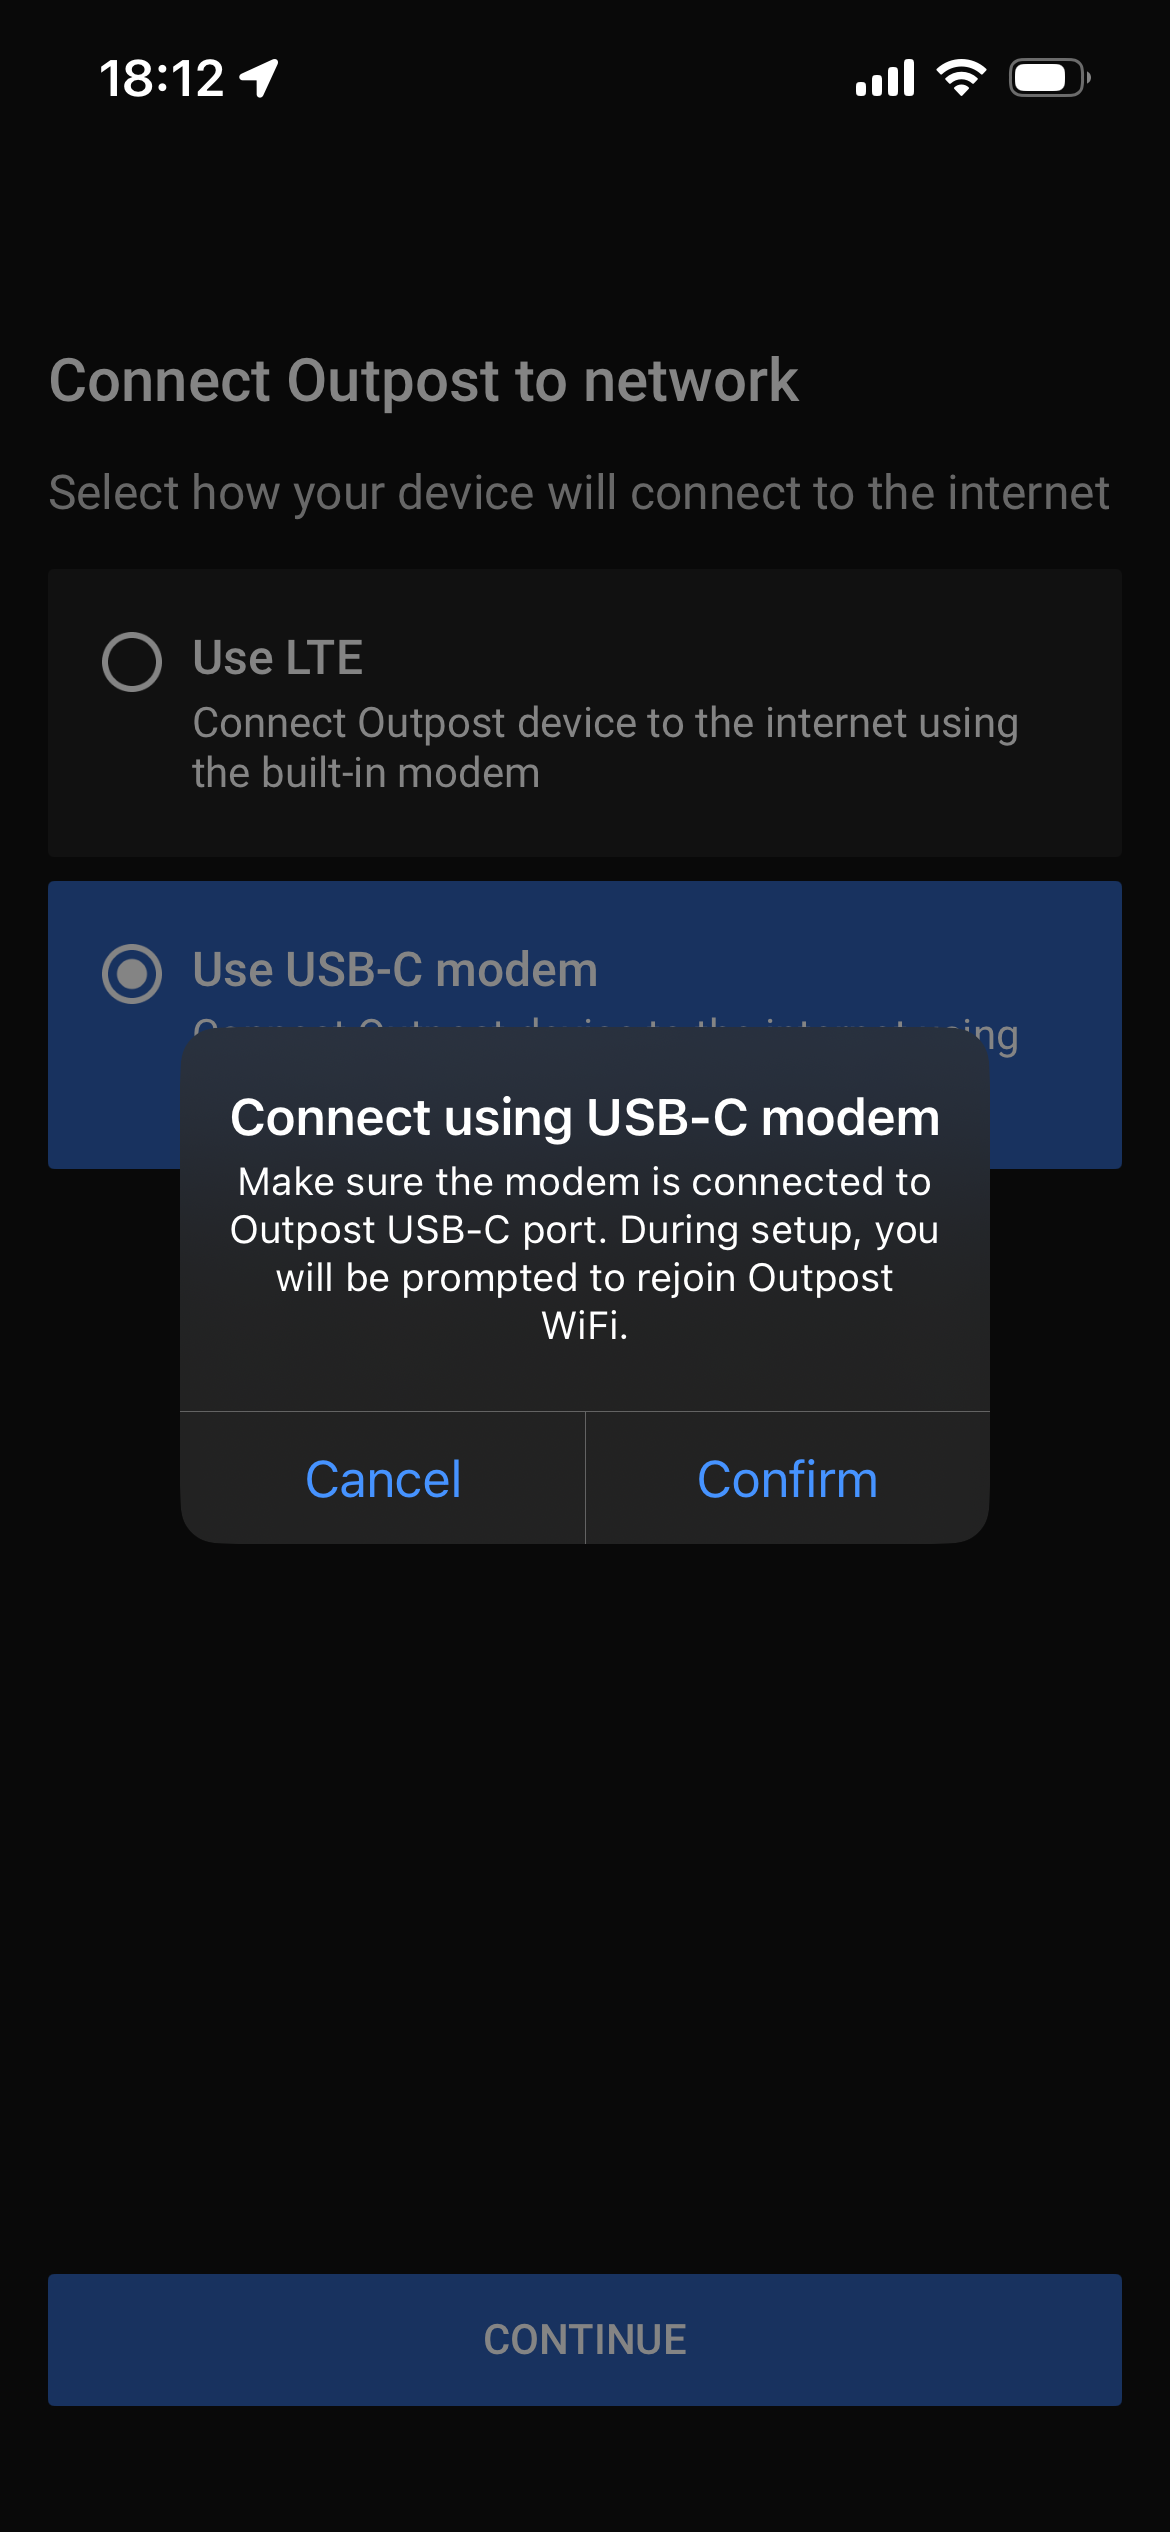
Press Continue button and you will be directed to a screen where you can select how the device should connect to the internet - either via LTE or by using a USB-C modem.
Connect through LTE network
-
-
Select “Use LTE” to setup the camera’s embedded cellular modem for use the detected carriers.
-
Use the following default carrier connection rules based on the device’s manufacturing region:
-
United States devices: The app tests and attempts to connect to Verizon, and if Verizon connection fails, then fallbacks to AT&T FirstNet.
-
Canada devices: The app connects to AT&T Commercial.
-
Enterprise (US4) devices: The app connects only to AT&T Commercial.
-
Dominican Republic devices: The app connects only to AT&T Commercial.
-
Puerto Rico devices: The app connects only to AT&T FirstNet.
-
-
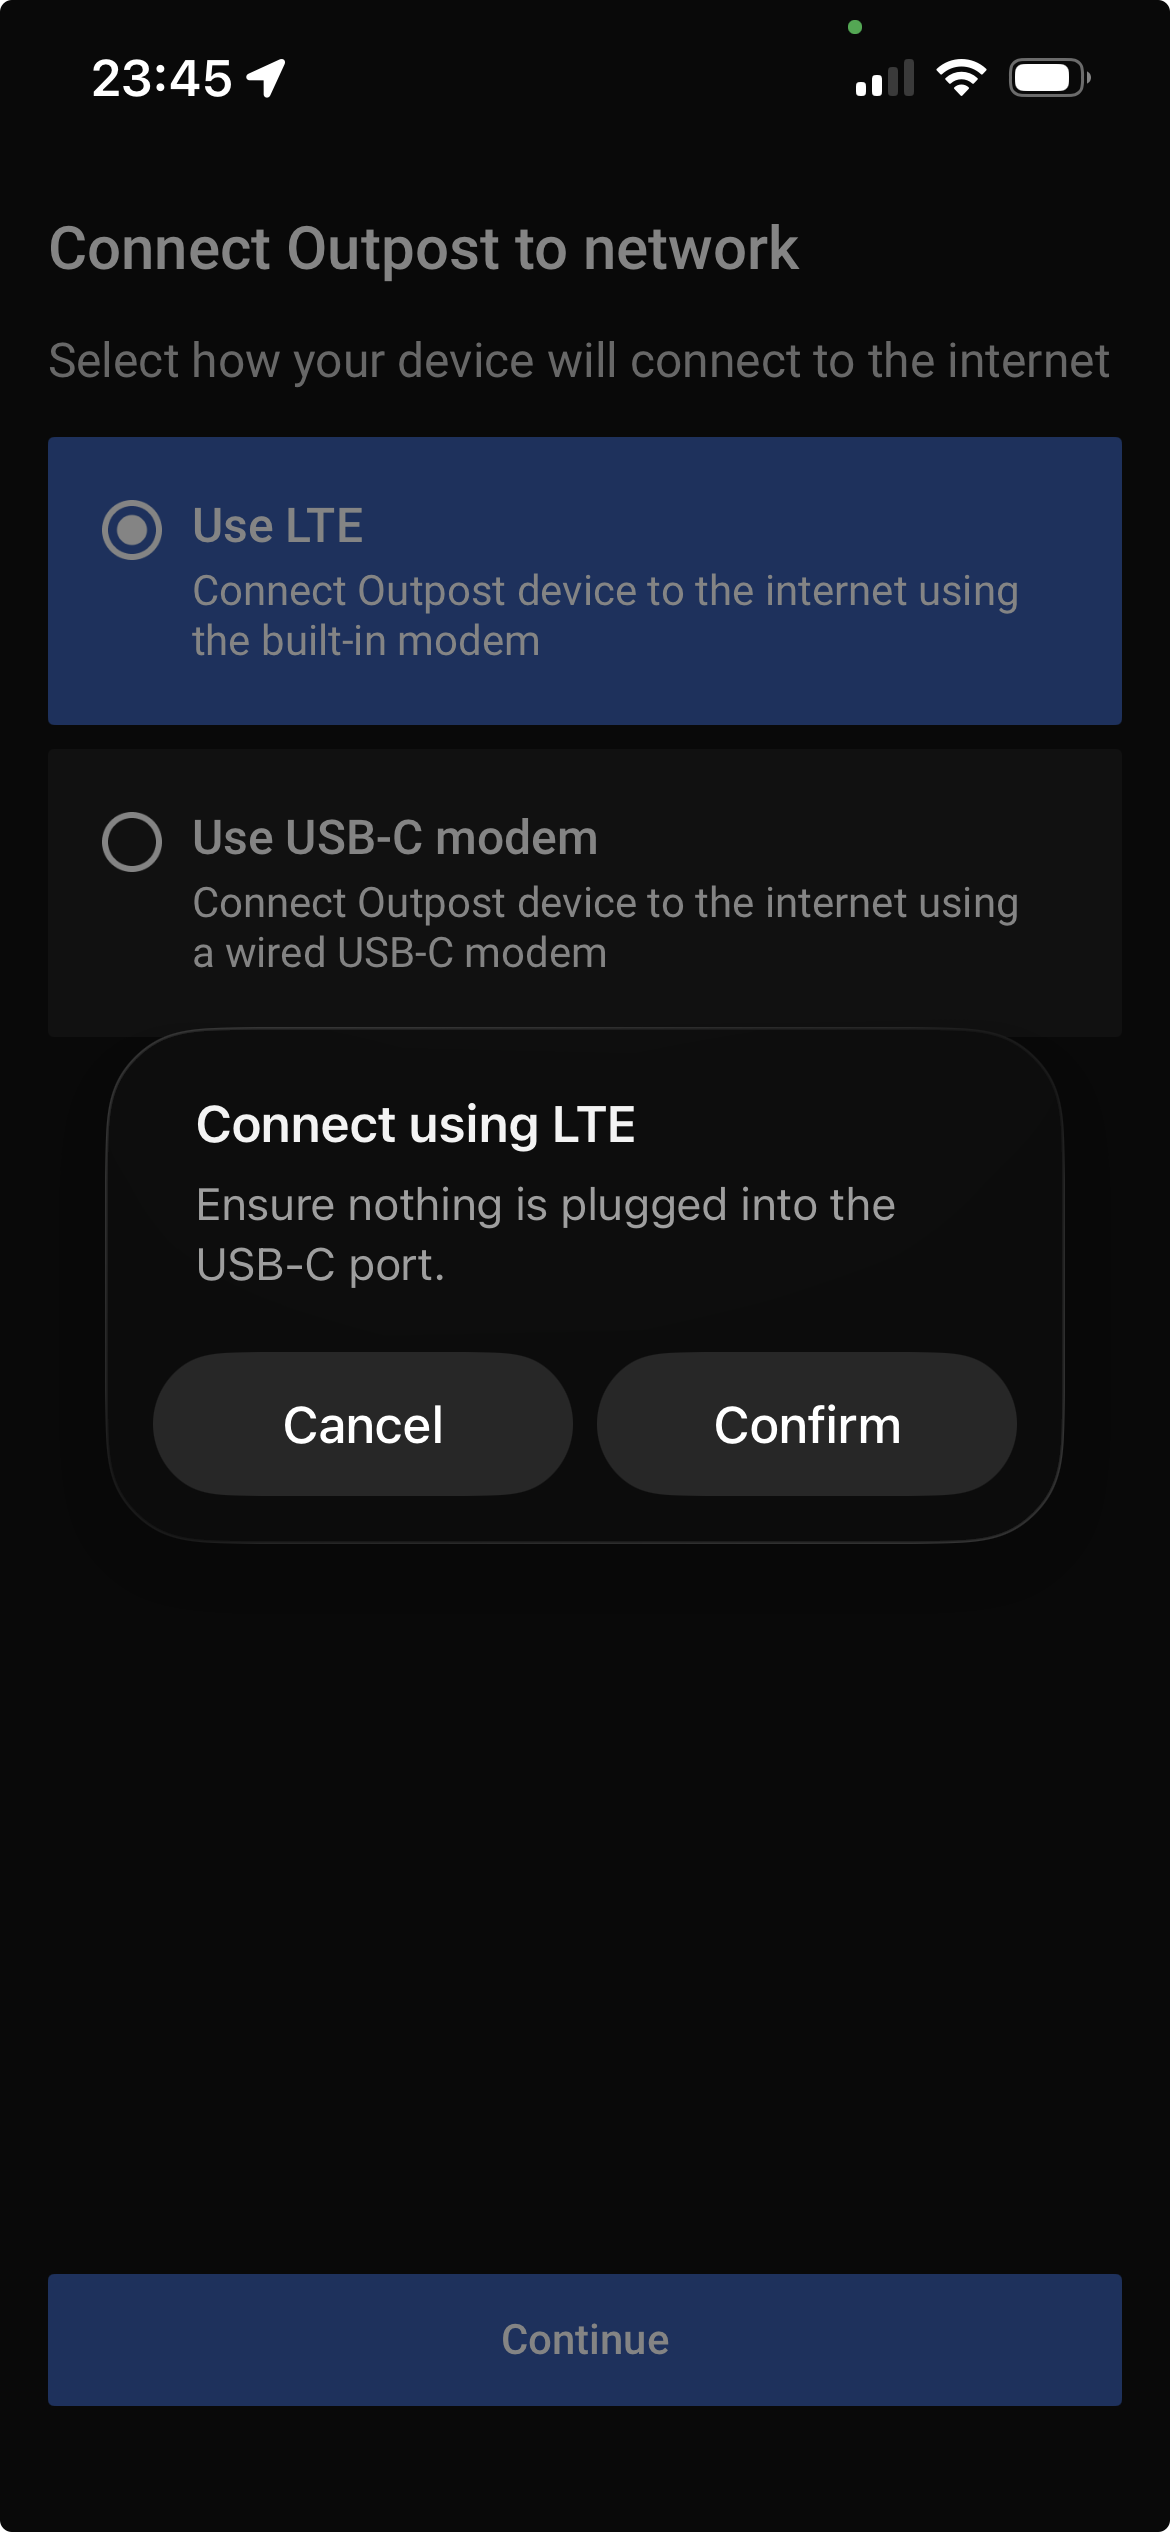
NOTE: Before proceeding with LTE, ensure nothing is connected into the Outpost camera USB-C port.
-
-
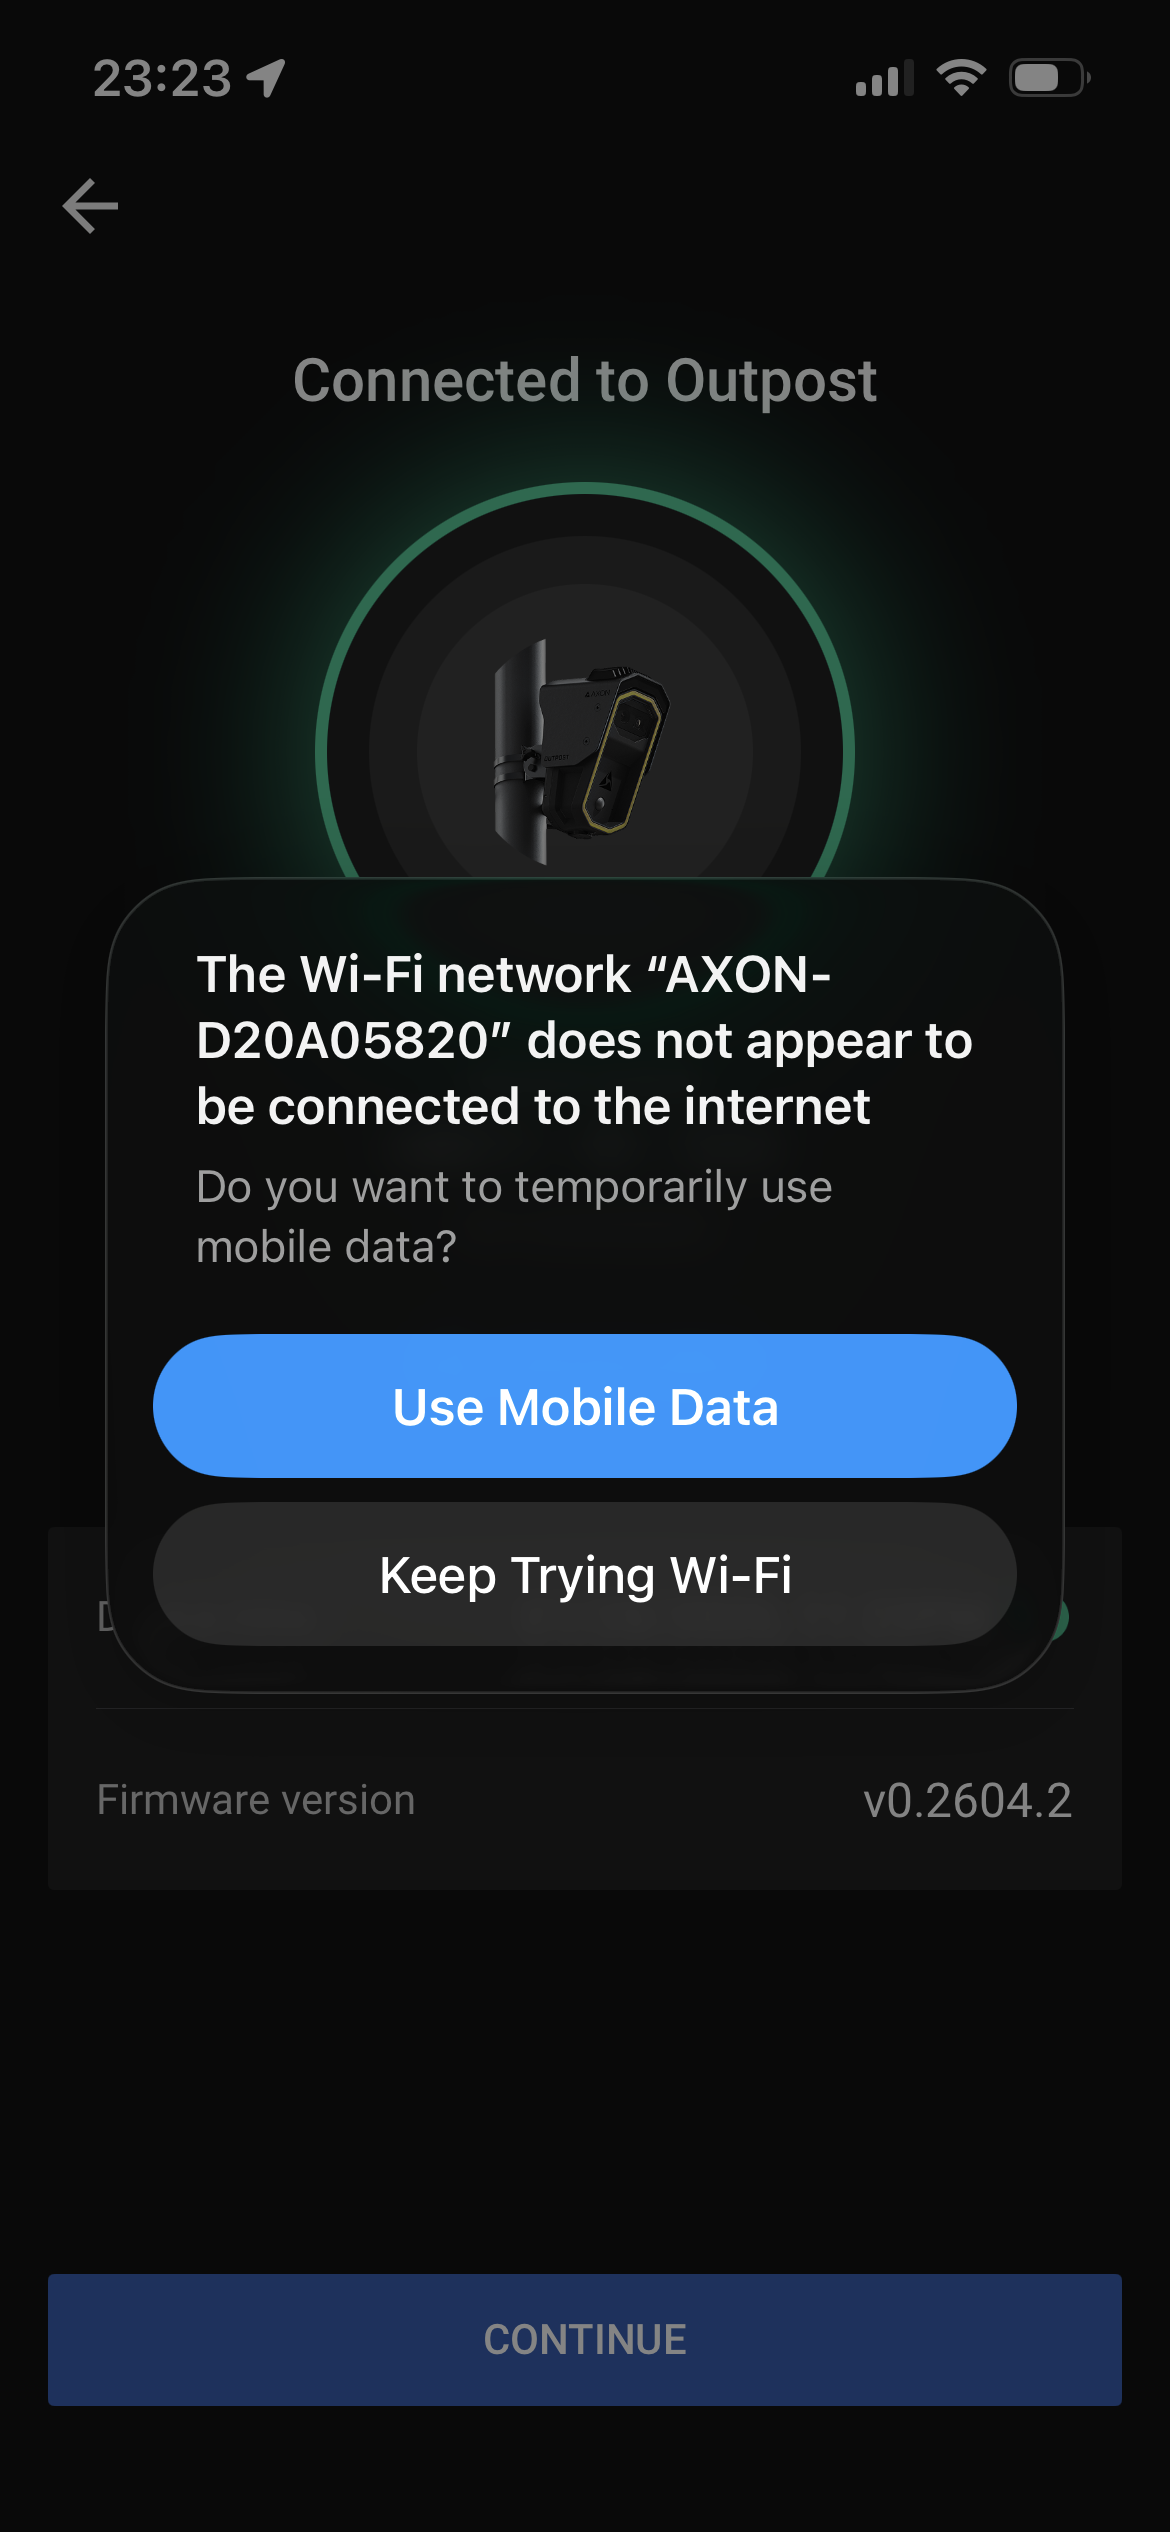
- It is MANDATORY to select “Keep trying Wi-Fi” if at any point during the process you are prompted.
Use USB-C modem
-
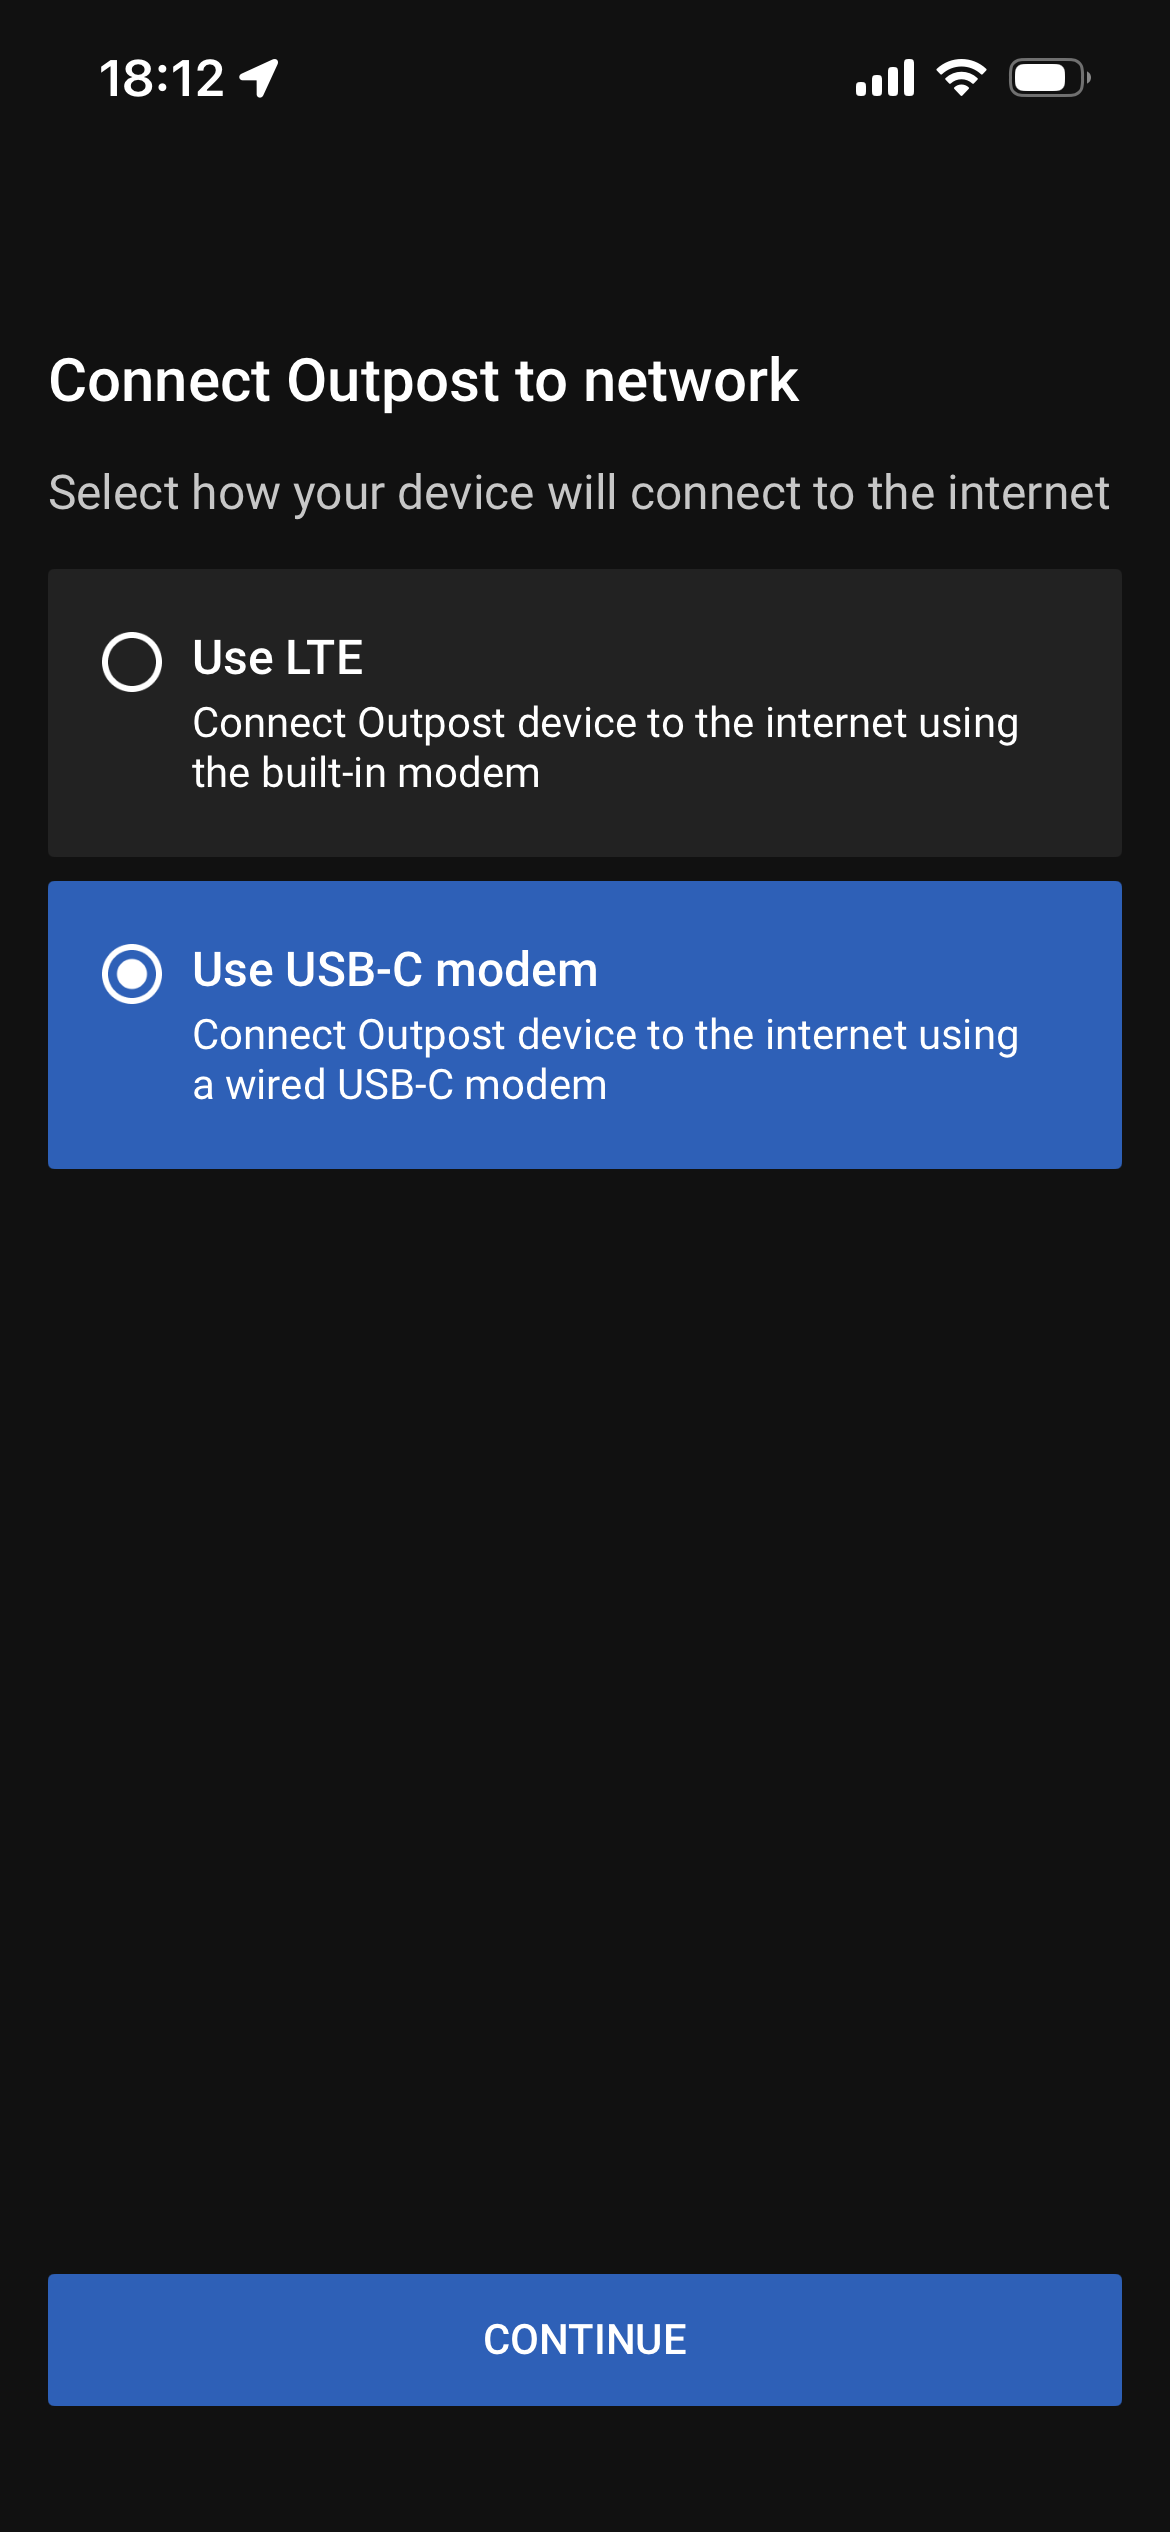
Select “Use USB-C Modem” if an external modem/router will be used to supply internet connection via a USB-C to ethernet cable.
-
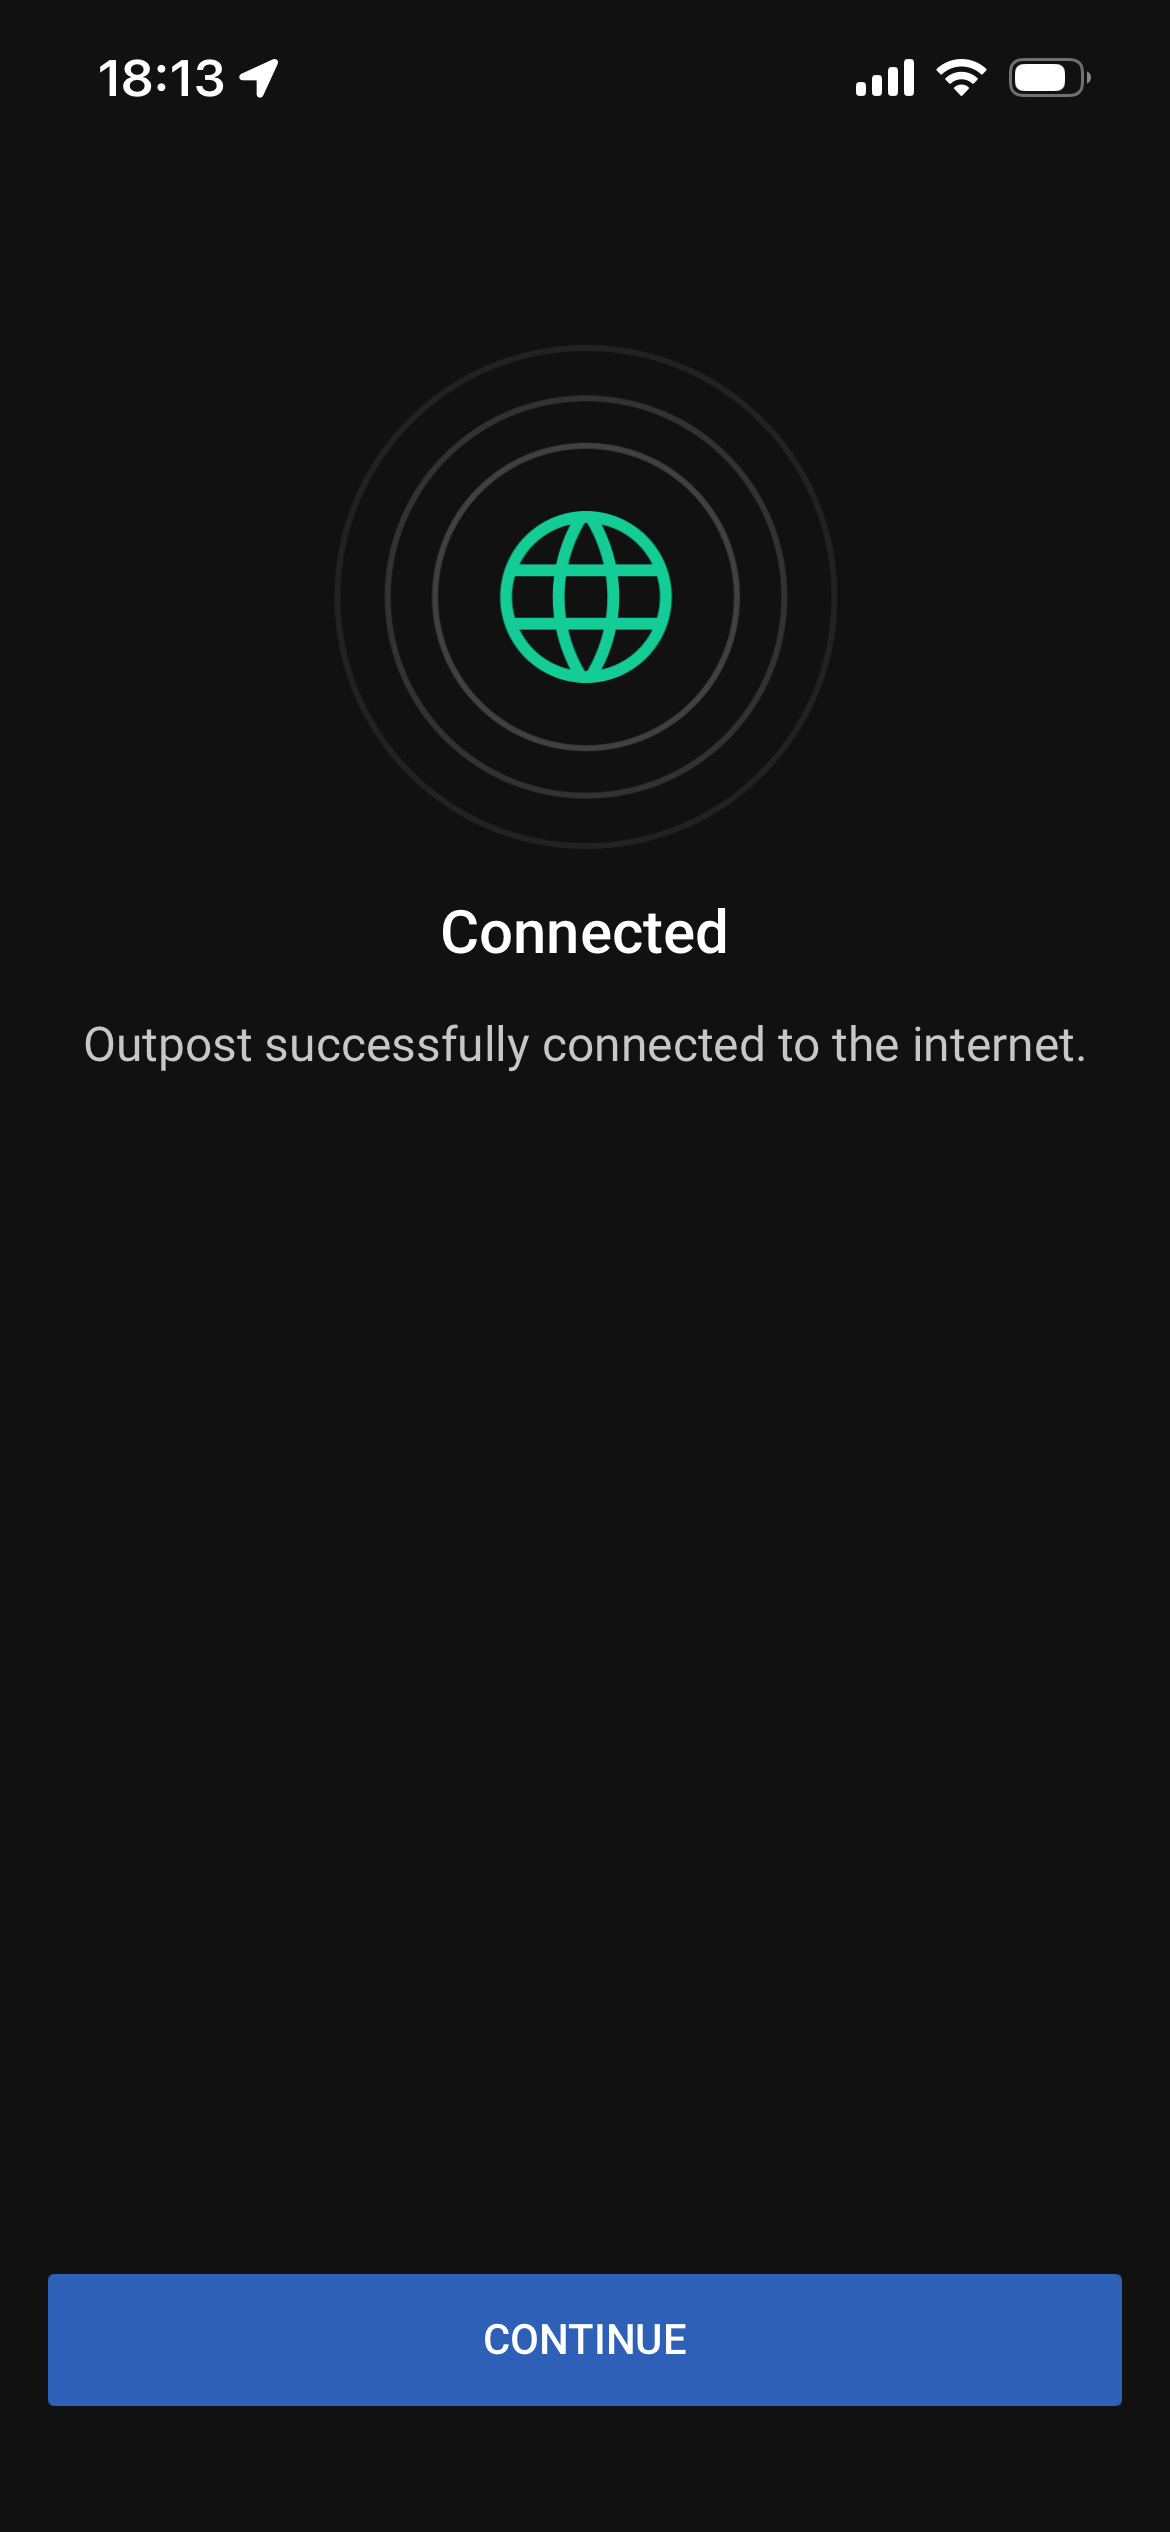
Once the network connection is successful then you can move to the next step by tapping Continue button.
NOTE: LTE testing and setup can take up to 3 minutes per carrier. During this process, do not move the app to the background or close it.
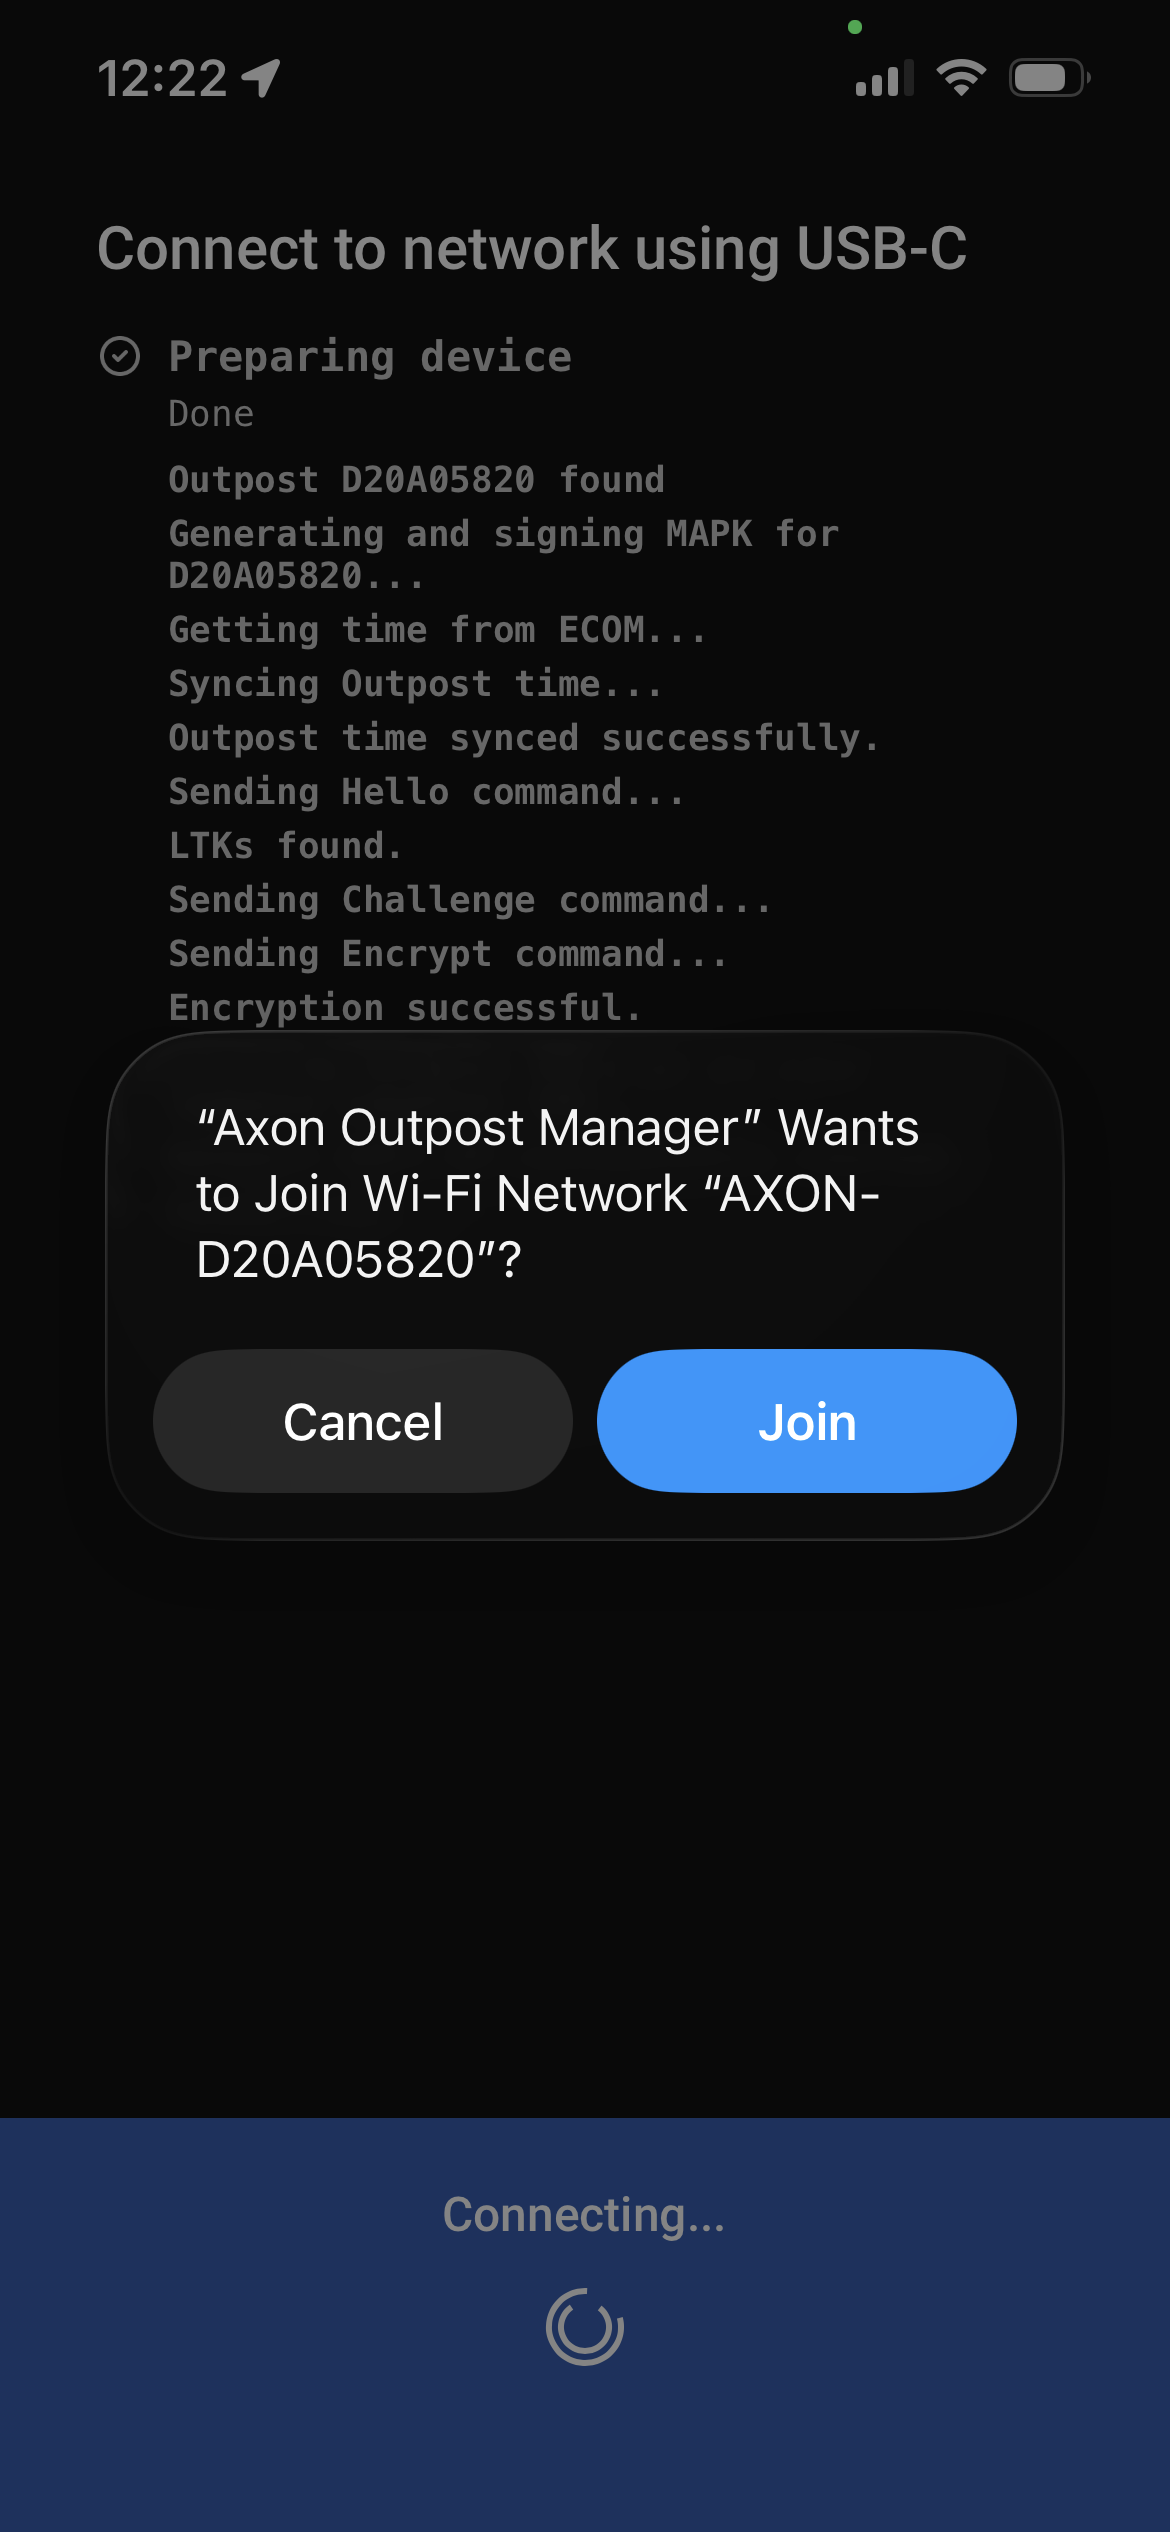
- The following screens show the messages displayed while the device attempts to connect to the available carrier when the LTE option is selected.
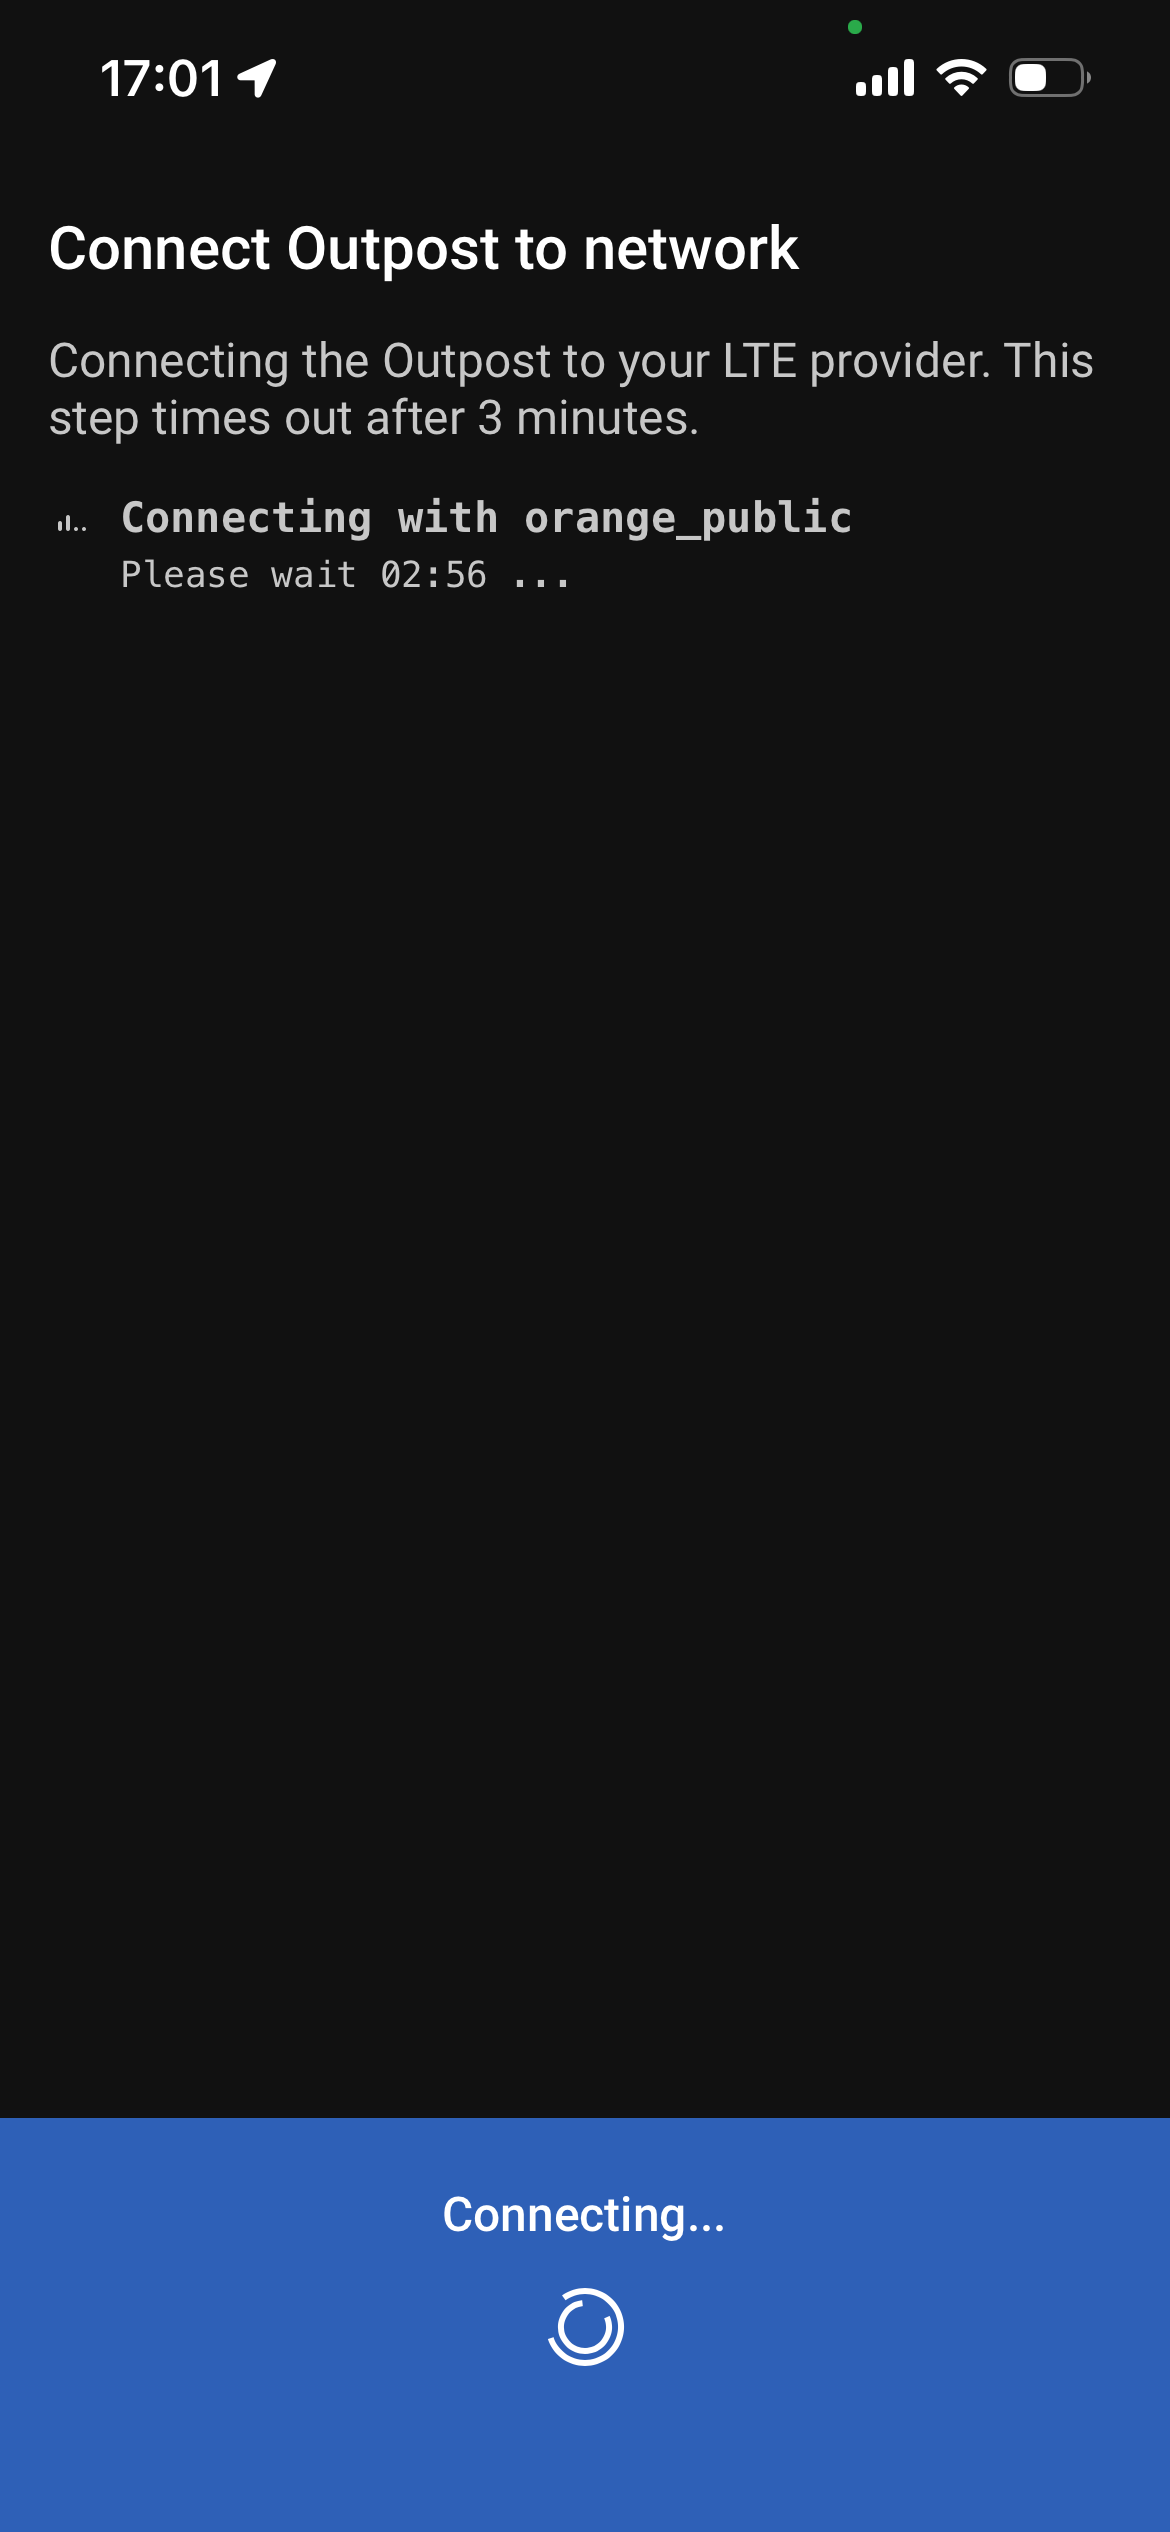
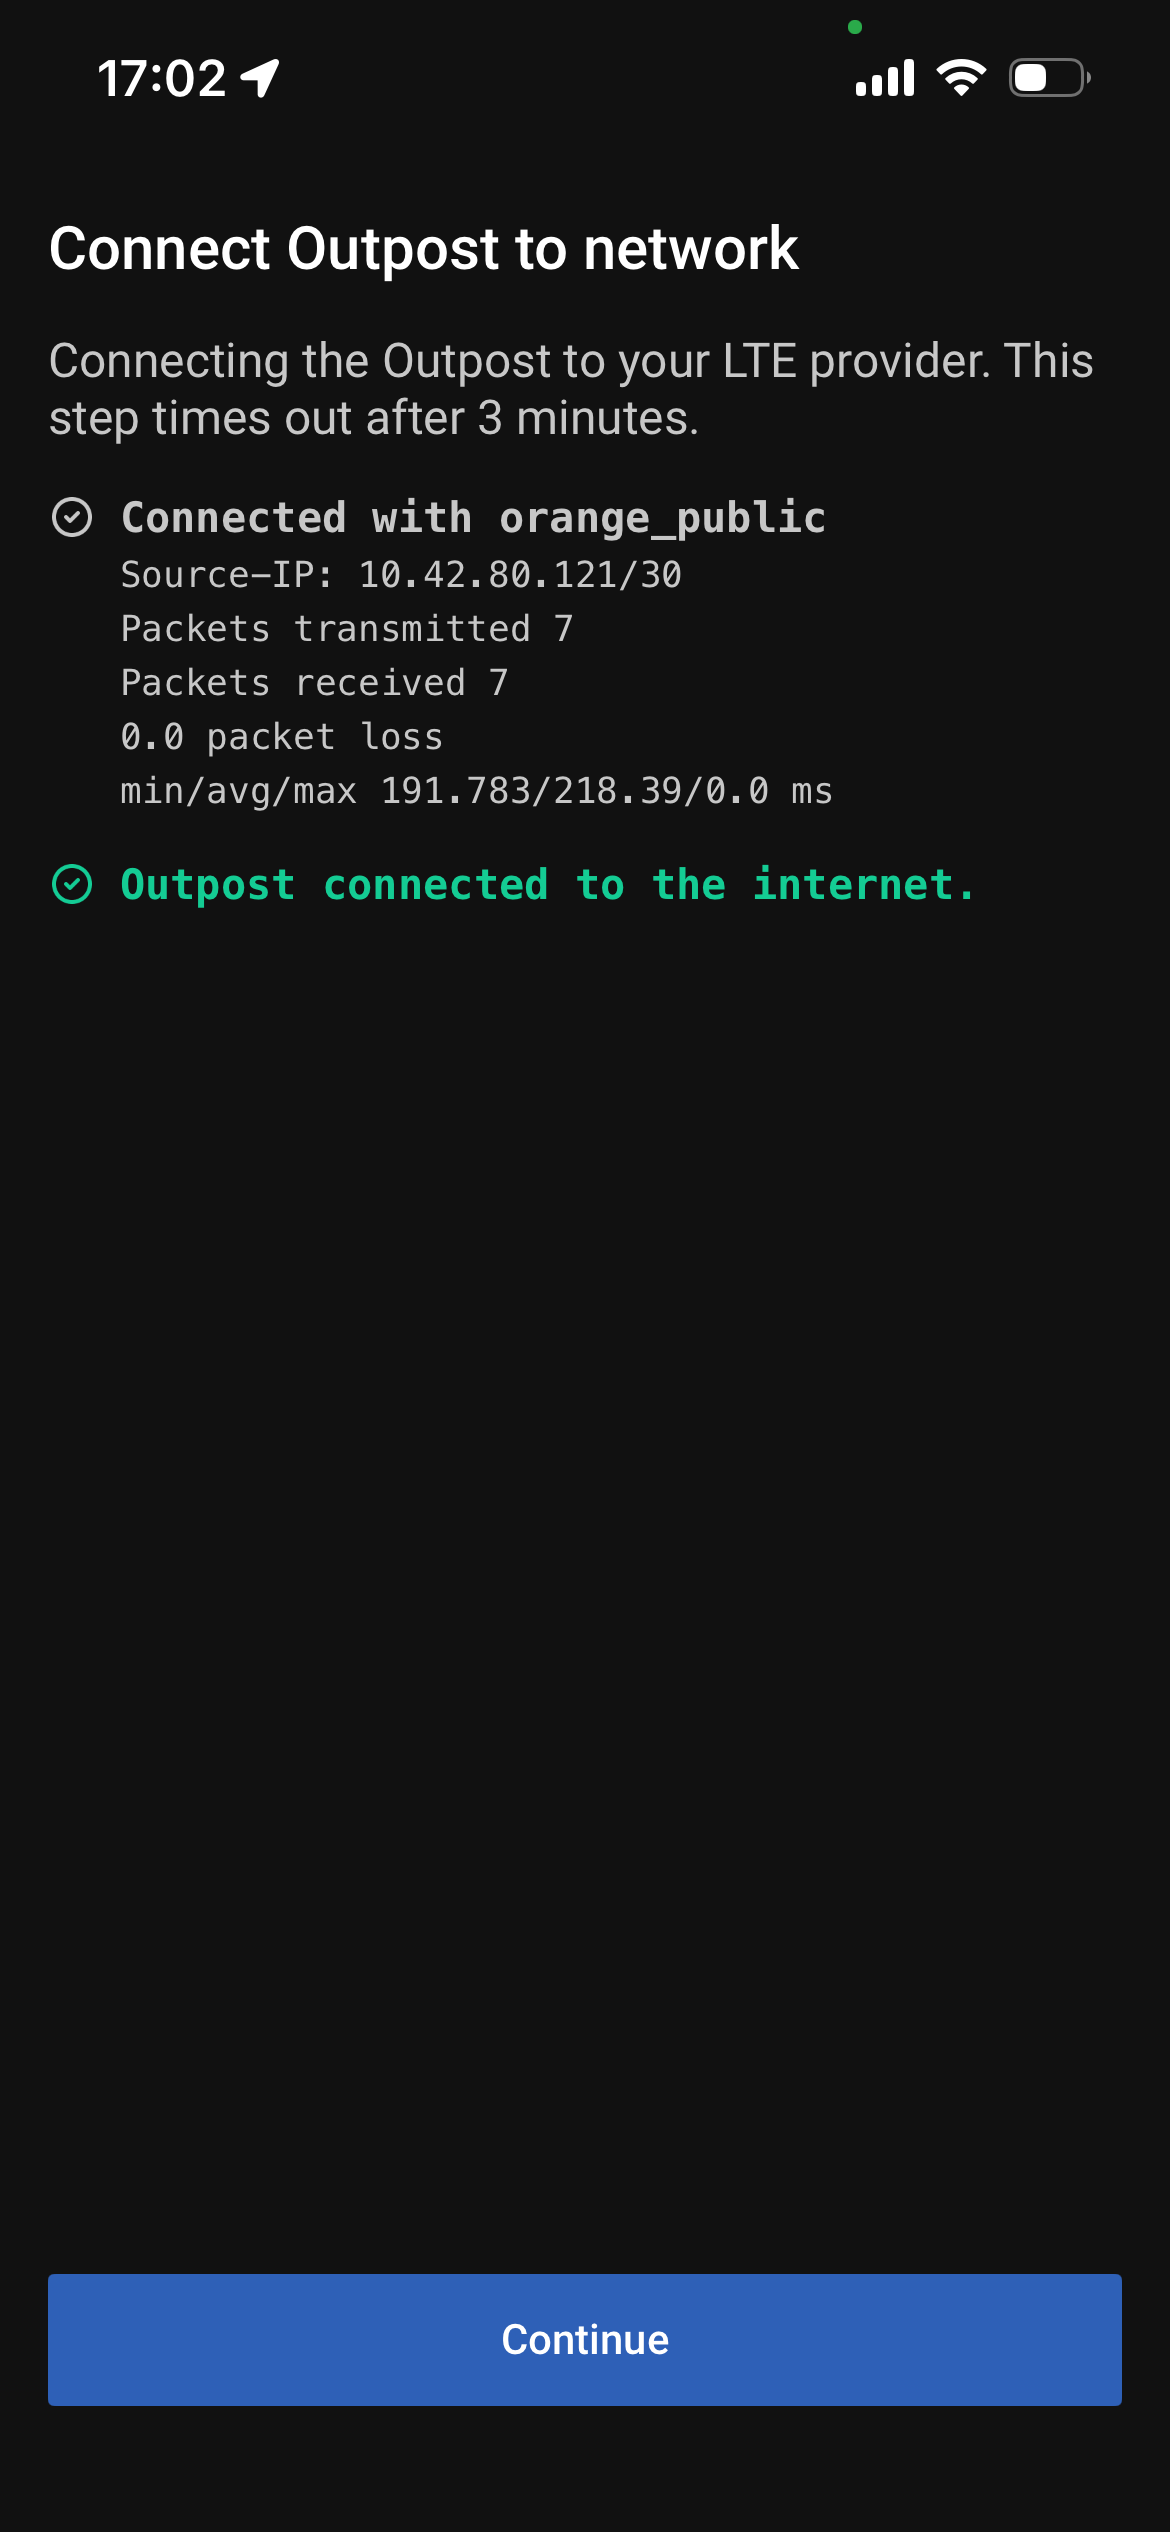
- Monitor the messages as the camera connects to your selected LTE carrier.
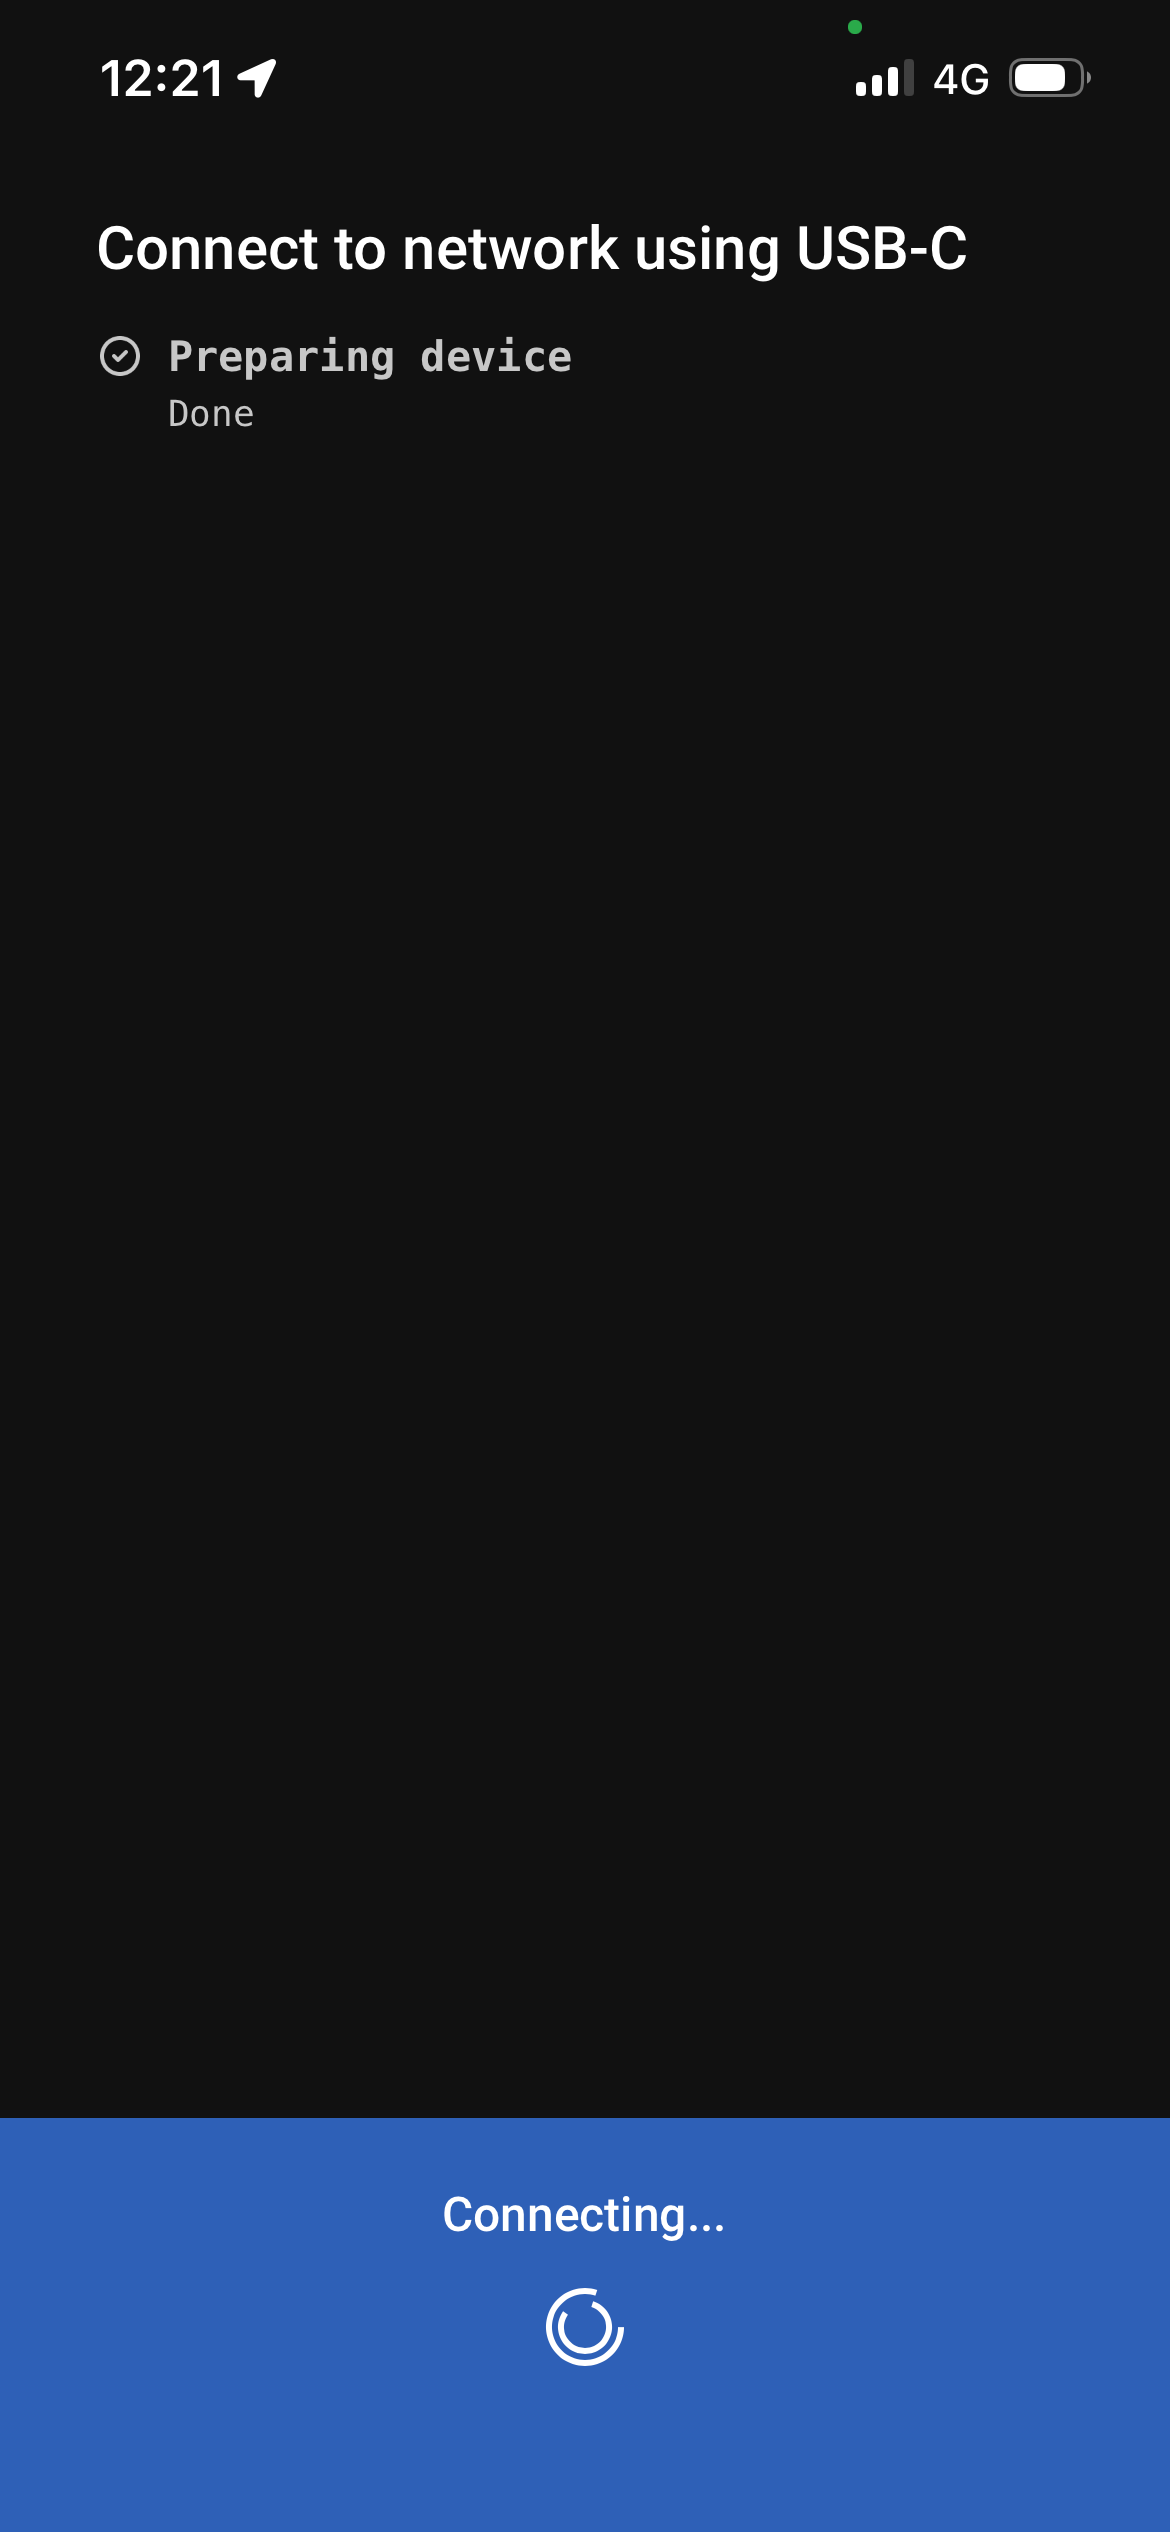
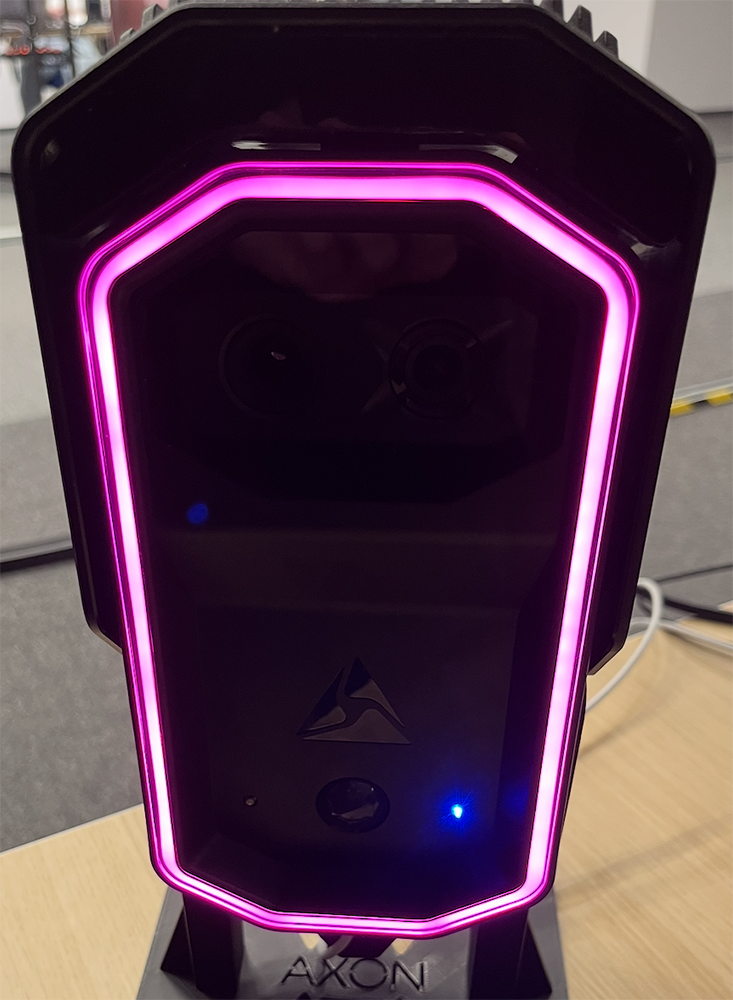
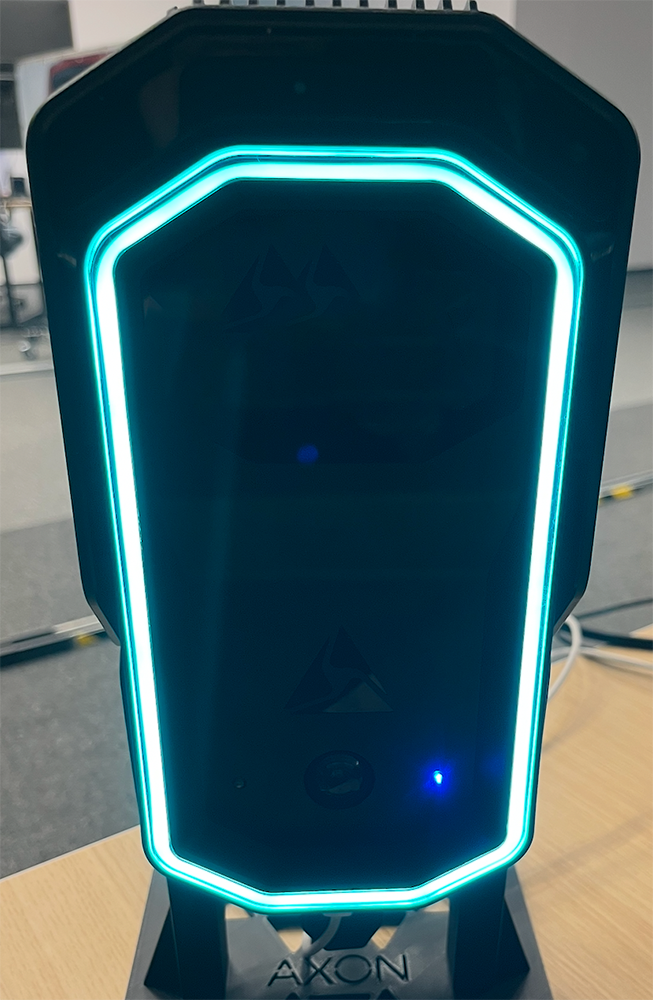
- When the network (carrier) is successfully completed, the LED ring should appear as shown below. The magenta LED ring appears during carrier testing. The cyan LED ring appears when the connection with carriers is established and you have selected the appropriate connection option from the drop-down menu.