Pull requests
The pull request feature allows users to request specific property items for pickup directly from an incident report. Each pull request can only include property items from the same report. If you need to pull items from multiple reports, you'll need a separate pull request for each report. If an item hasn't been submitted, it must be submitted before it can be added to the request.
Create pull request
To create a pull request:
- Open the incident report that contains the property items you need to create a pull request for.
- Select the More Actions [...] menu at the top, then choose Copy Info to New Report.
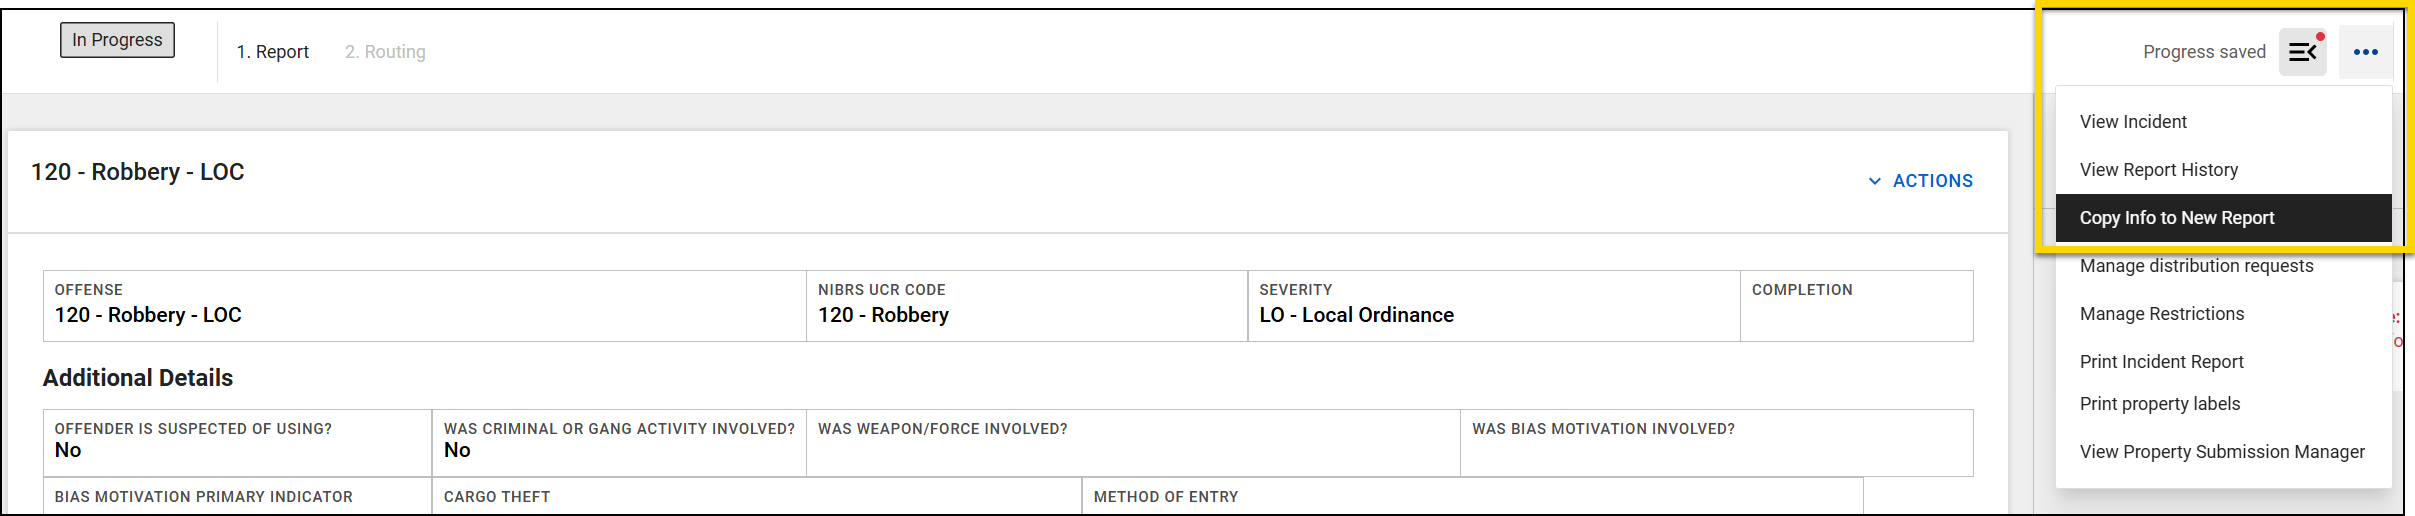
- Choose Pull Request as the report type, the select Preview Info.
- By default, all property items will be selected. Deselect any property items that are not needed for this pull request.
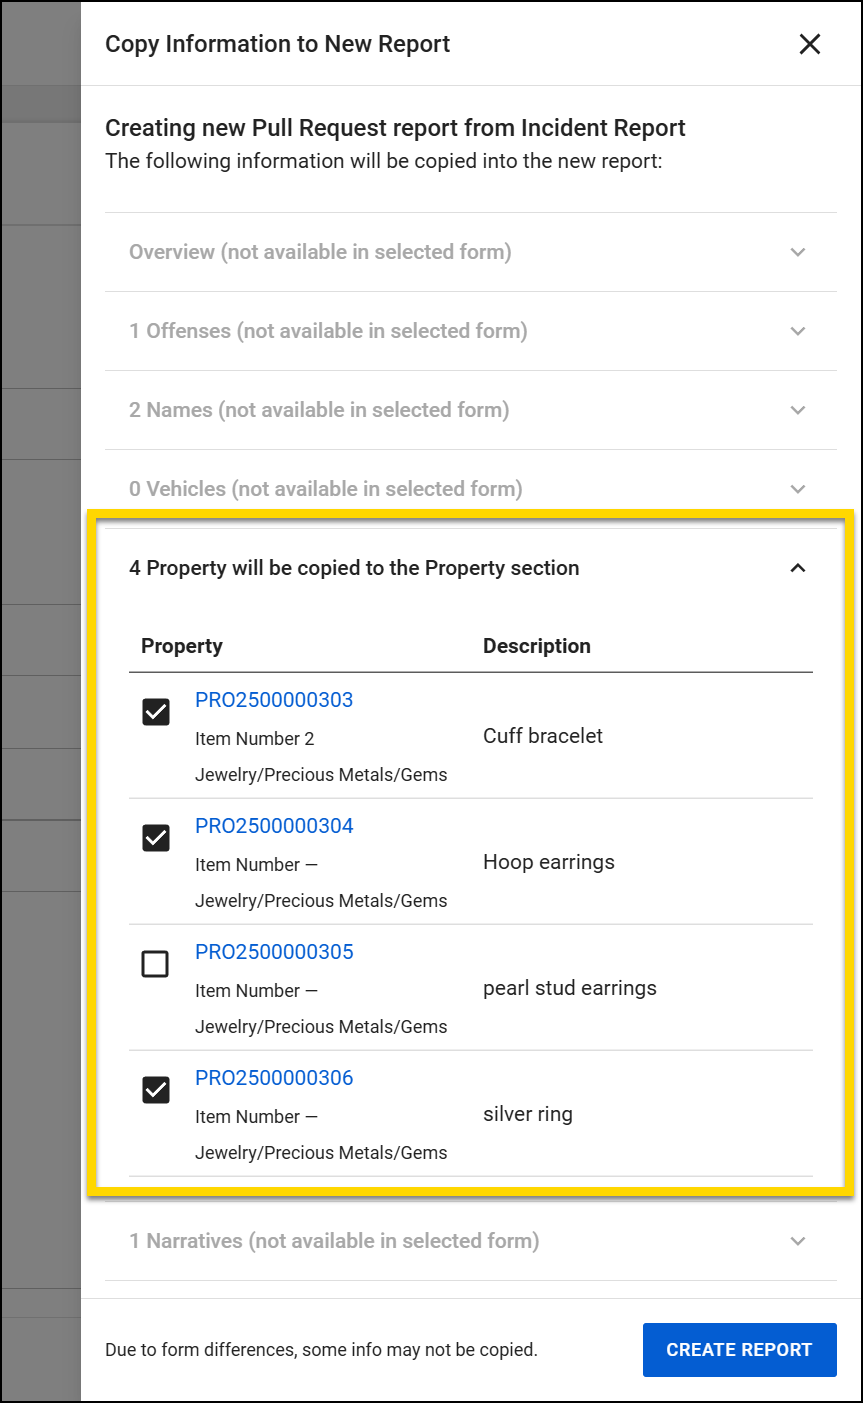
- Fill out the pull request. After verifying all information included is accurate, select Submit.
After you submit a pull request, it appears in the property Pull Requests inbox in the Property module. You can view and monitor your submitted requests in the Recently Submitted tab of your My Tasks inbox.
Pull Requests inbox
After an officer submits a pull request, it appears in the Property module in the Pull Requests inbox. By default, the Pull Requests inbox opens to the Active tab and displays all active pull requests starting with the most recent. From here, you can take the following actions:
Assign pull requests
Pull requests can be assigned from either the Pull Requests inbox, or within an open pull request.
When a pull request is unassigned, the Assignee column will say Unassigned. You can assign the pull request to you, or someone else, by selecting the Assign button. 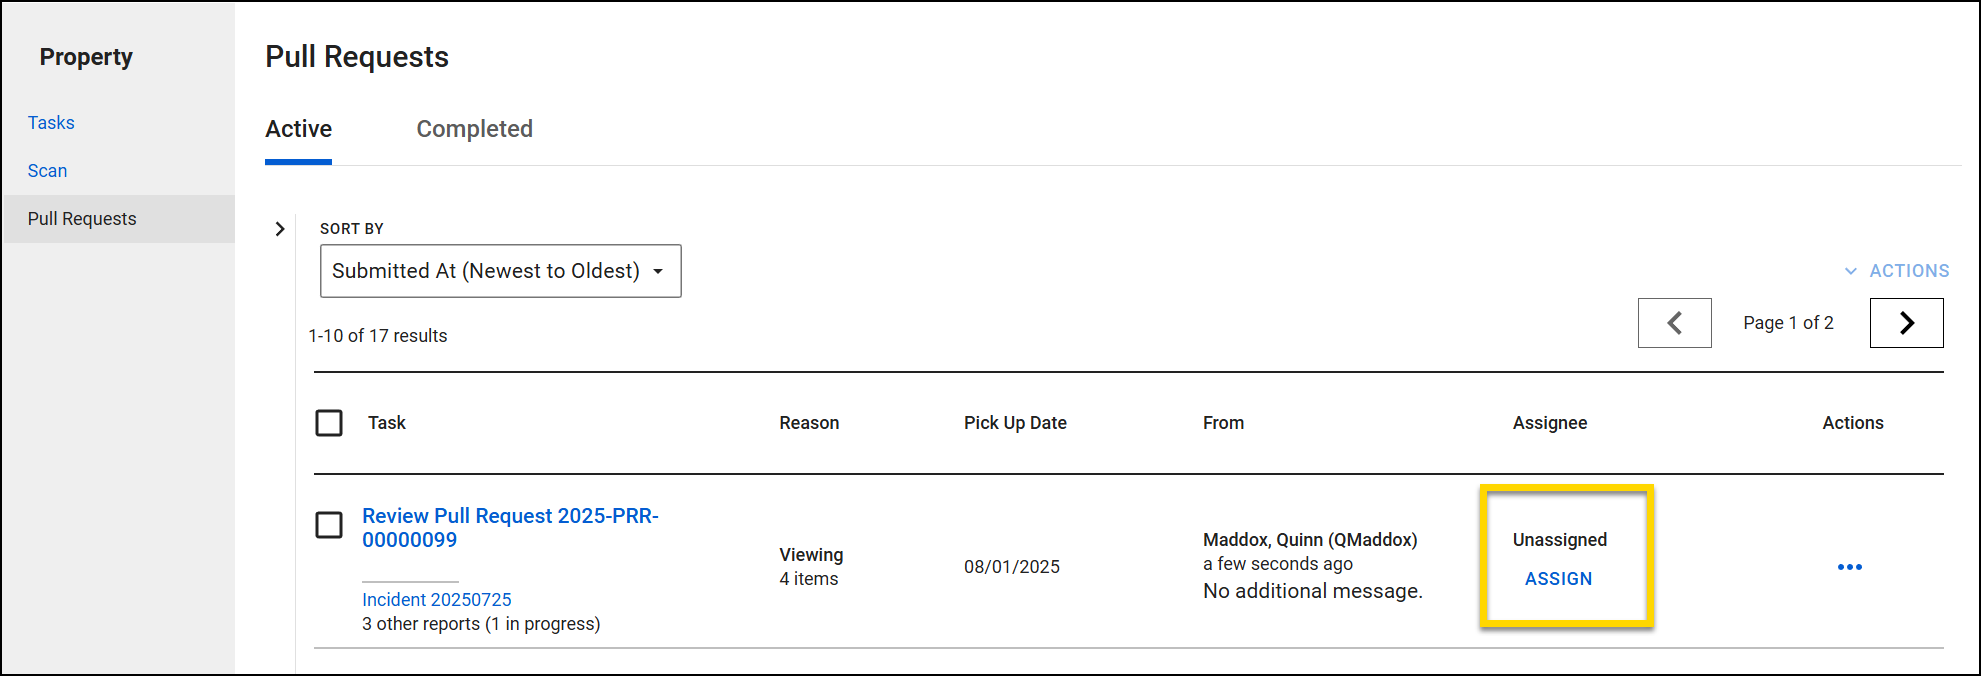
Alternatively, you can open a pull request and select Assign at the bottom.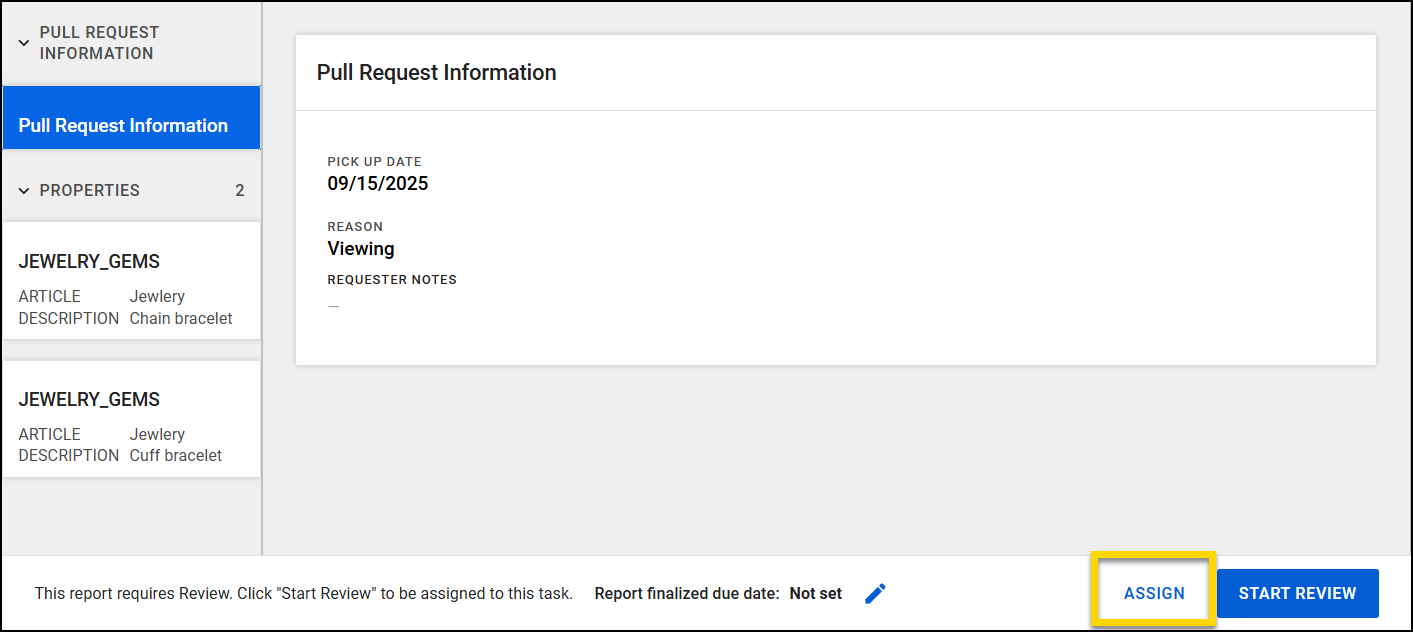
You can also assign multiple pull requests to one person by using the checkboxes. Select the checkbox next to each pull request you want to assign, then go to the Actions menu and choose Assign.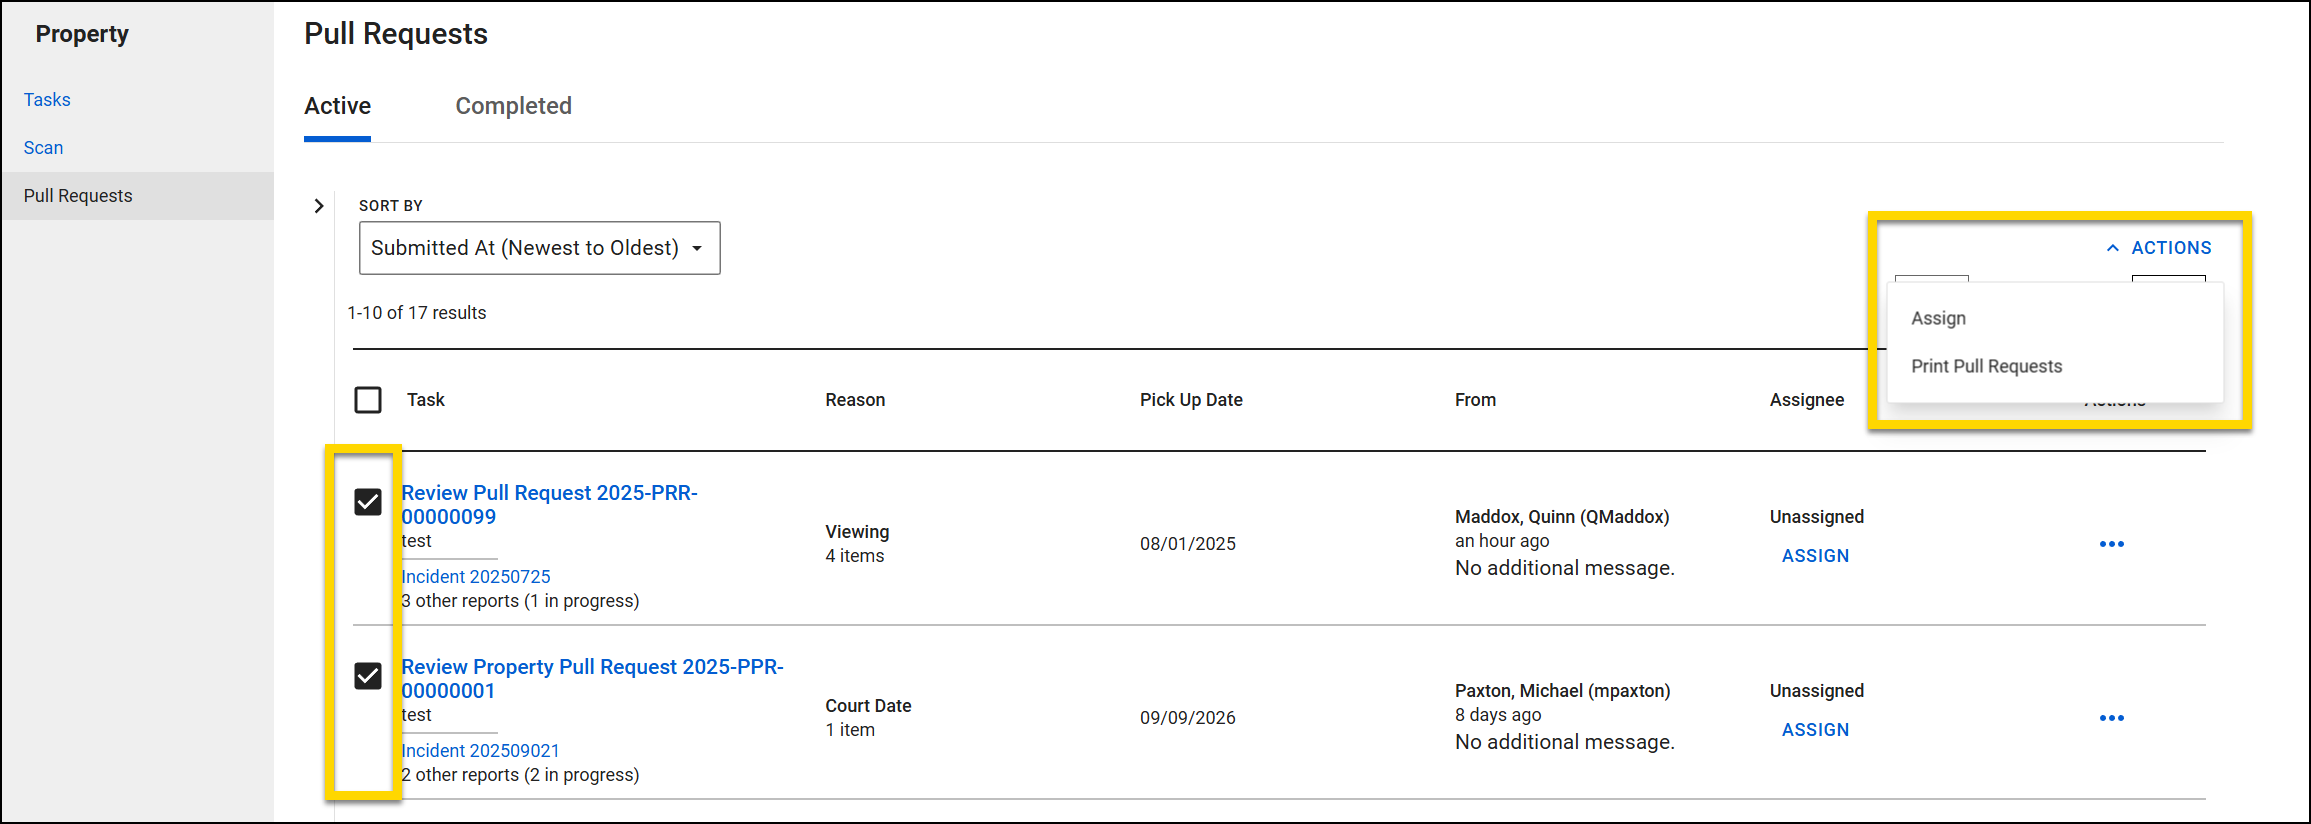
After you select Assign, you can enter the name of the person you want to assign the pull request to, or select Assign to me if you want to assign it to yourself. You can also mark the request as urgent or add a note, if needed. When you are done, select Apply.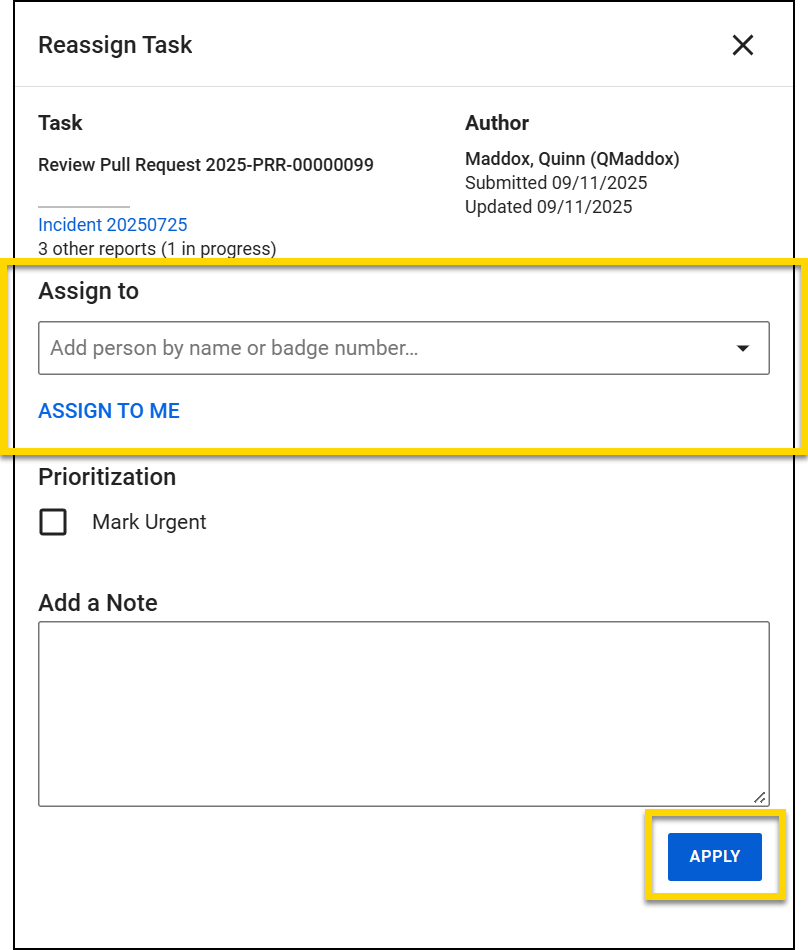
After a request has been assigned, that person's name will appear in the Assignee column and the Assign button changes to Reassign. To reassign a pull request, select Reassign and repeat these steps.
Print pull requests
You can print a pull request from the Pull Request inbox to generate a printable summary that includes the location of each property item. You can do this for an individual pull request or multiple requests.
To print an individual request, find the request in the inbox, then select More Actions [...] > Print Pull Request.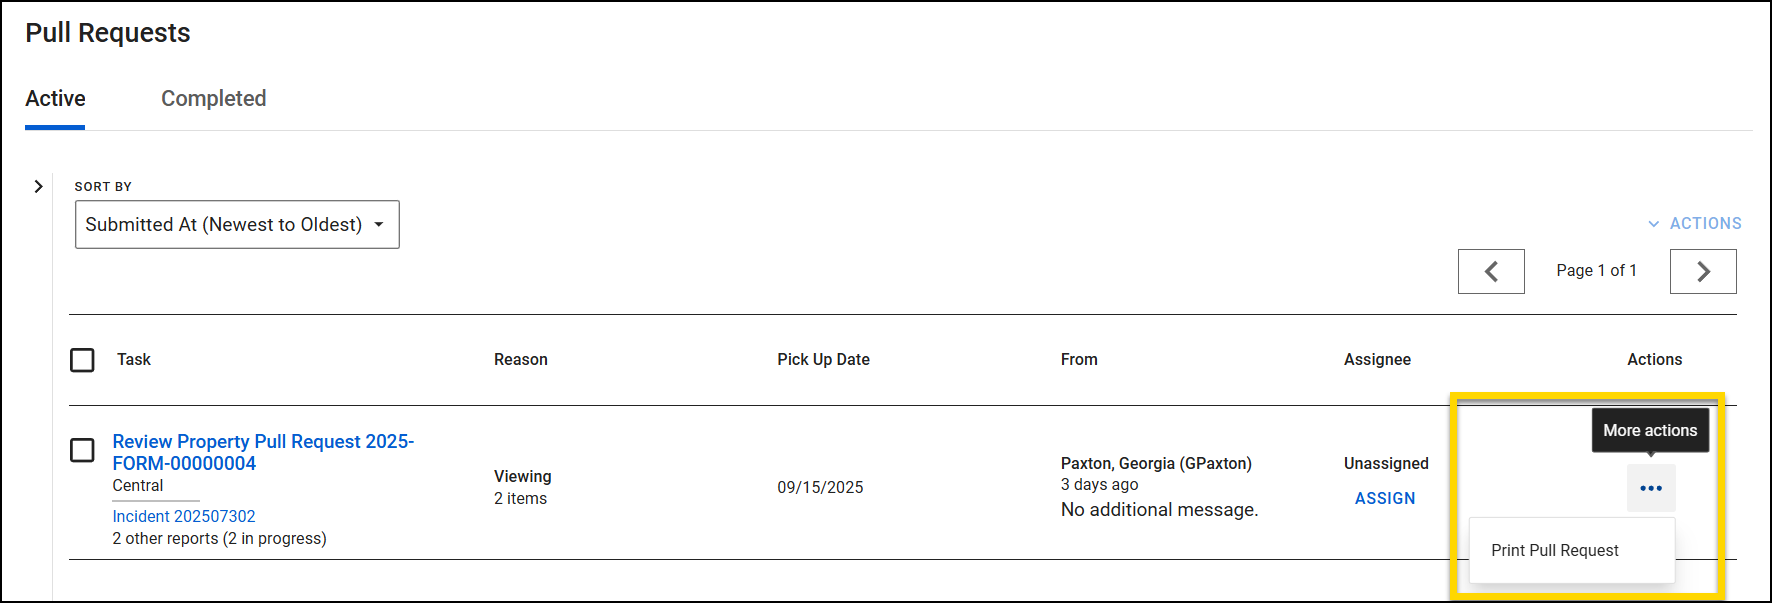
To print multiple pull requests, mark the checkbox for each pull request you want to print, then open the Actions menu at the top and select Print Pull Requests. Each pull request appears on a separate page.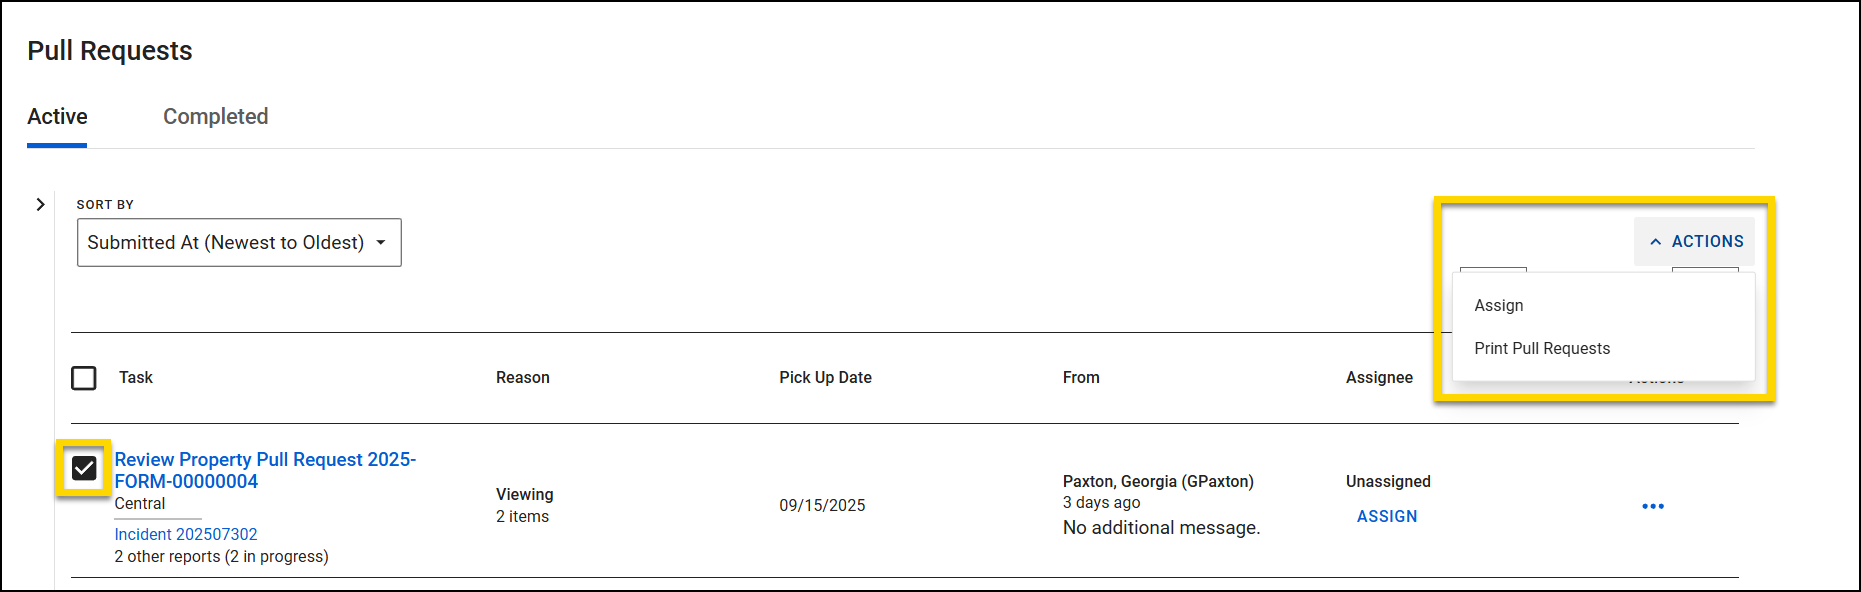
The Print Pull Request option in the Pull Request inbox differs from the one available when you have a pull request open. Printing from the inbox generates a summary that includes property item locations. Printing from an open pull request provides a detailed pull request report, and will not include the location of the items.
Review pull requests
Open the pull request to review its details, including the requested date, reason, and any provided notes.
If you're assigned to the request, it's already in review mode. If you're not assigned, select Start Review to quickly assign it to yourself.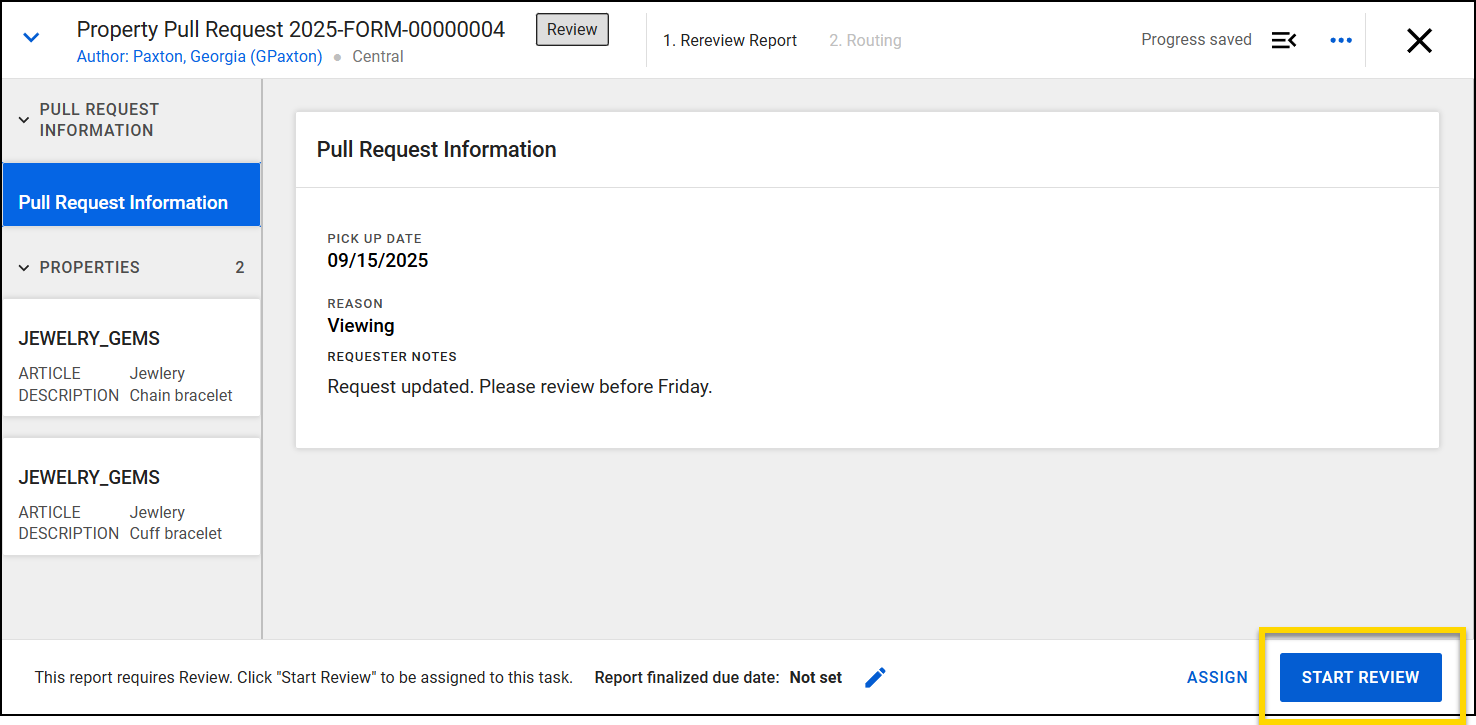
Select an individual property item from the sidebar to view its details. You can also open the profile page for a property item by selecting View Property Profile from the Actions menu.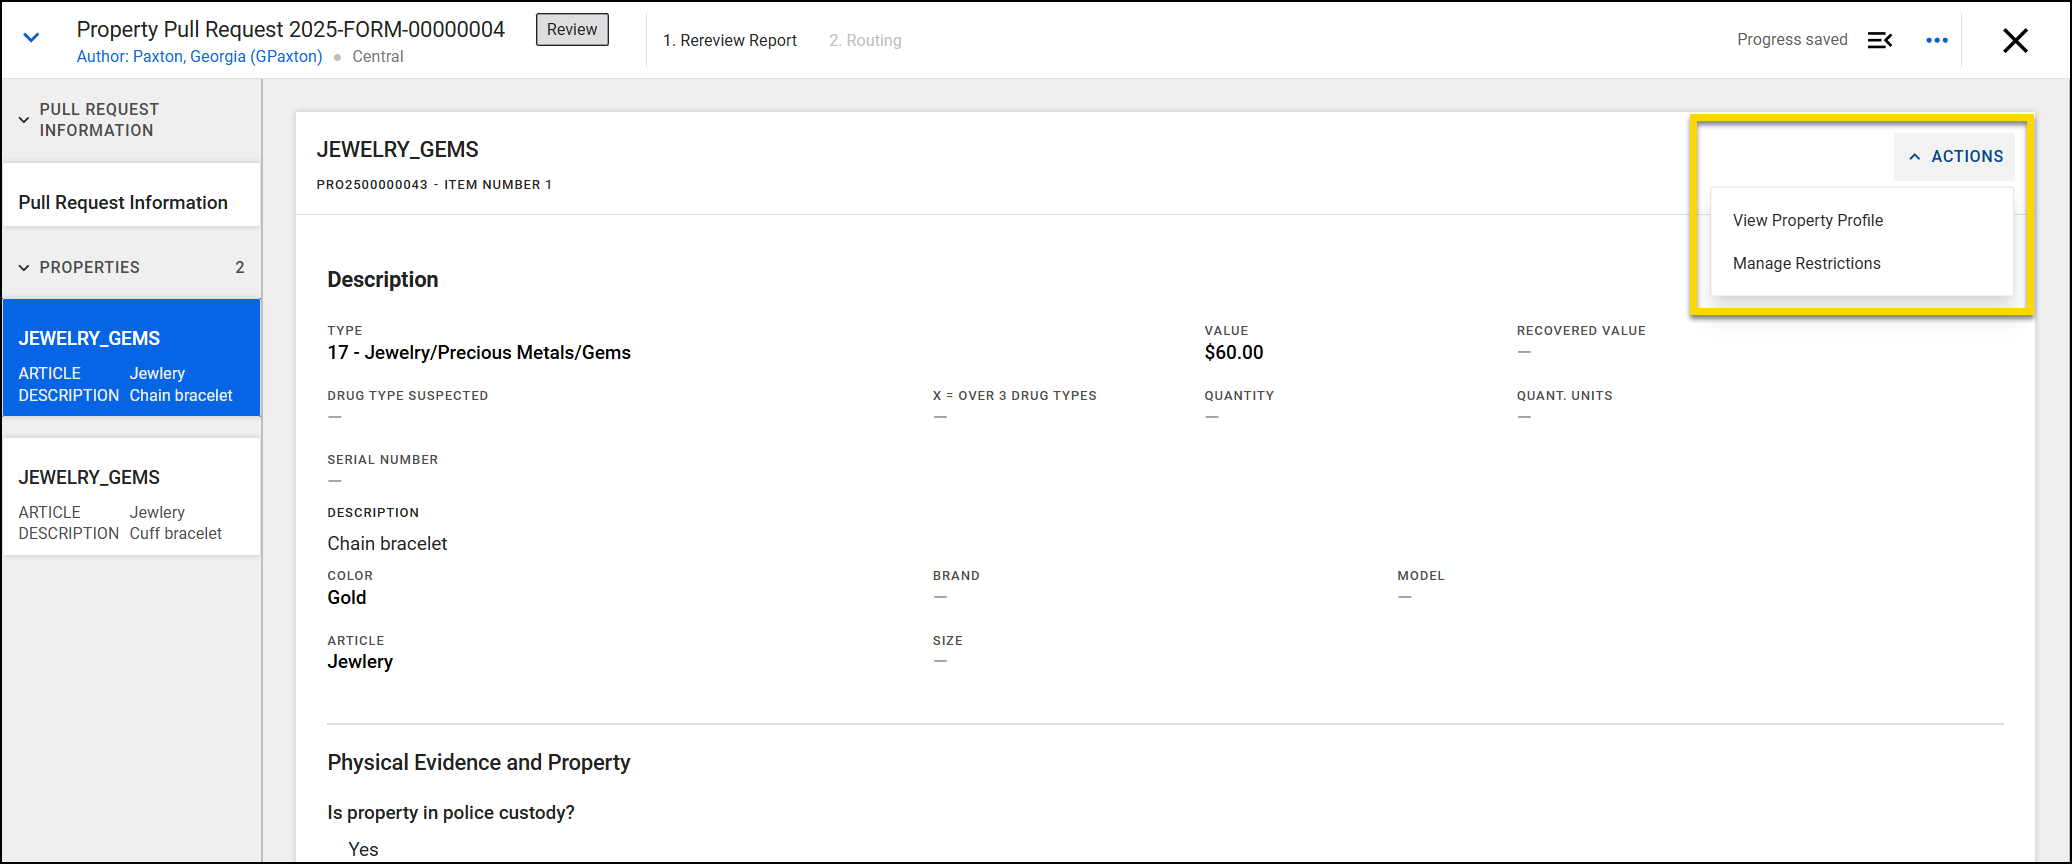
Once you're done reviewing the request, use the Approve or Reject buttons at the bottom of the screen to finish your review.
- Approved requests will move to the Completed tab in the Pull Requests inbox.
- Rejected requests will return to the requester.
After approval, complete the property check out process, if needed.