Pole mounting
Pole mount
Note:Included band strap hardware fits 3"–4.5" diameter poles. For larger infrastructure, installers must supply appropriately sized stainless banding/straps and follow local best practices. Supported banding width: ≤ 3/4".
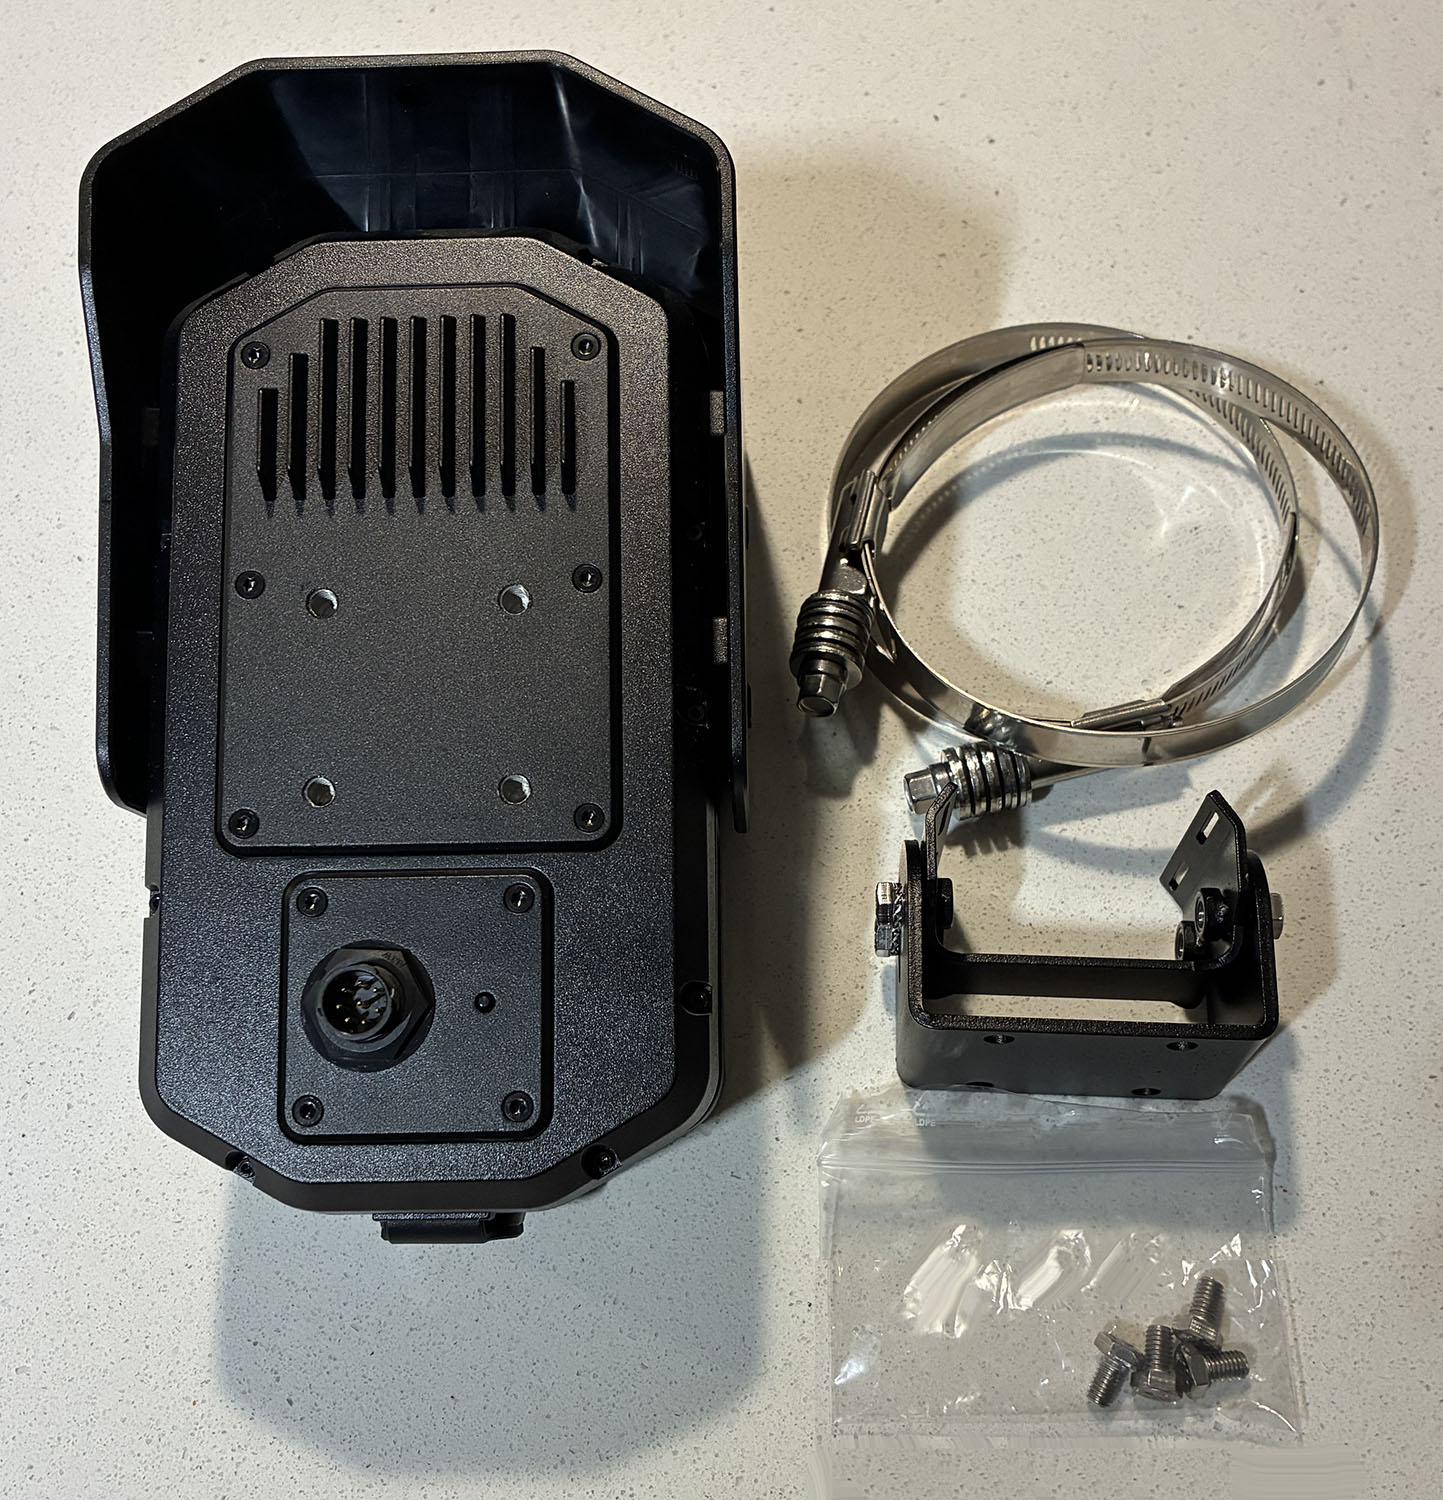
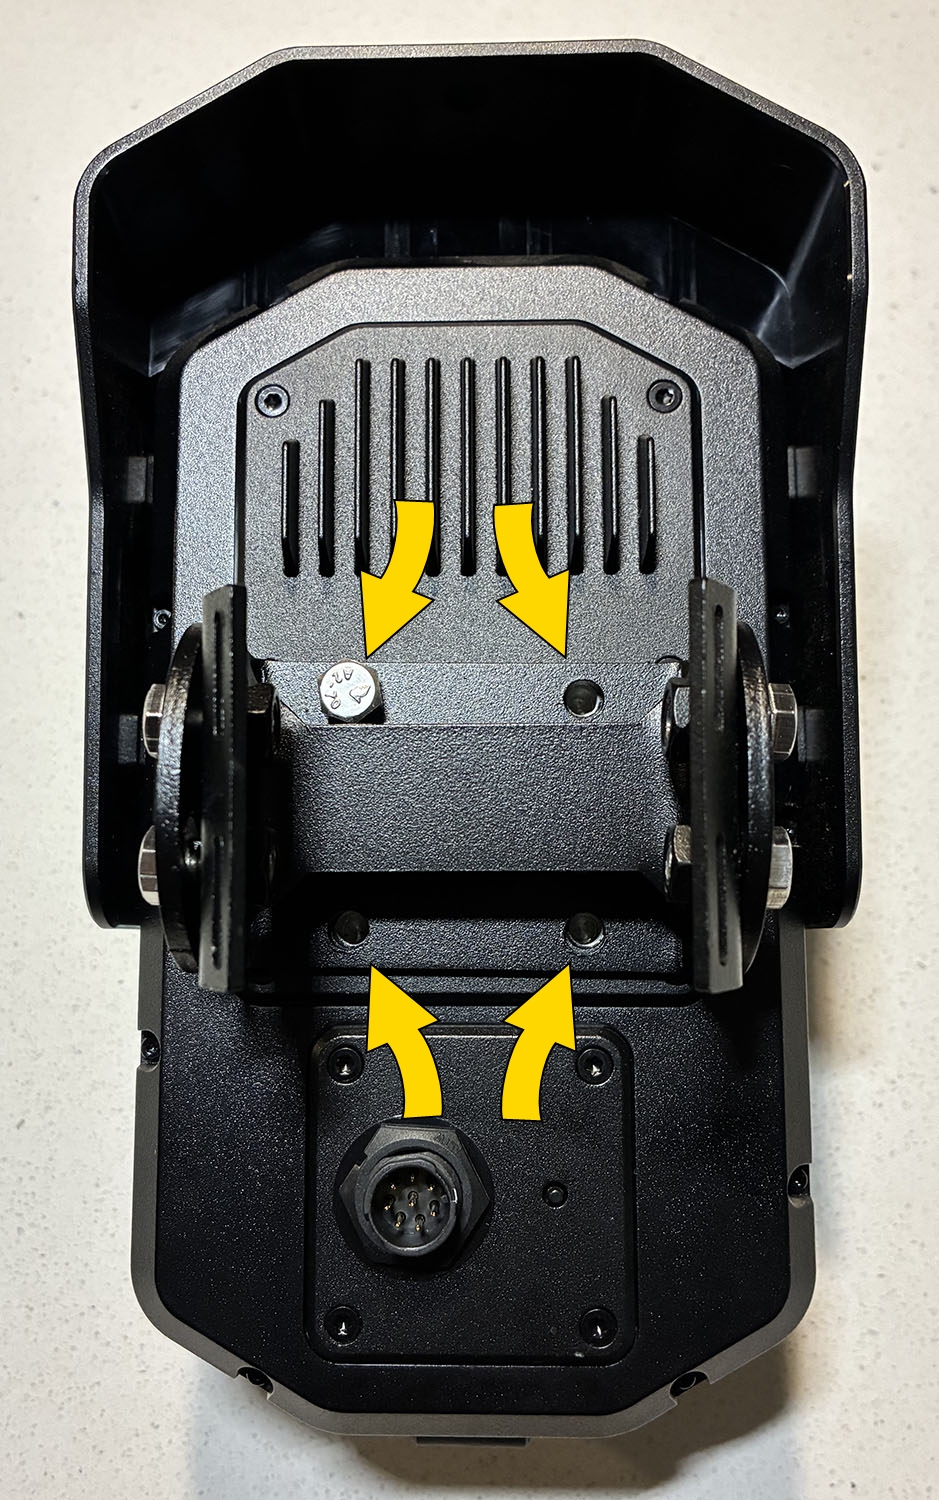
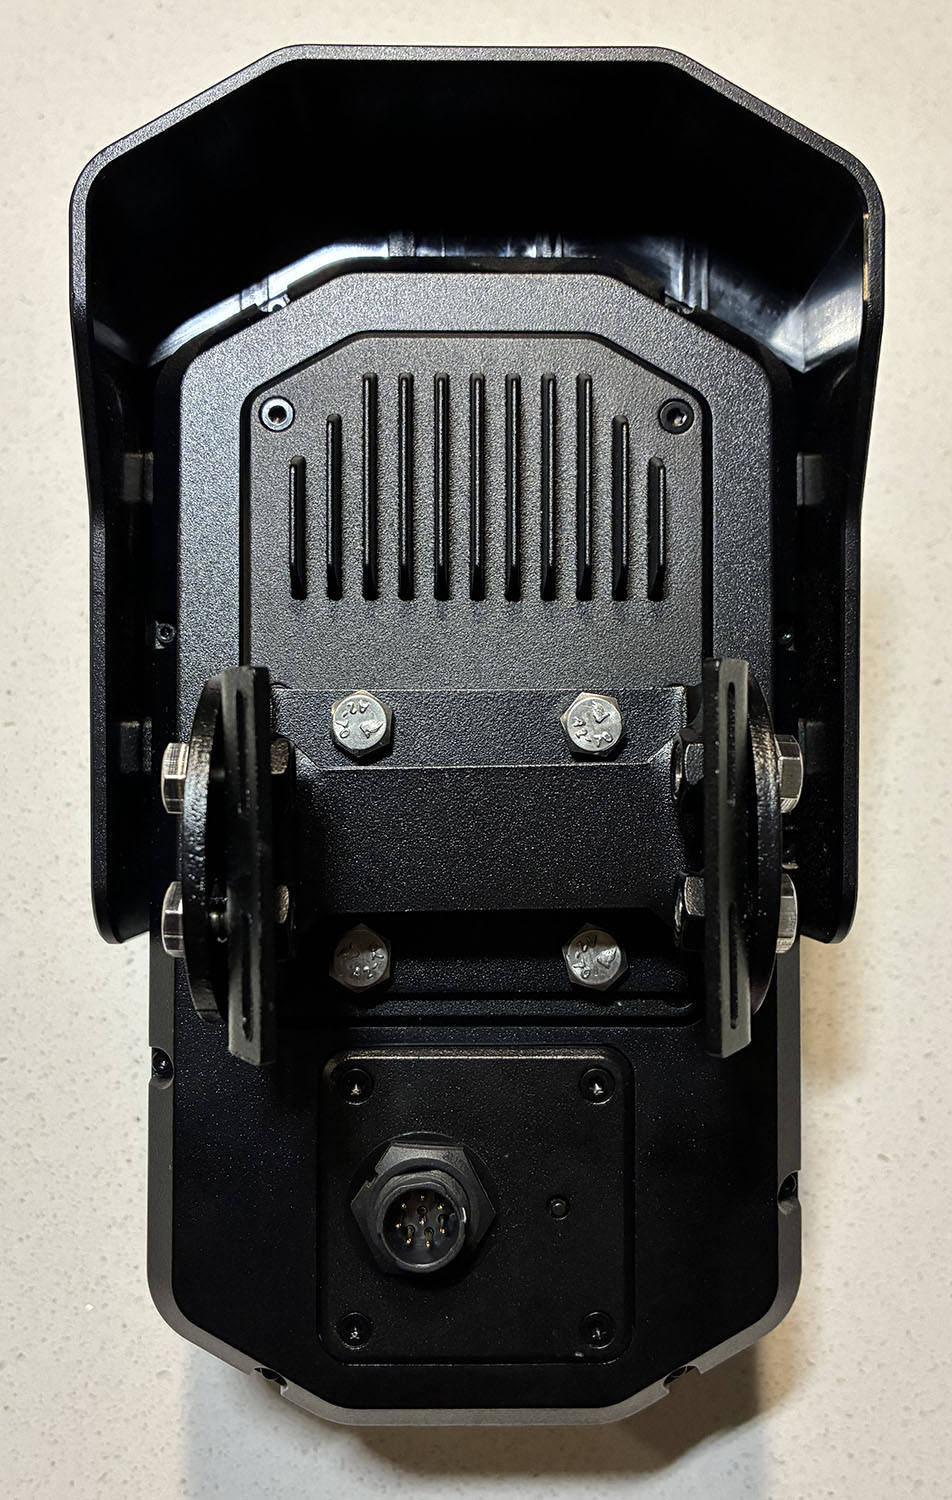
- Using a 10 mm socket, install the mount backplate to the back of the Outpost camera with the 4 M6 screws.
- Route the hose clamps through the slots in the mount.
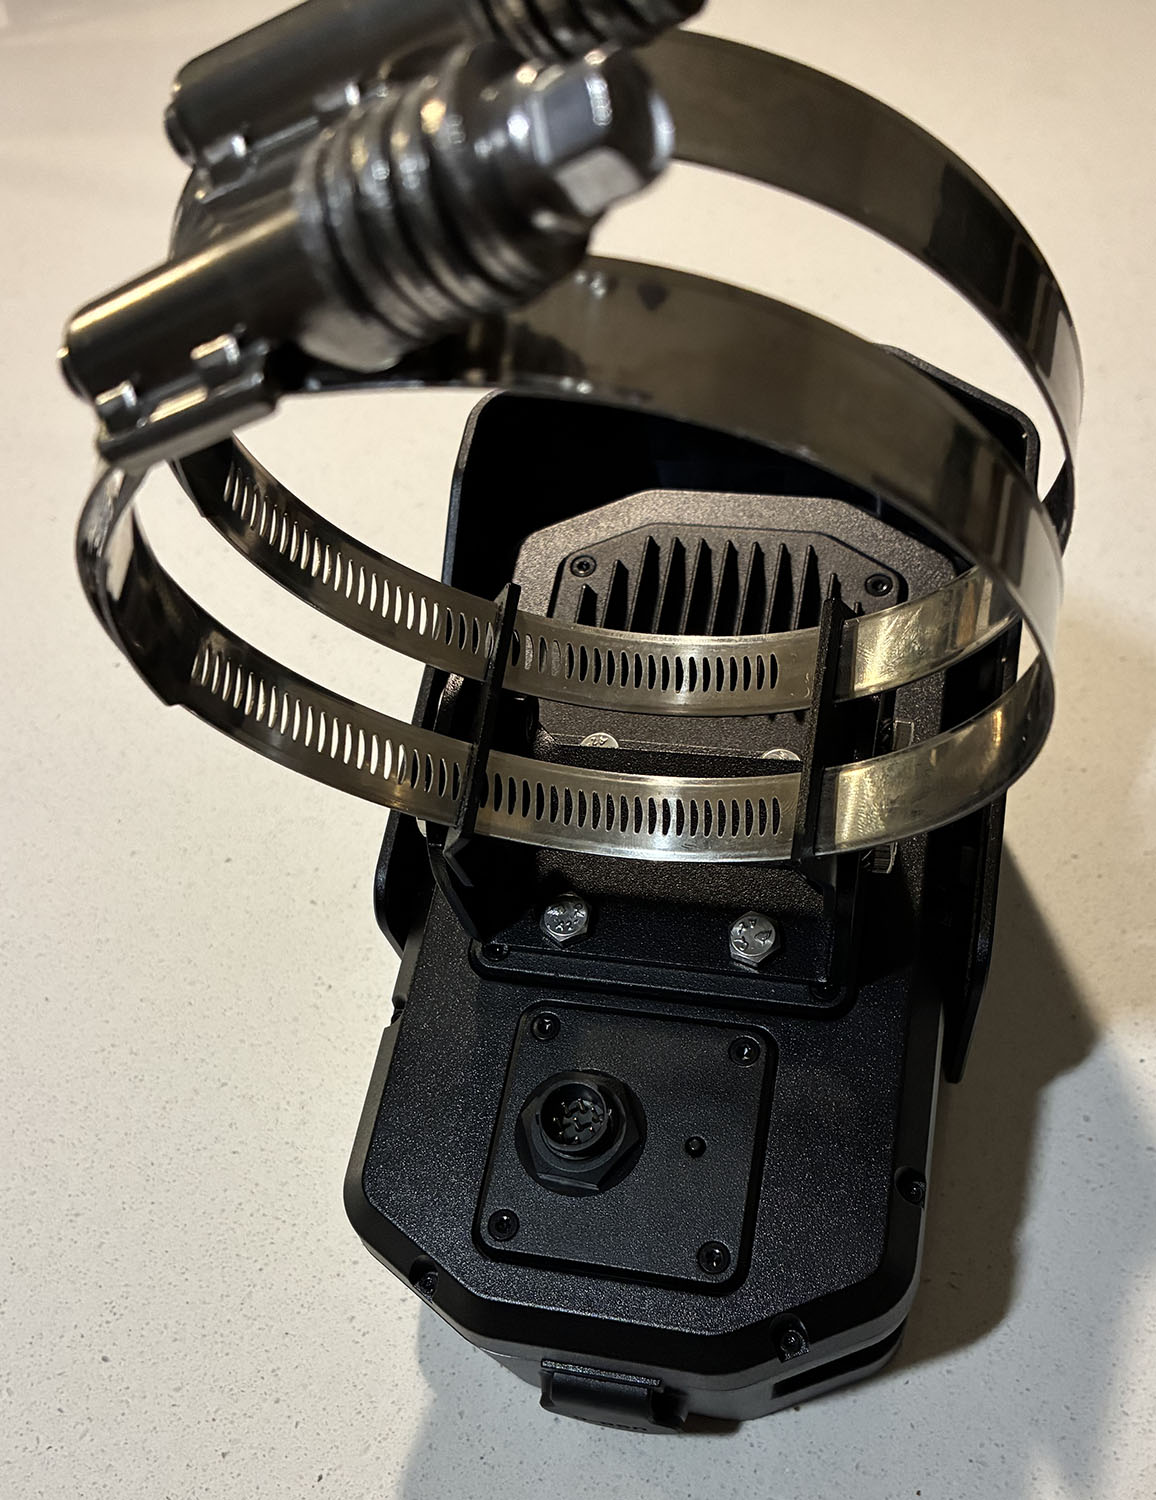
- Secure the Axon Outpost pole mount to the pole using the hose clamps. Tighten clamps firmly but don't over-tighten.
- To adjust camera tilt, slightly loosen the side pivot fasteners, adjust camera angle, and re-tighten. To adjust pan, slightly loosen hose straps, rotate mount, and re-tighten.
Wall mount
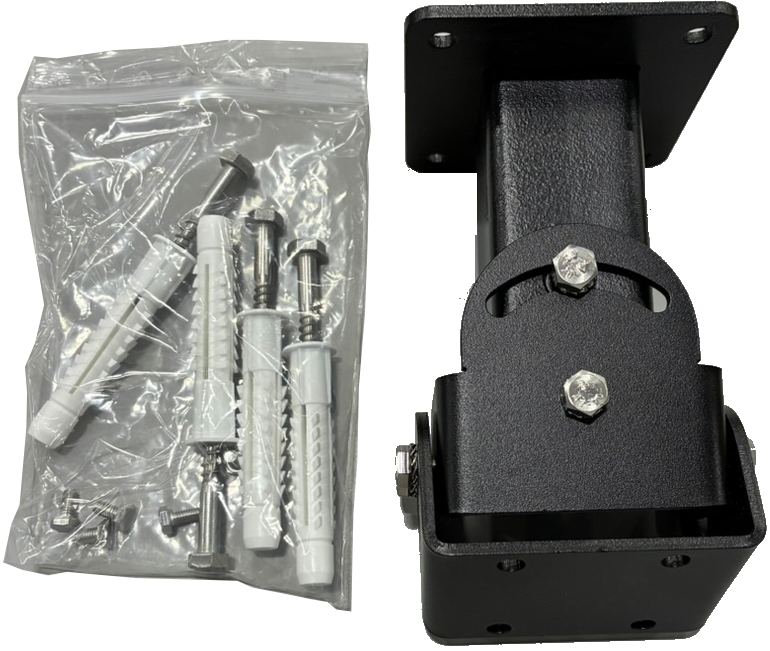
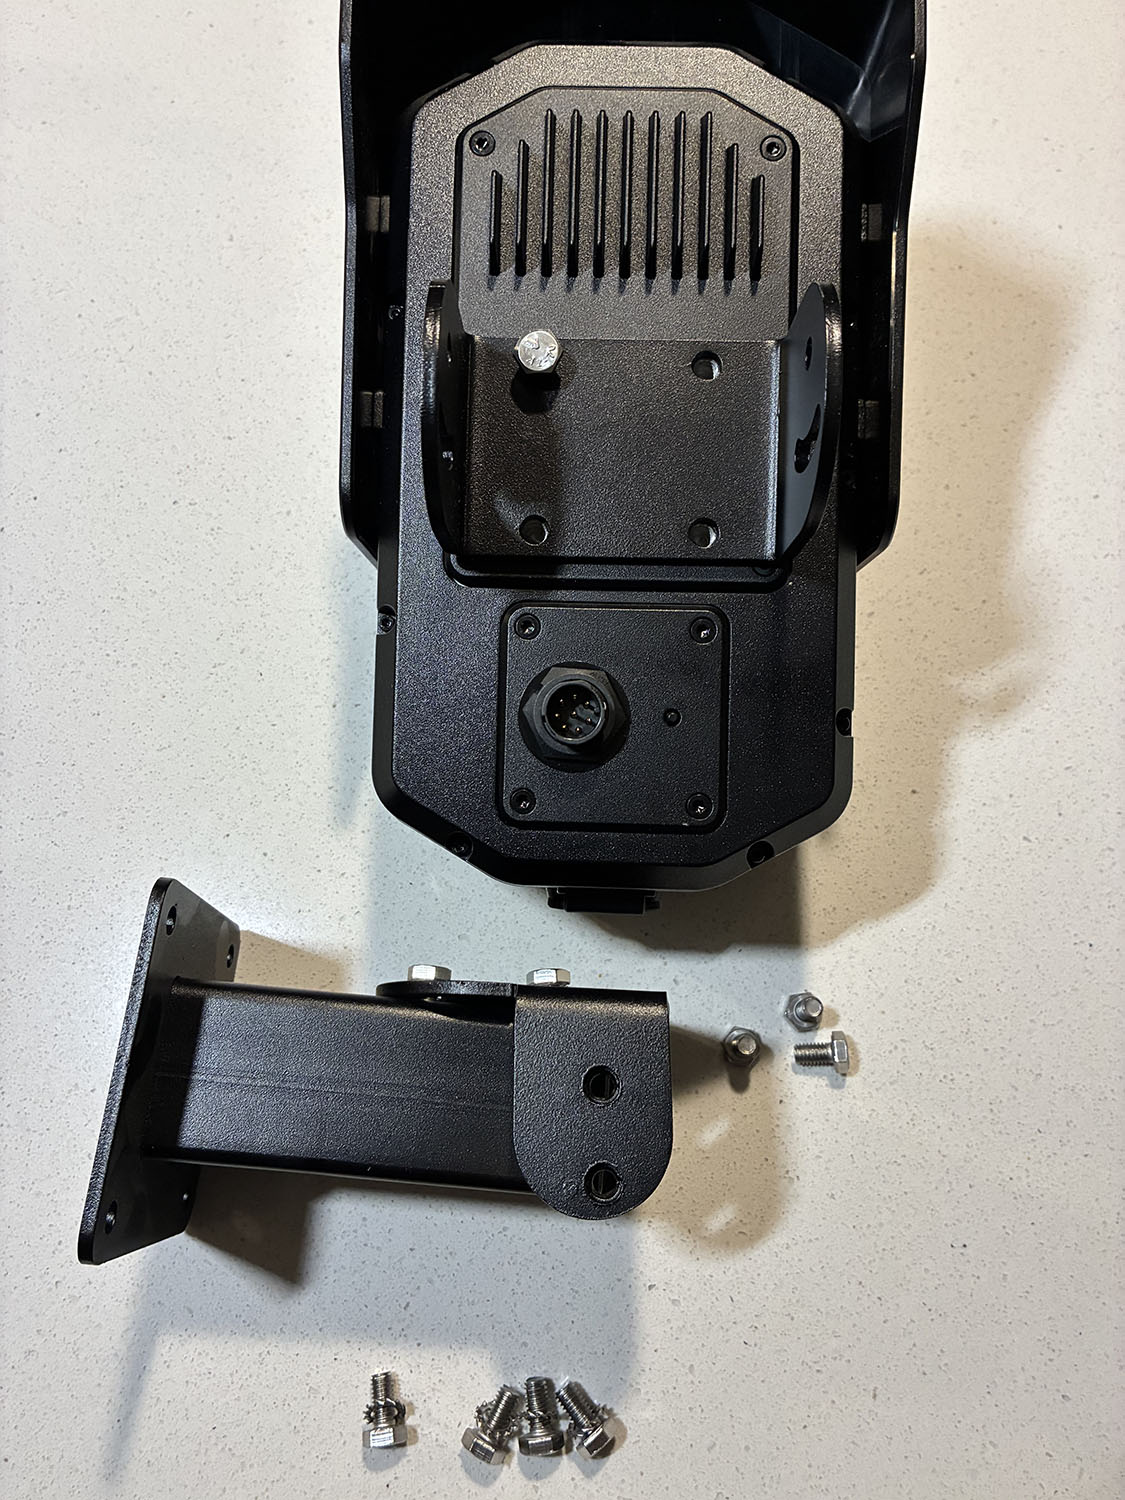
- Remove the 4 10 mm hex bolts (two on each side) to separate the camera backplate from the wall mount.
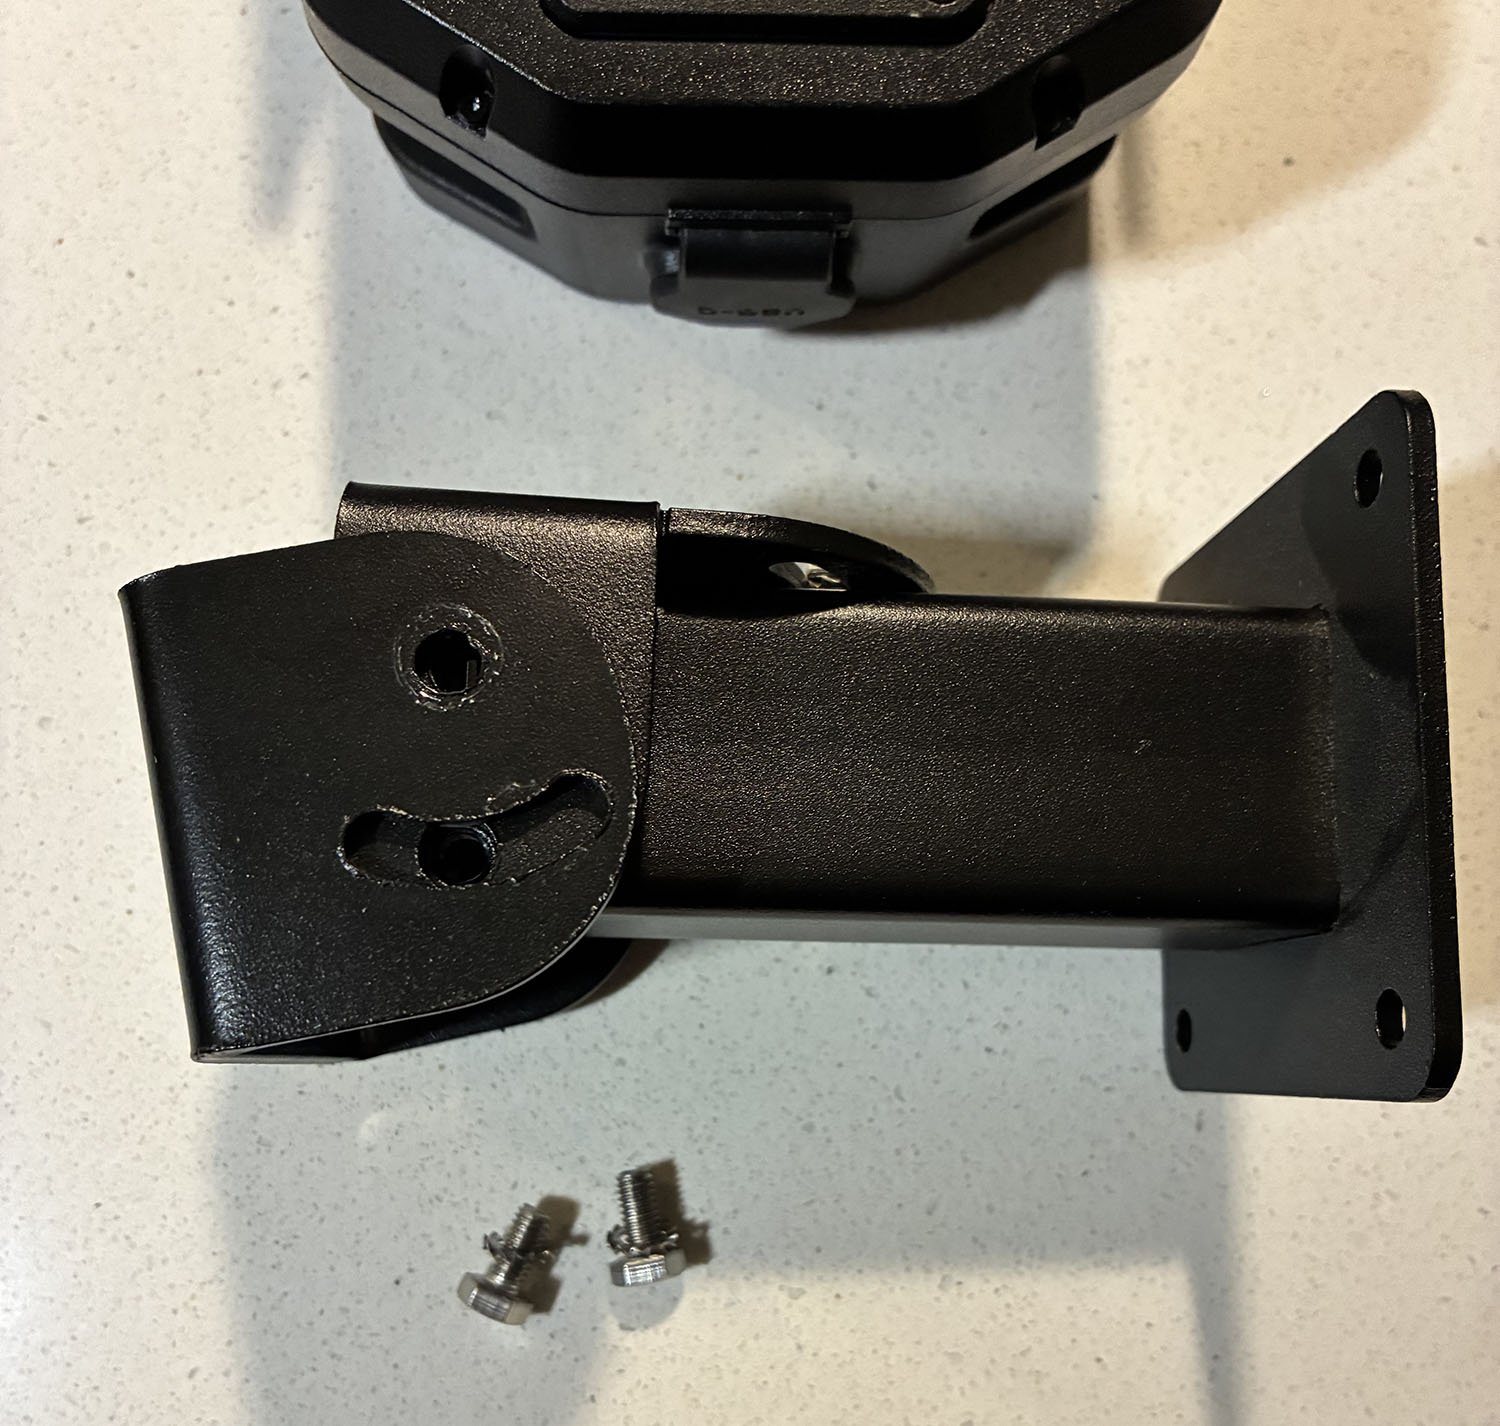
- Use a 10 mm socket to install the mount backplate on the back of the Axon Outpost camera with the 4 provided M6 screws.
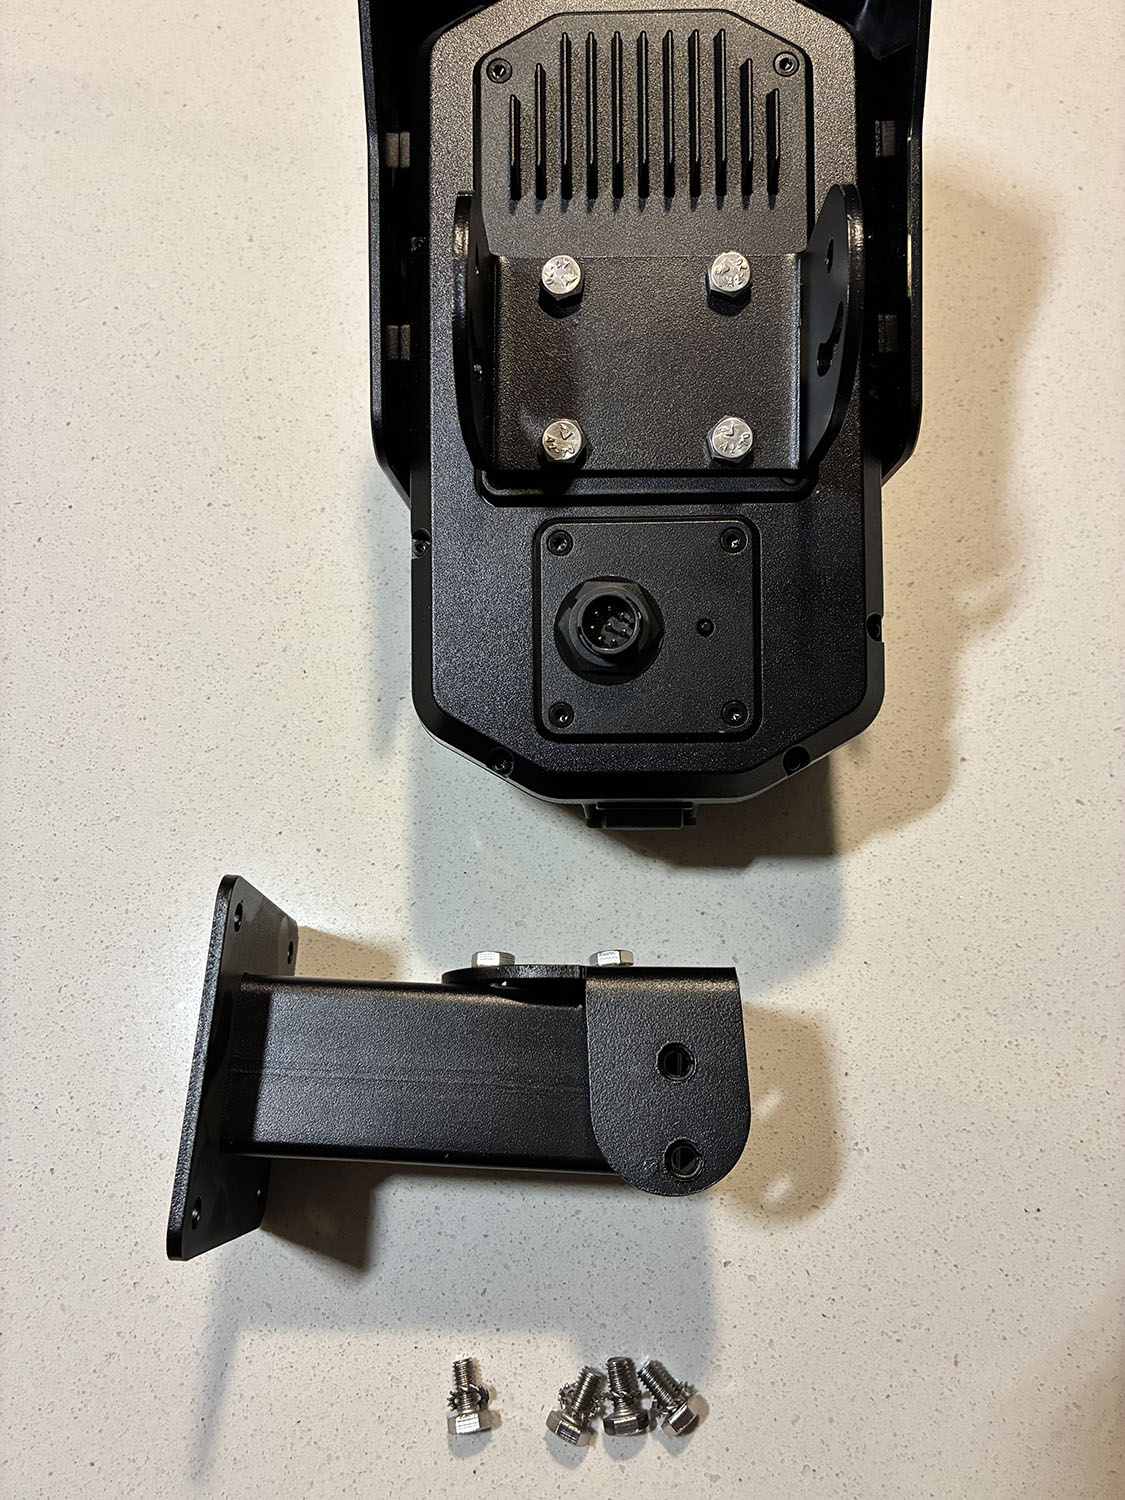
- Attach the wall-mount arm to a flat surface using lag screws or concrete anchors, depending on surface type.
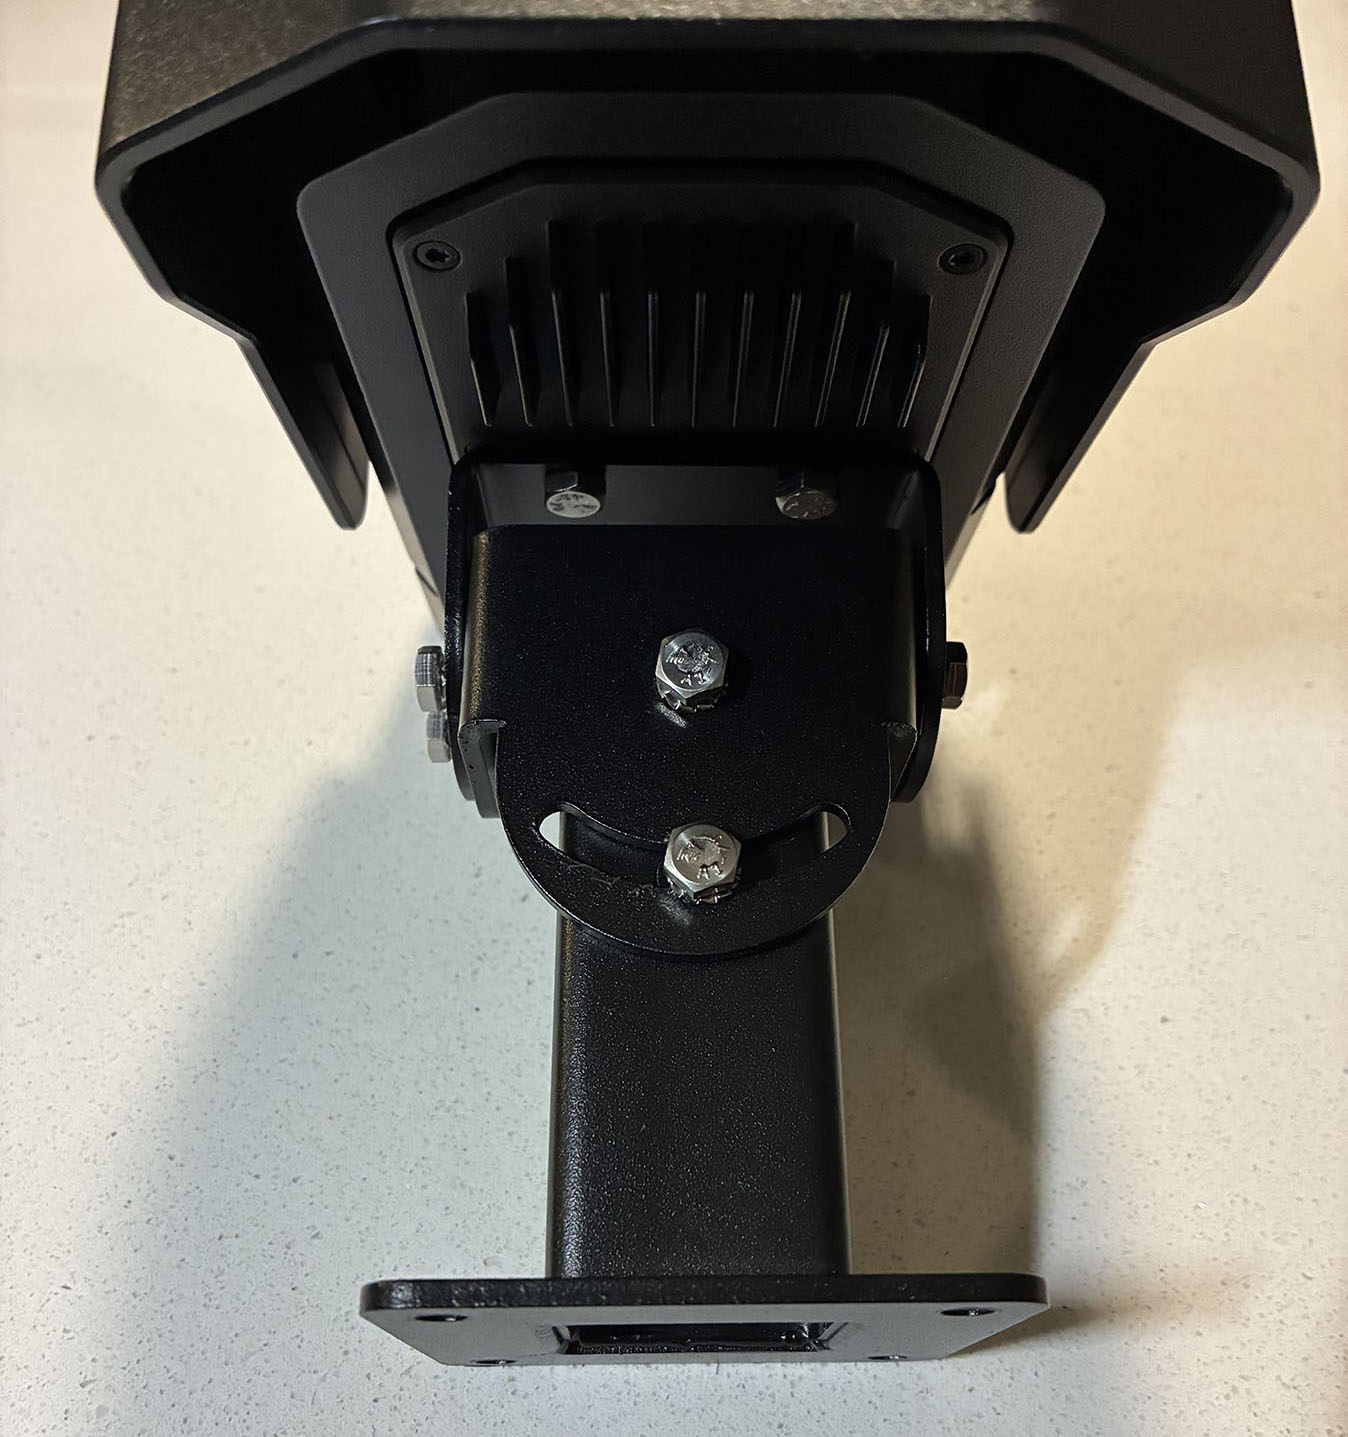
- Secure the Outpost camera backplate to the wall bracket using the 10 mm hex bolts. Adjust tilt and pan using the mounting bracket slots, then re-tighten.

Power
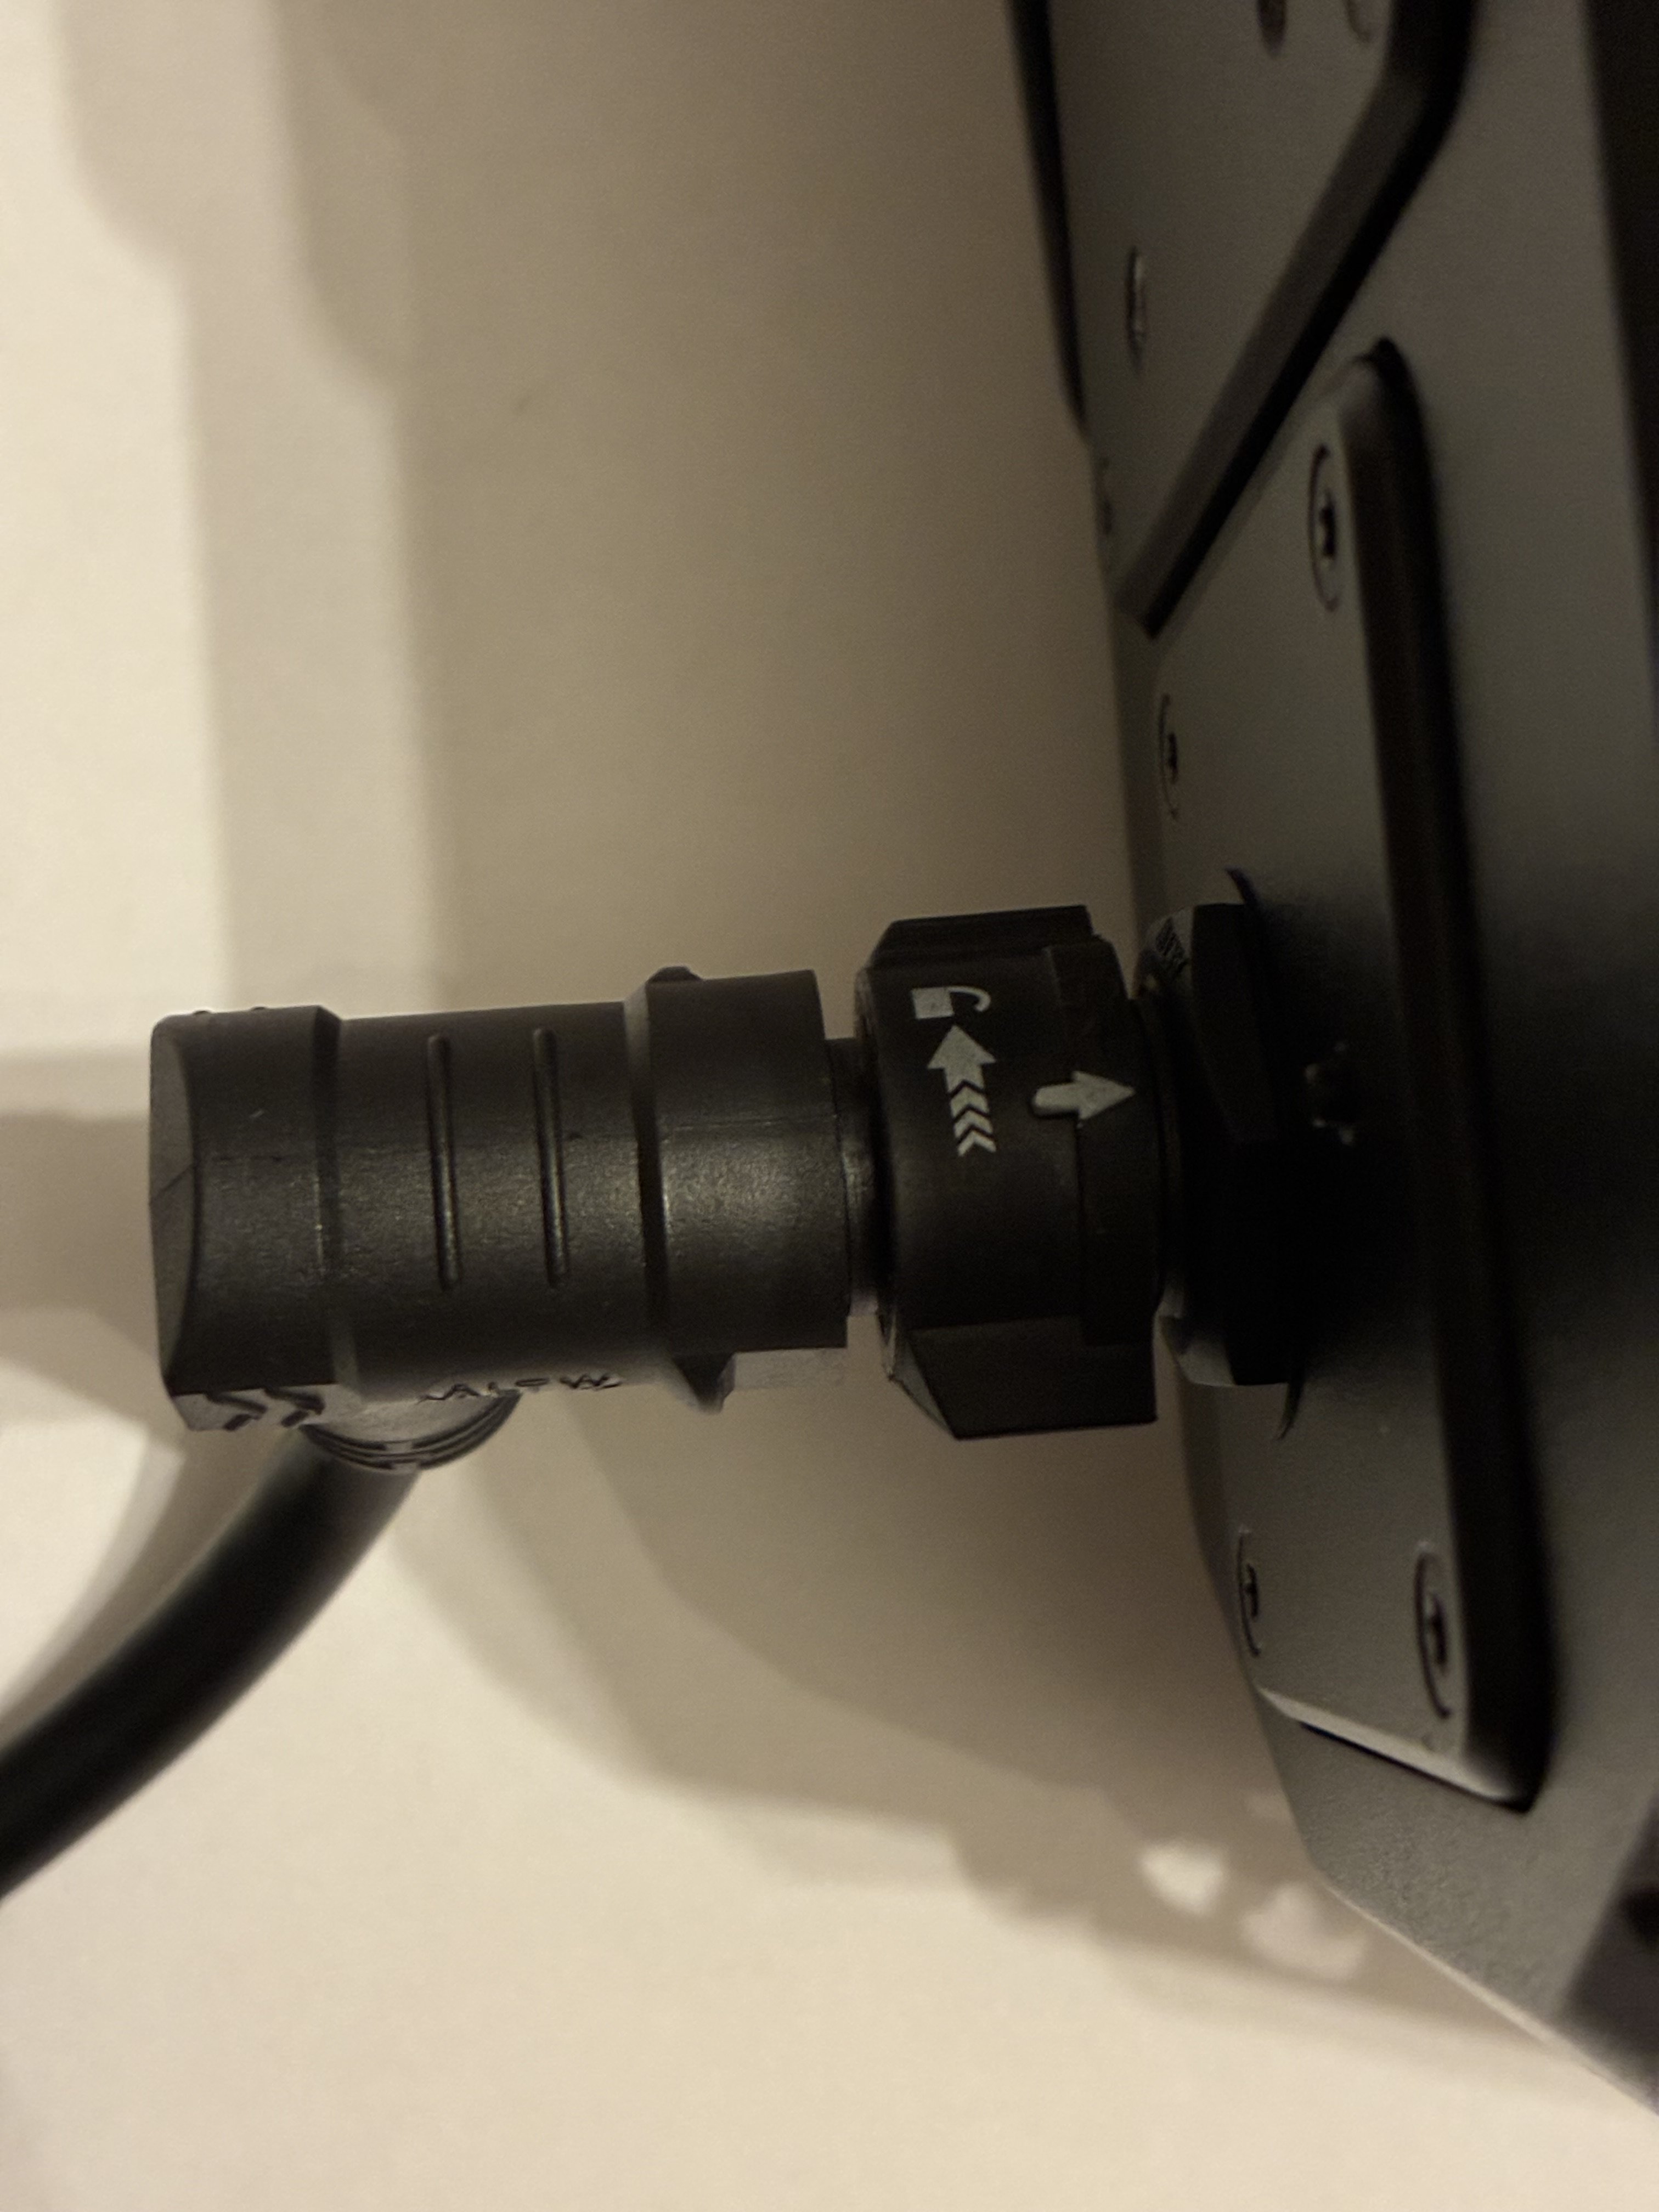
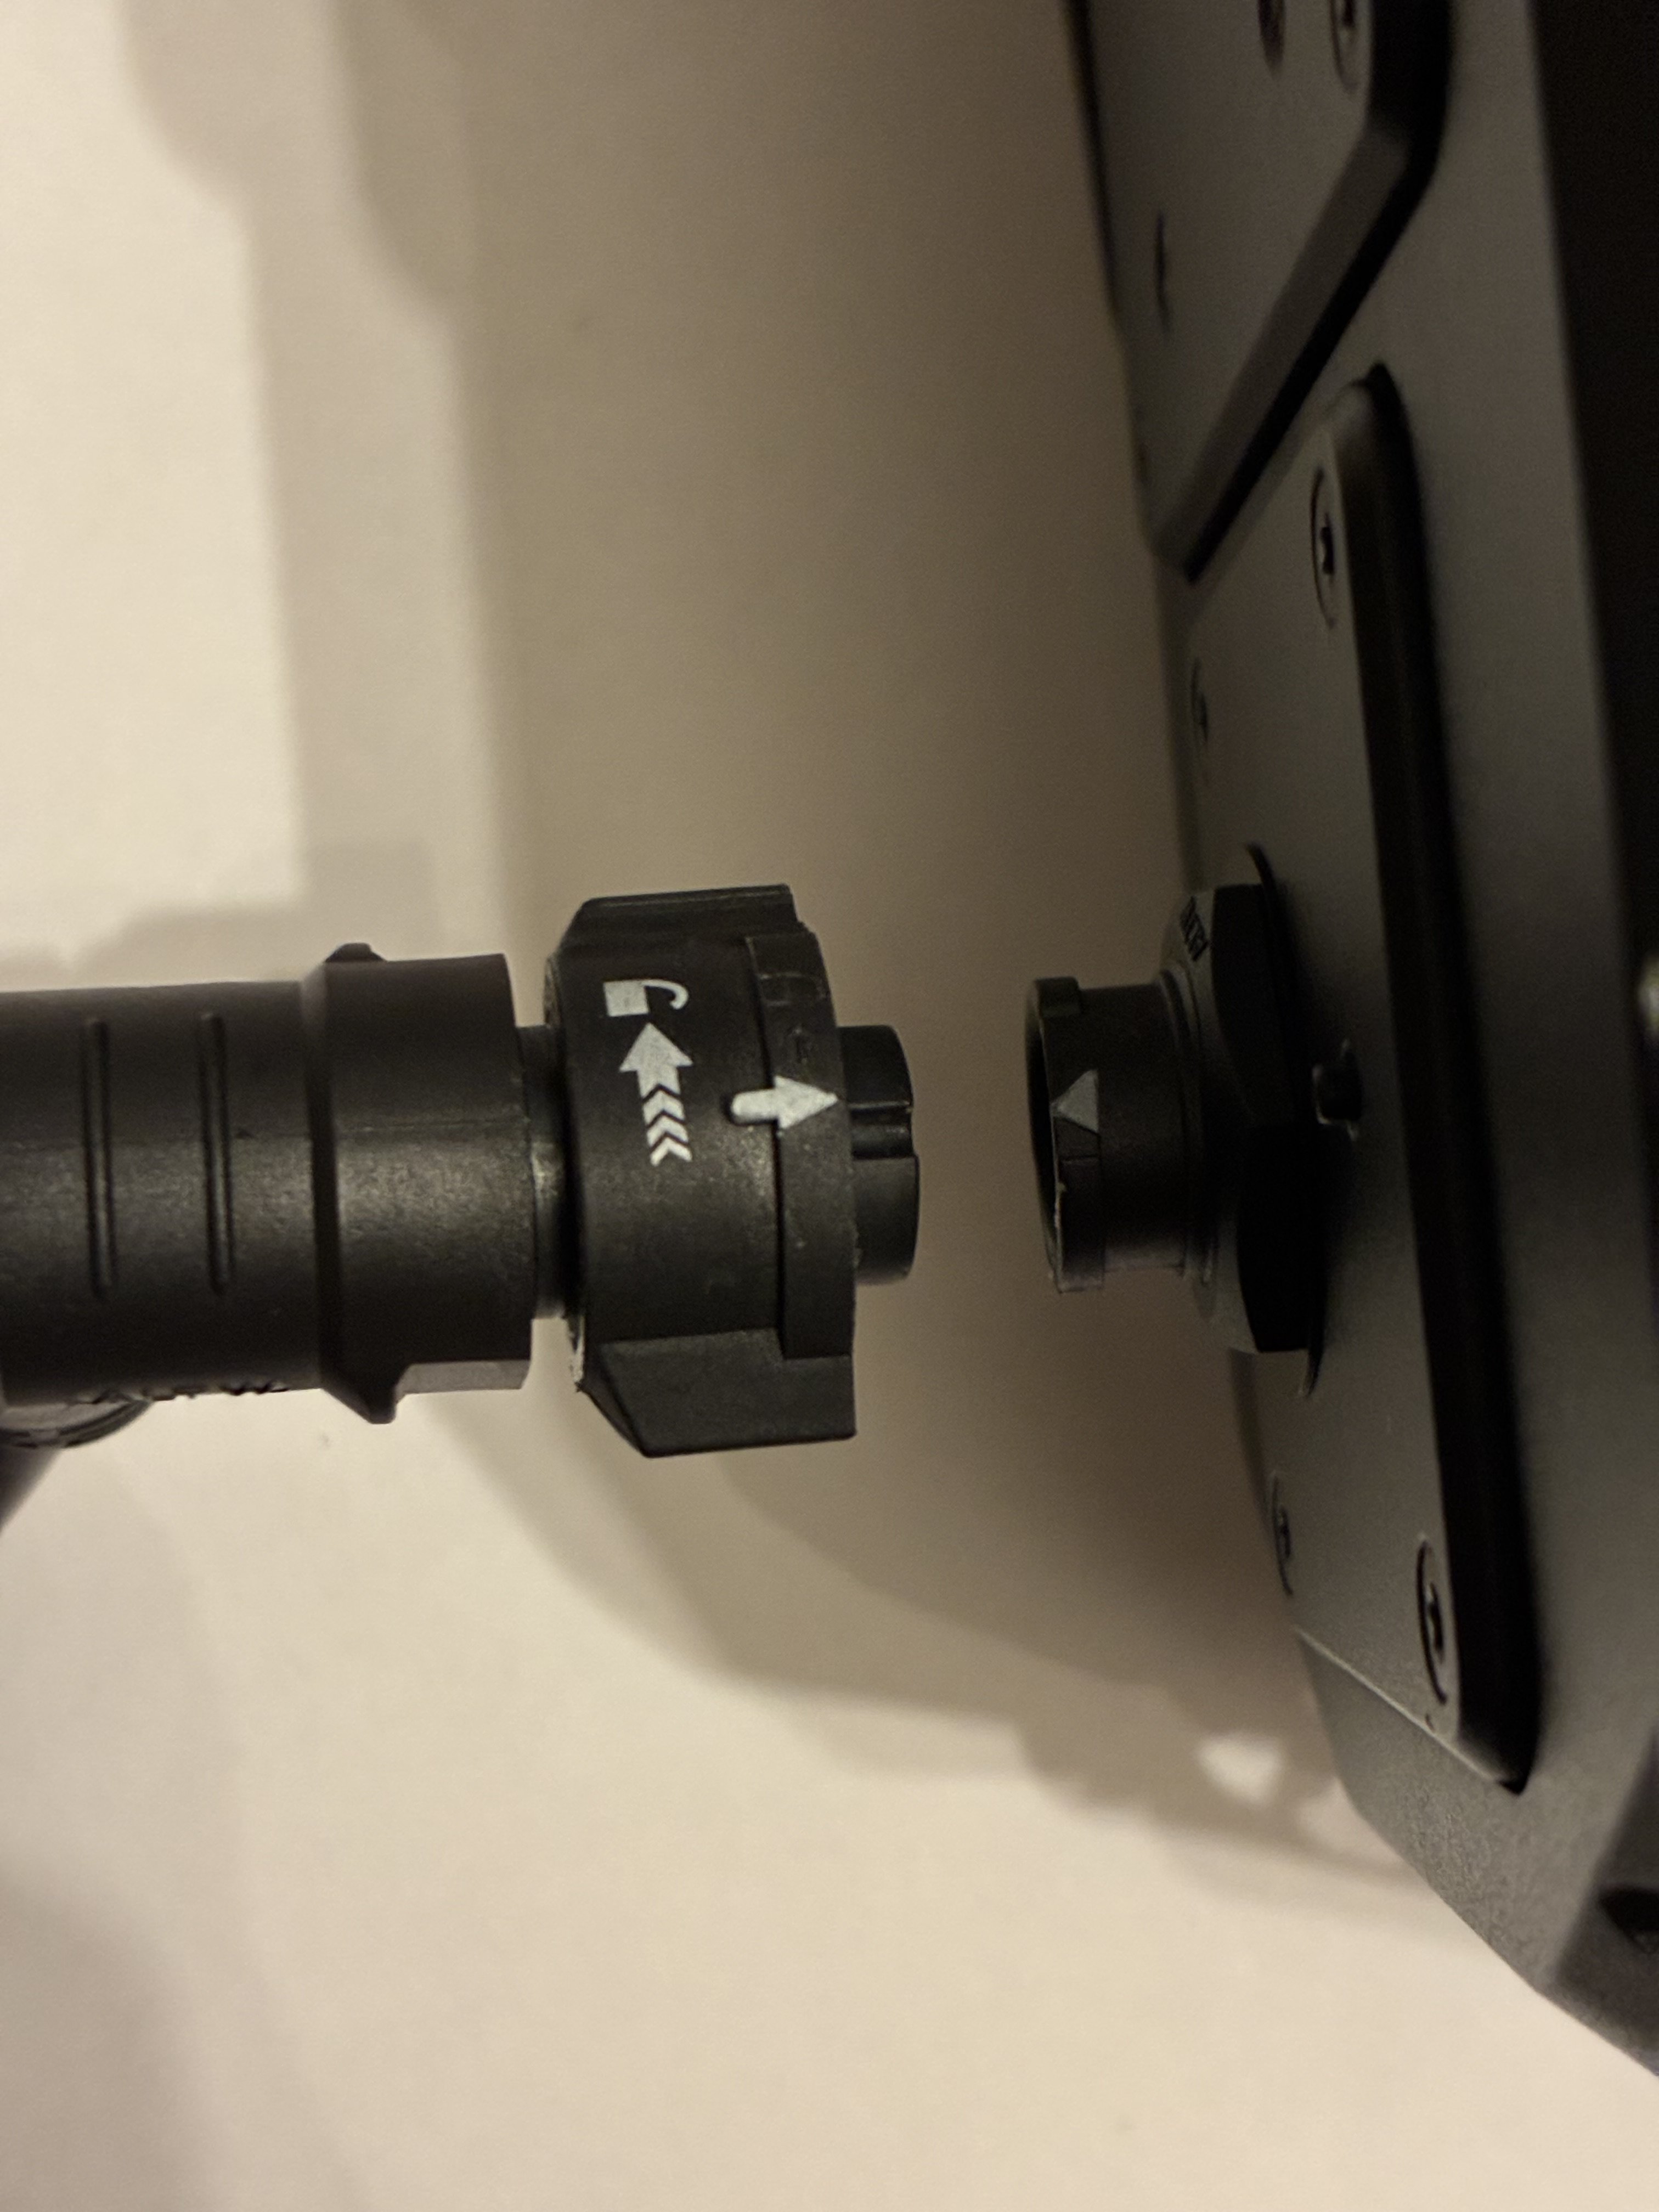
- Plug in and secure the Outpost camera power cable to the power port. Line up the dots on both the camera and the cable connector and press in firmly to lock into place. To disconnect the cable, twist the lock counterclockwise and pull the cable out.
- When connected to power, Axon Outpost will start up. The LED ring on the front of the camera pulses green
 to confirm it is receiving power.