Installation
This topic is normally for the armorer or admin who sets up Signal Sensors. For user guidance, see Operation.
The following holster and mounting options support Signal Sensor:
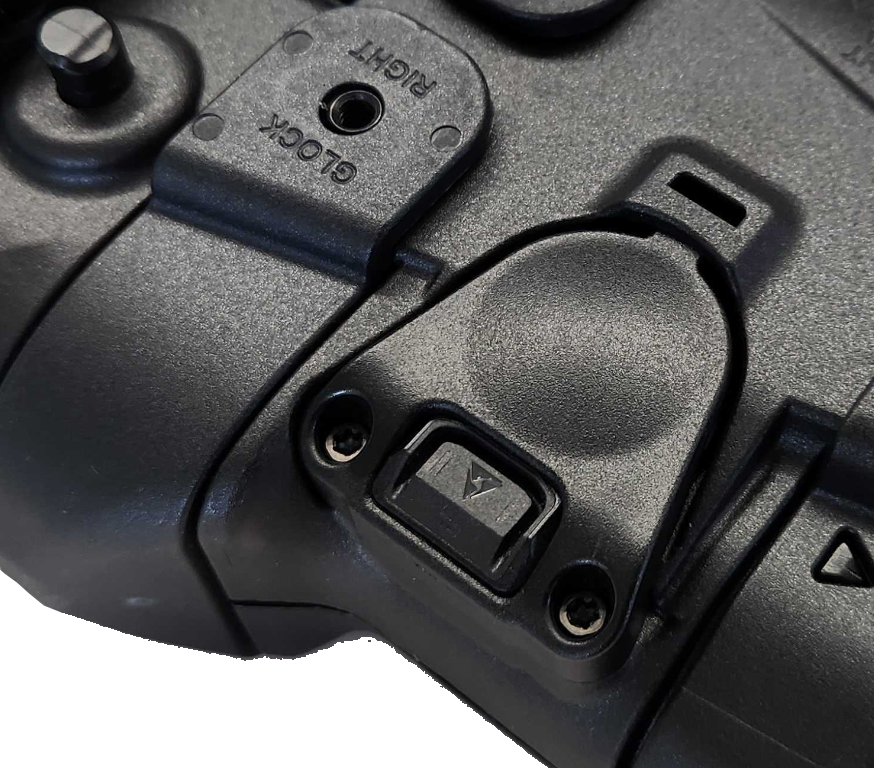
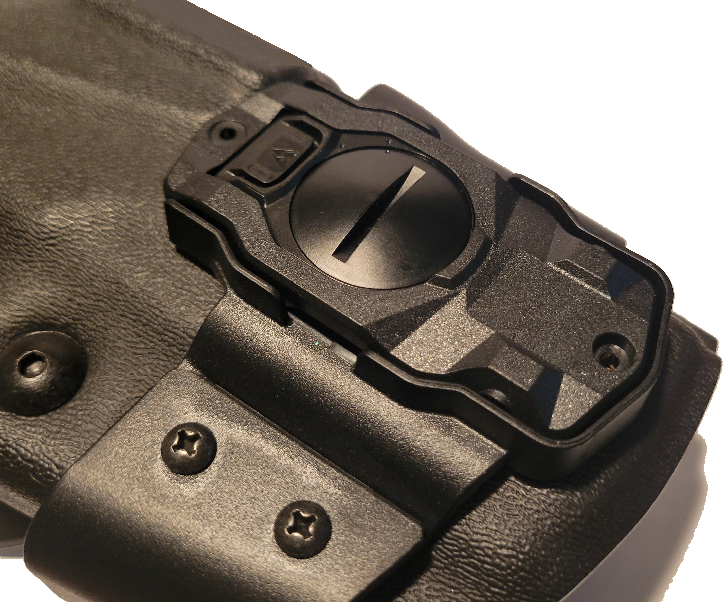
- Integrated holster: Comes ready to accept a Signal Sensor module (See the left example image below)
- Brackets: Adds mounting space for a Signal Sensor module on a standard holster (See the right example below)
- Signal Sensor retrofit bracket: Lets you use Signal Sensor in a space designed for a Signal Sidearm sensor (See link in the bullet points below)
Tools needed
A 1/8" hex key or #2 Phillips screwdriver, depending on your holster:
- Safariland holsters commonly use the 1/8" hex key.
- Blackhawk holsters commonly use a #2 Phillips screwdriver.
- Your holster brand or model may require specific tools. Check your holster's user manual for more information.
- Using a removable threadlocker is recommended for all screws.
These instructions show sample holsters. While holsters differ, the overall procedure is the same.
Read this Installation section completely before beginning. Holster must be empty during installation.
Choose one of the following installation procedures:
- Install on integrated holster (next section)
- Install with bracket
- Install with Signal Sidearm retrofit bracket
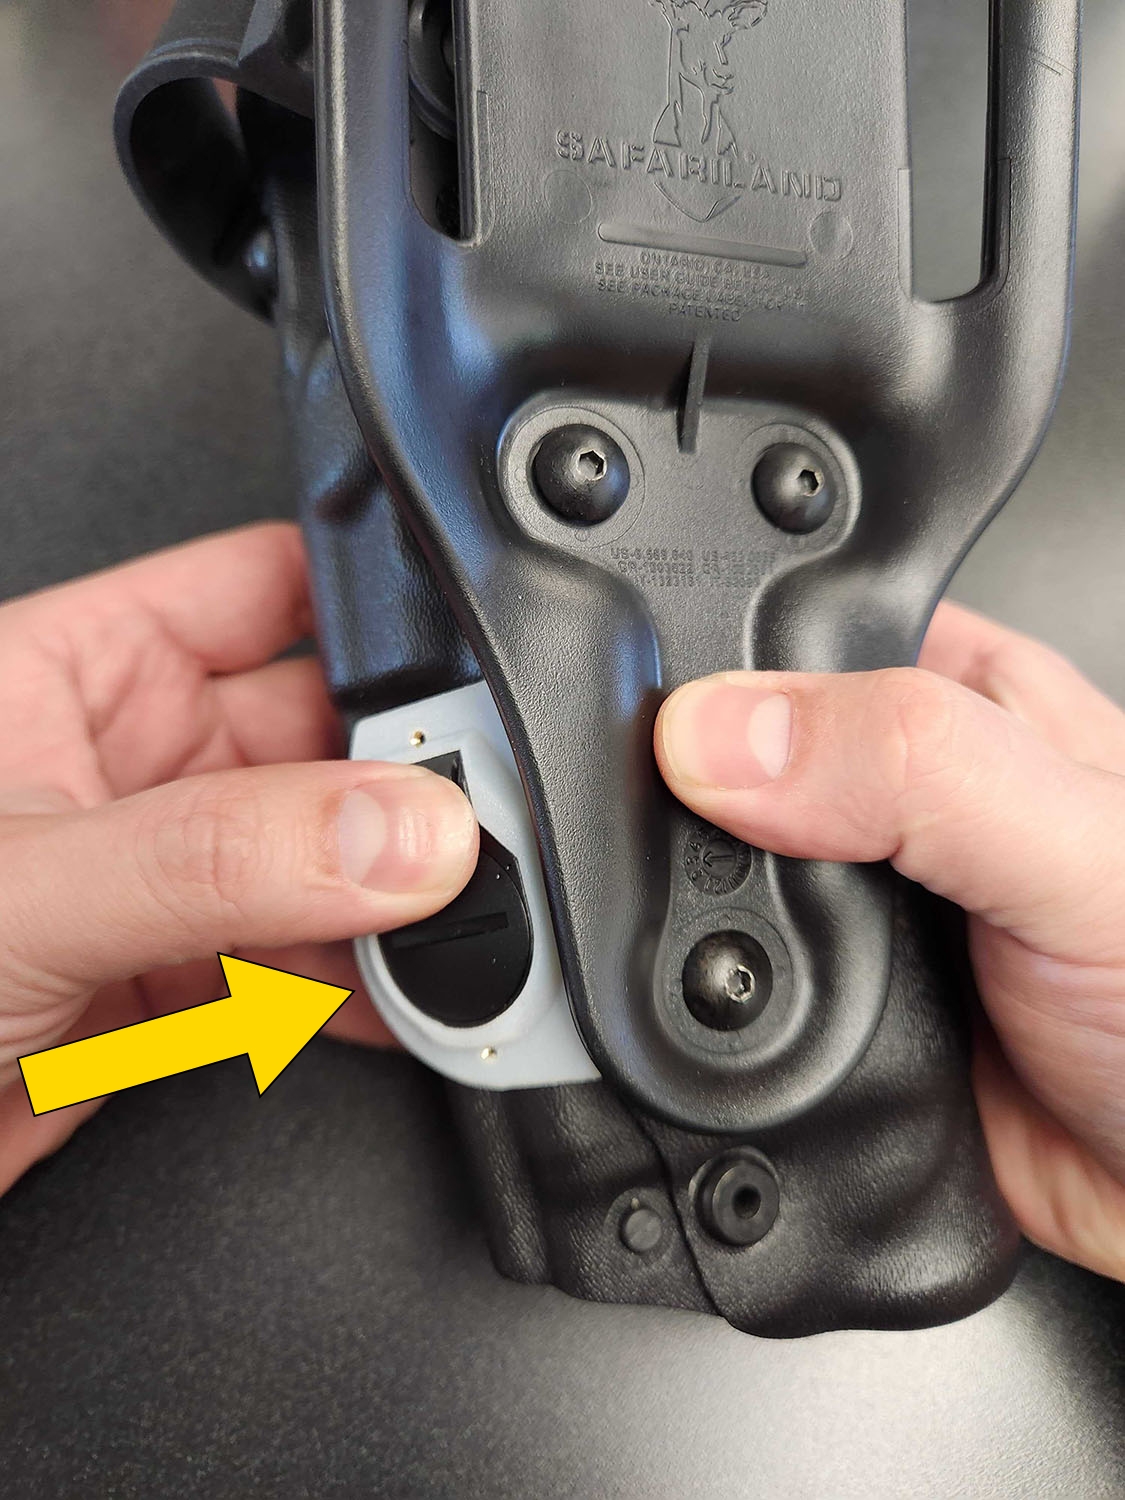
Install on integrated holster
- With the battery door facing out, set the bracket into the dedicated space on your holster, ensuring the sensor fits into the recessed portion so it contacts the holster.
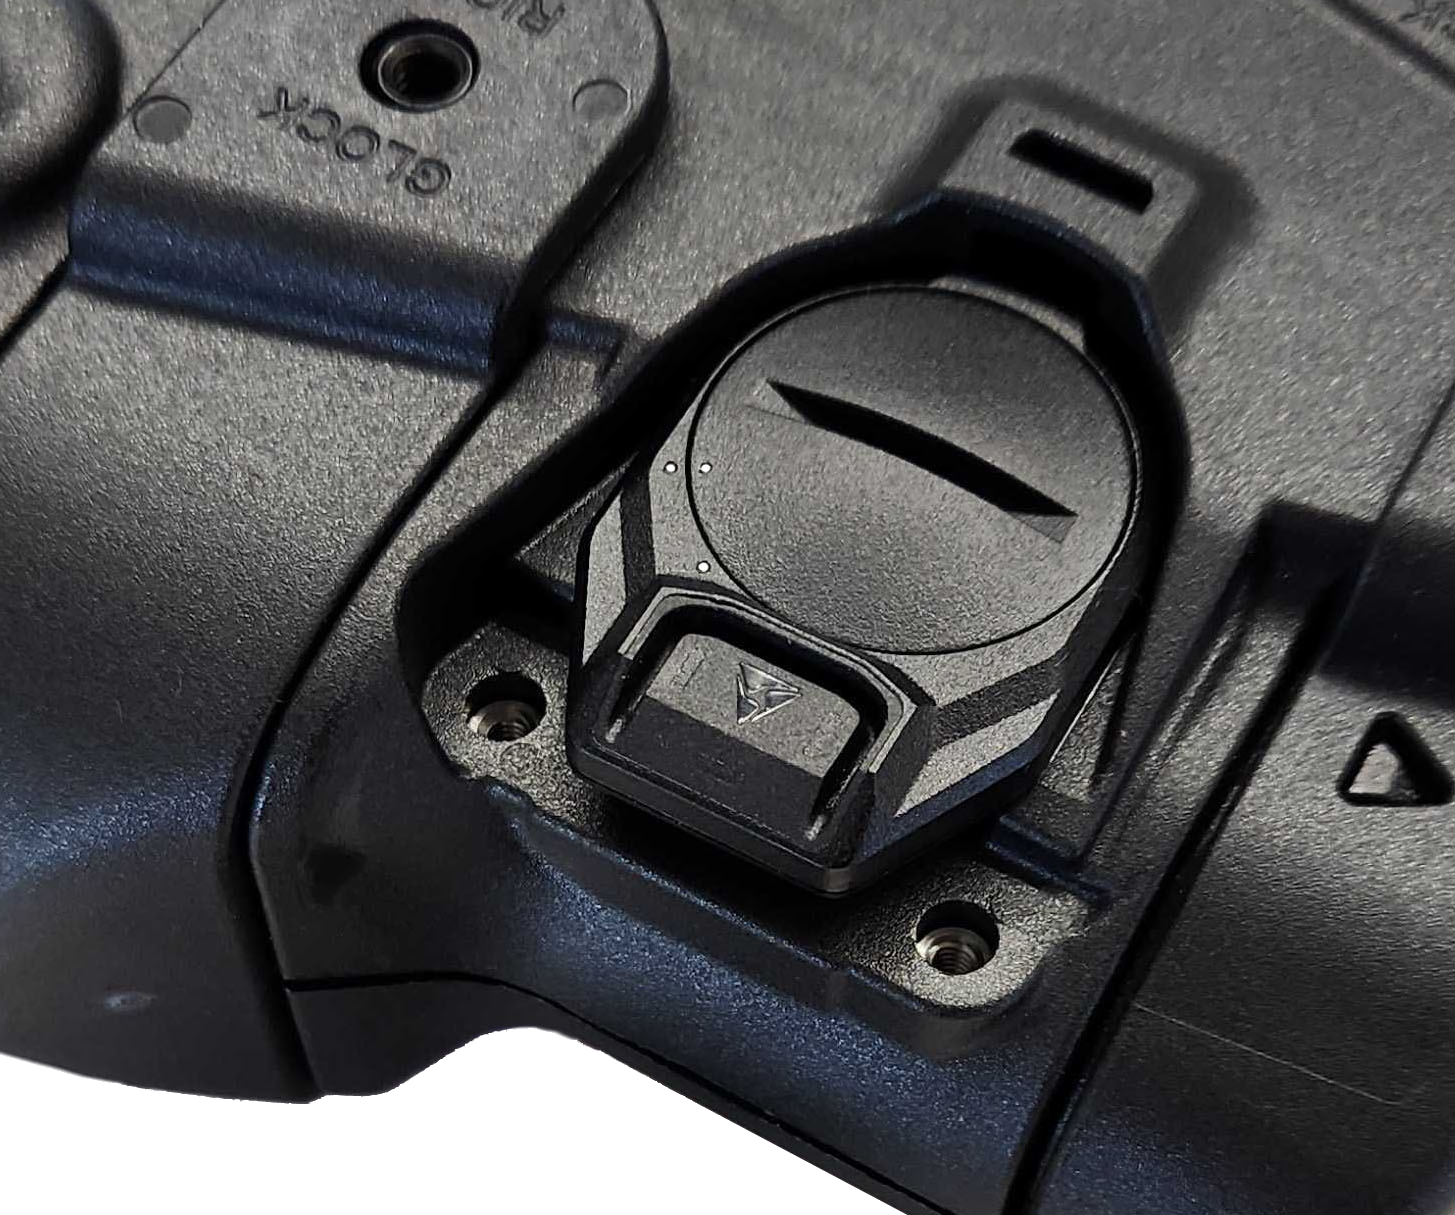
- Secure the sensor with the cover and screws that came with your holster; don't over-tighten.
Install with bracket
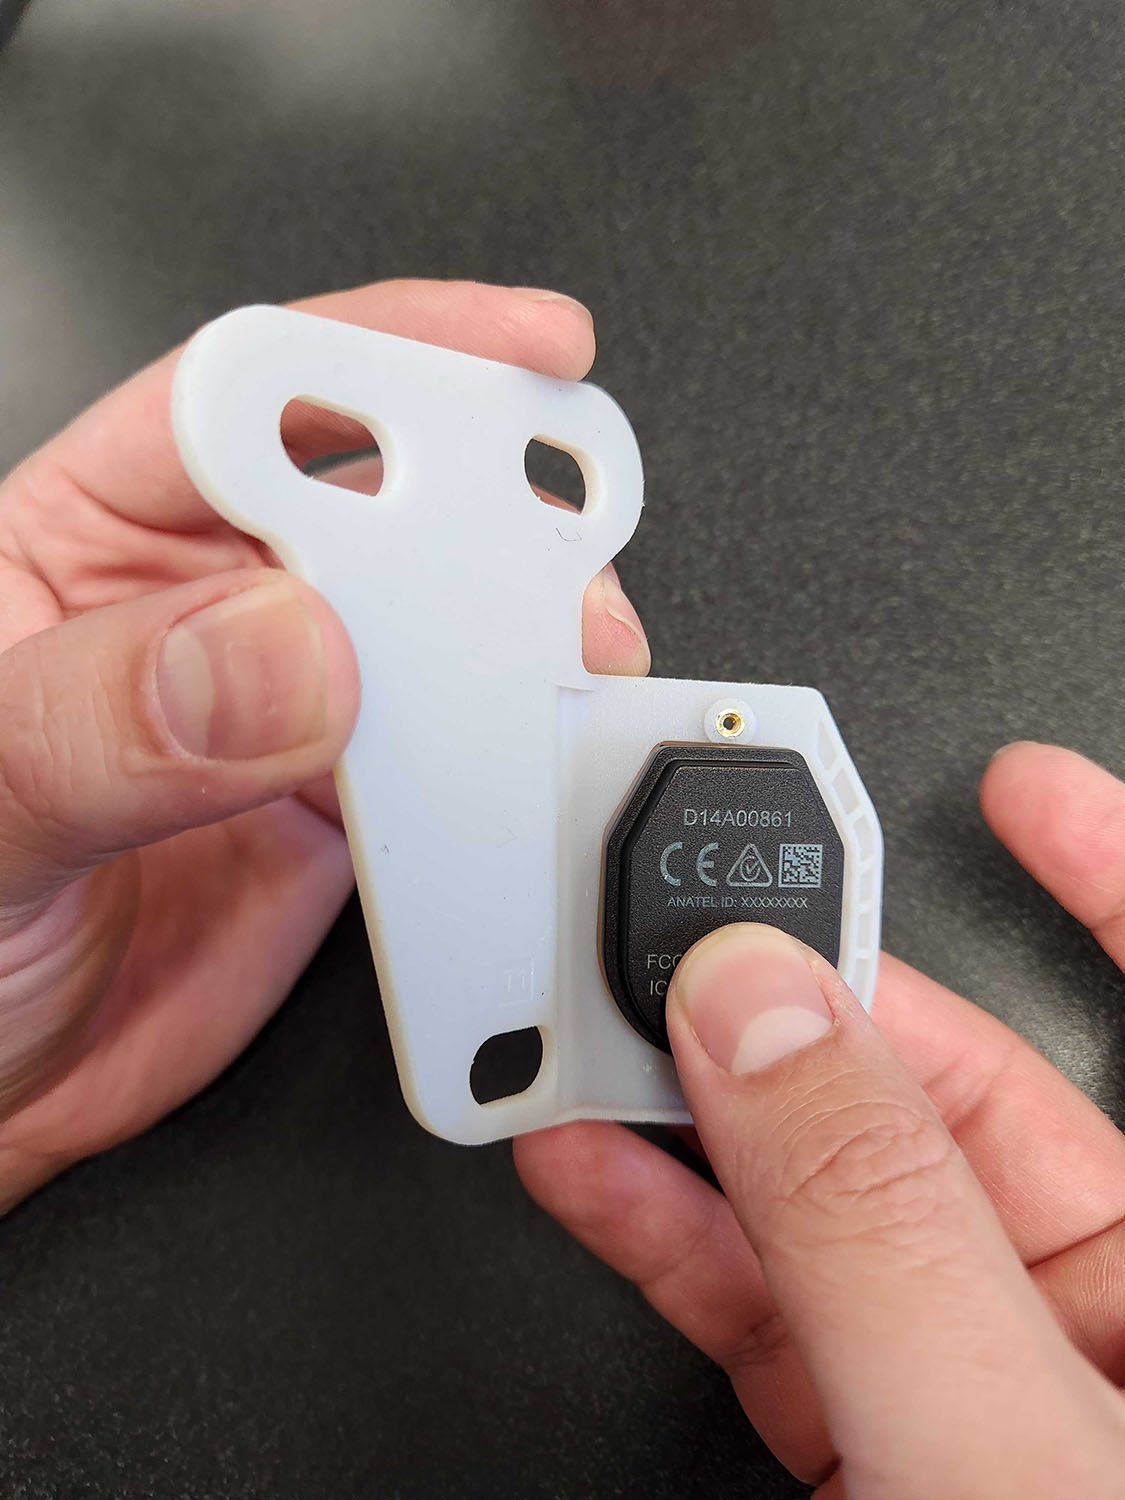
Use a Signal Sensor retrofit bracket to add Signal Sensor to a non-integrated holster. Here's one type: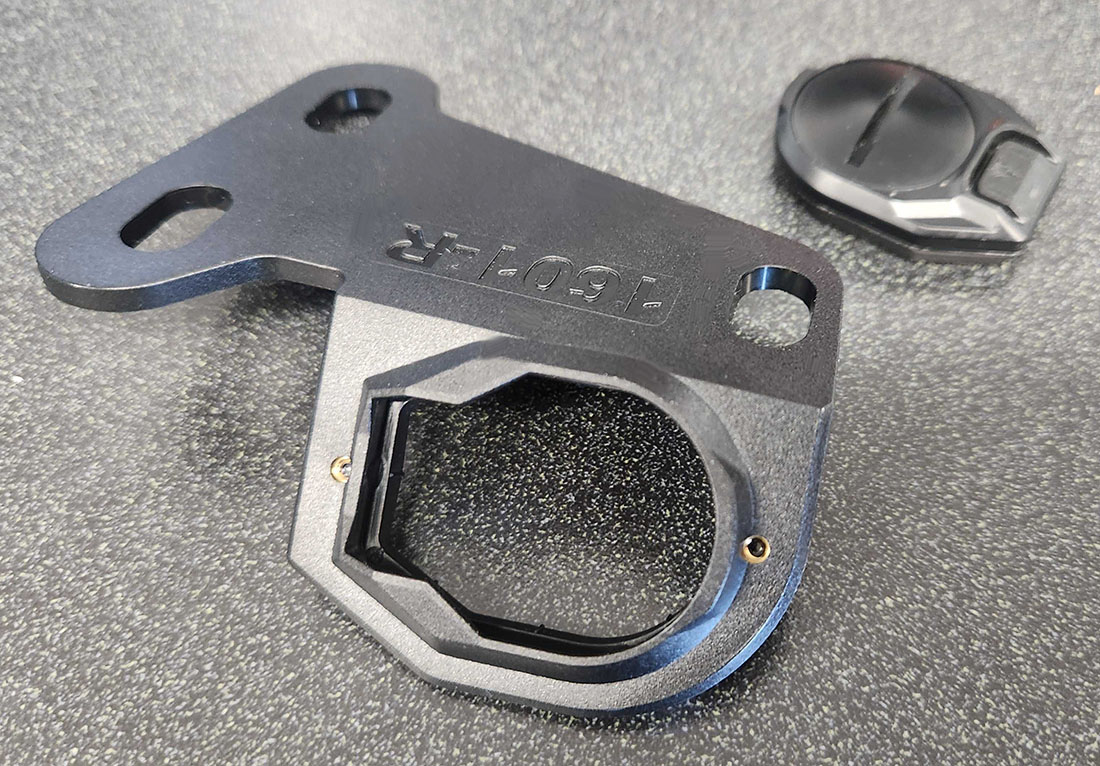
The following steps feature the bracket in light blue for visibility.
- Separate the belt clip and holster. This usually requires removing three screws.
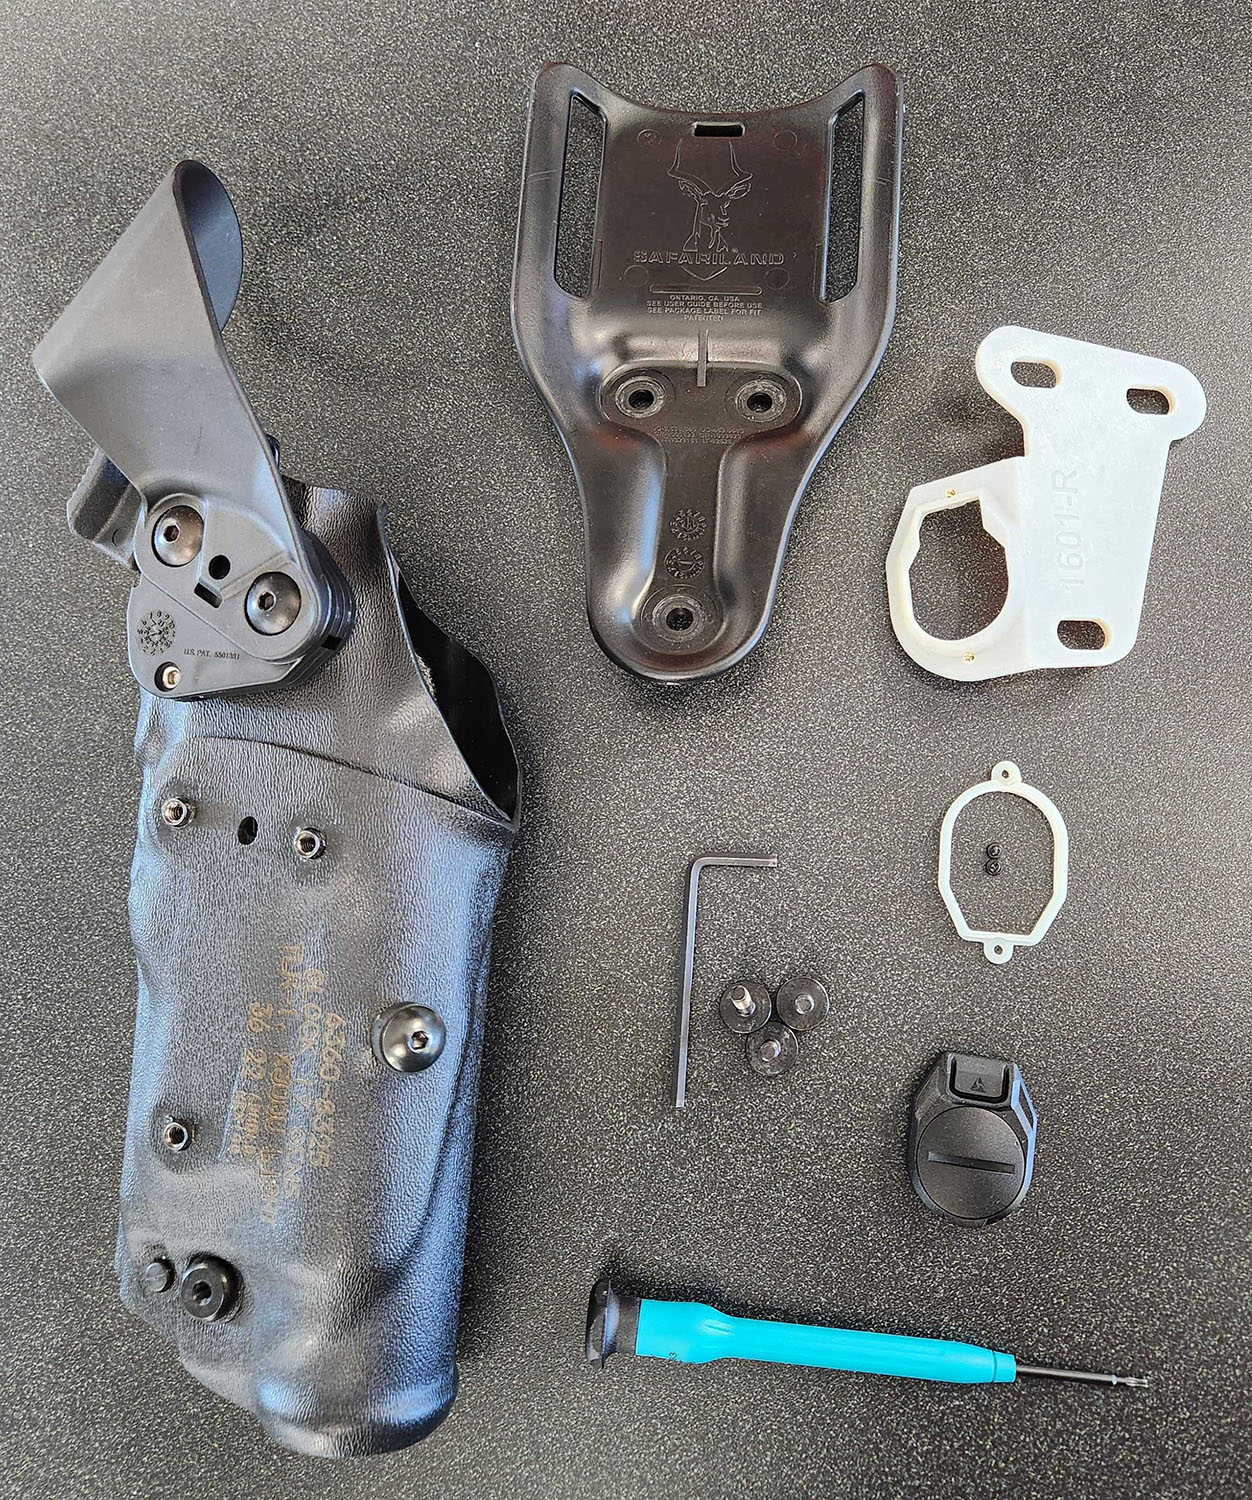
- Insert the Signal Sensor into the empty space of the retrofit bracket with the battery door down.
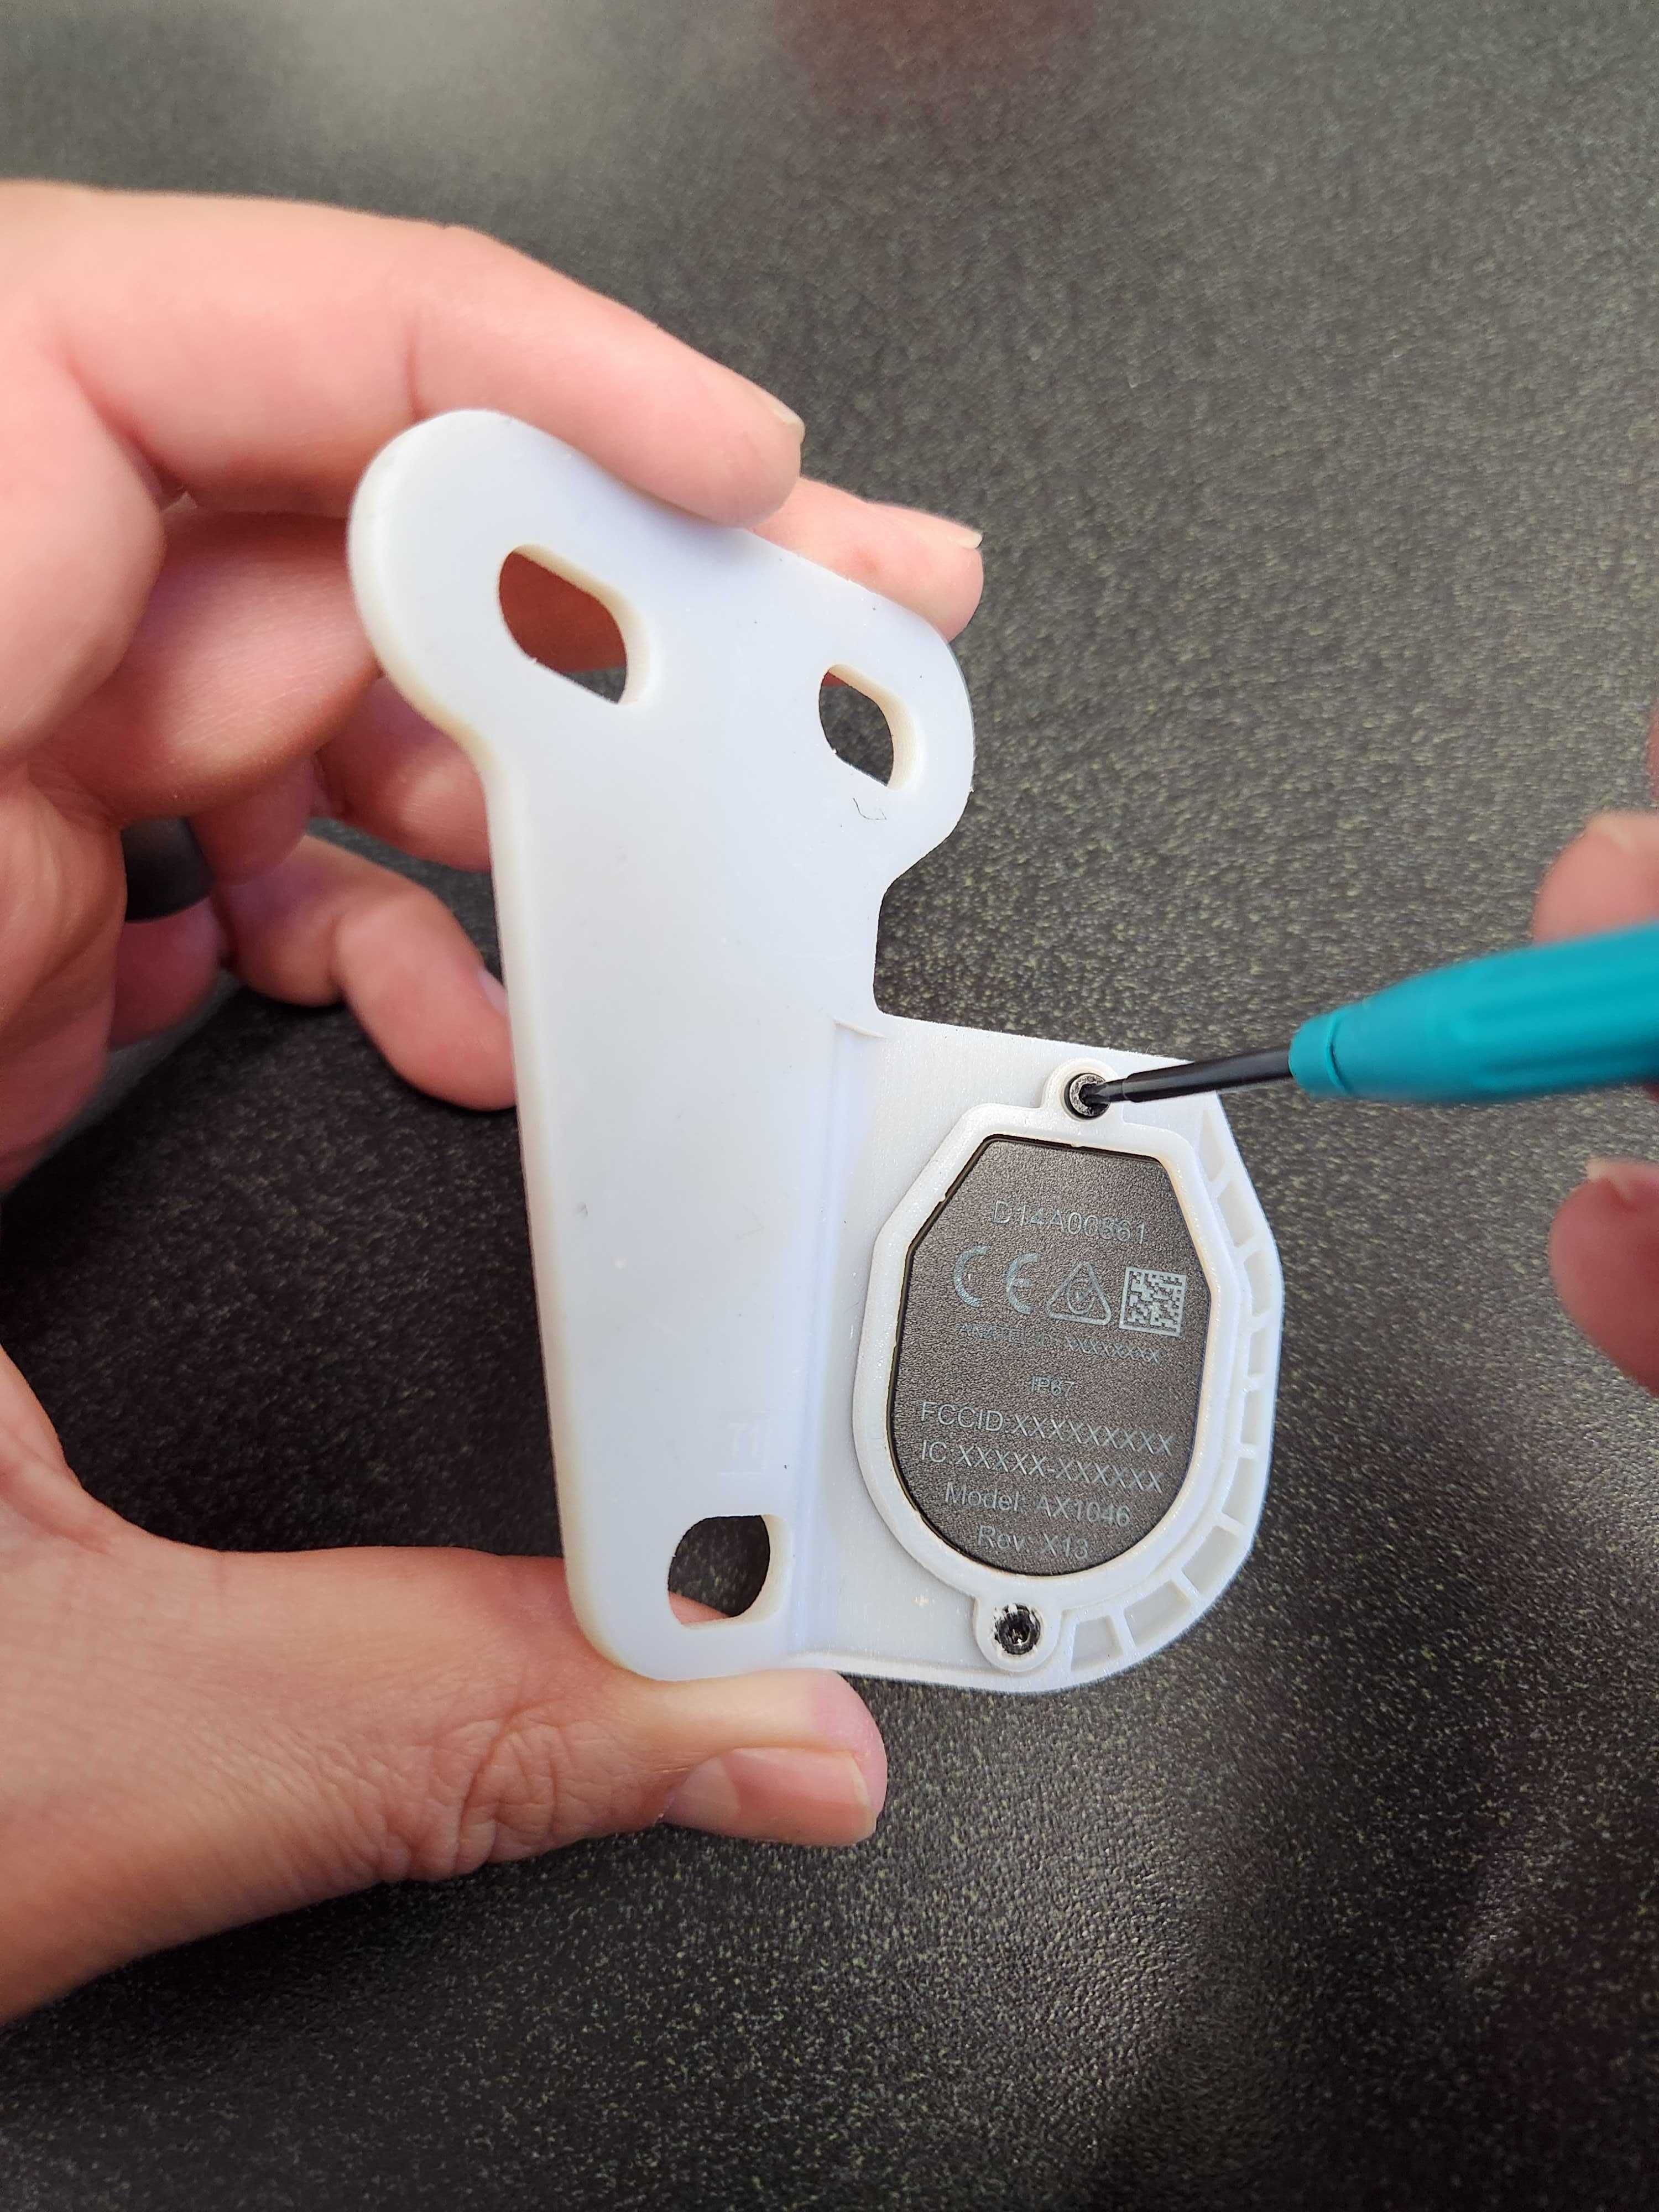
- Add the retention ring and secure with two screws. Don't overtighten.
- Turn the bracket over and set in on the holster, positioning it so the sensor is as close to the holster body as possible.Caution
Gaps between the holsters and the sensor can cause calibration issues.
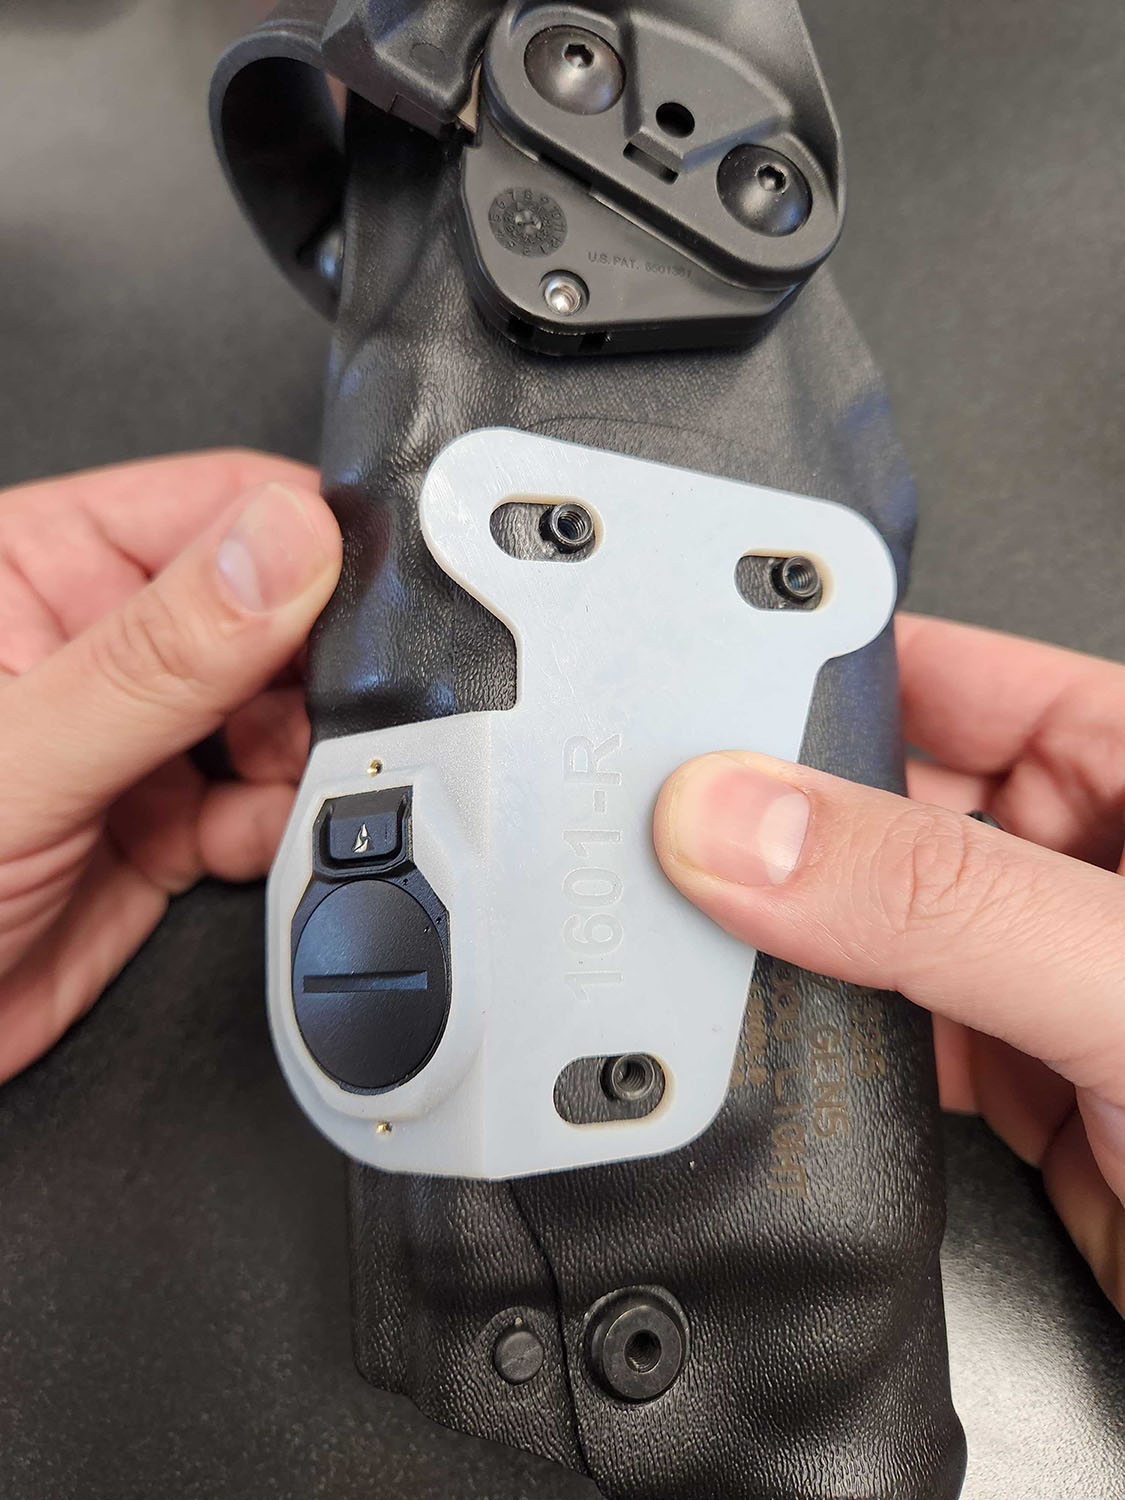
- Add the belt clip on top of the bracket.

- While holding both the retrofit bracket against the holster and the belt clip in place, install the longer screws provided, but do not fully tighten yet.
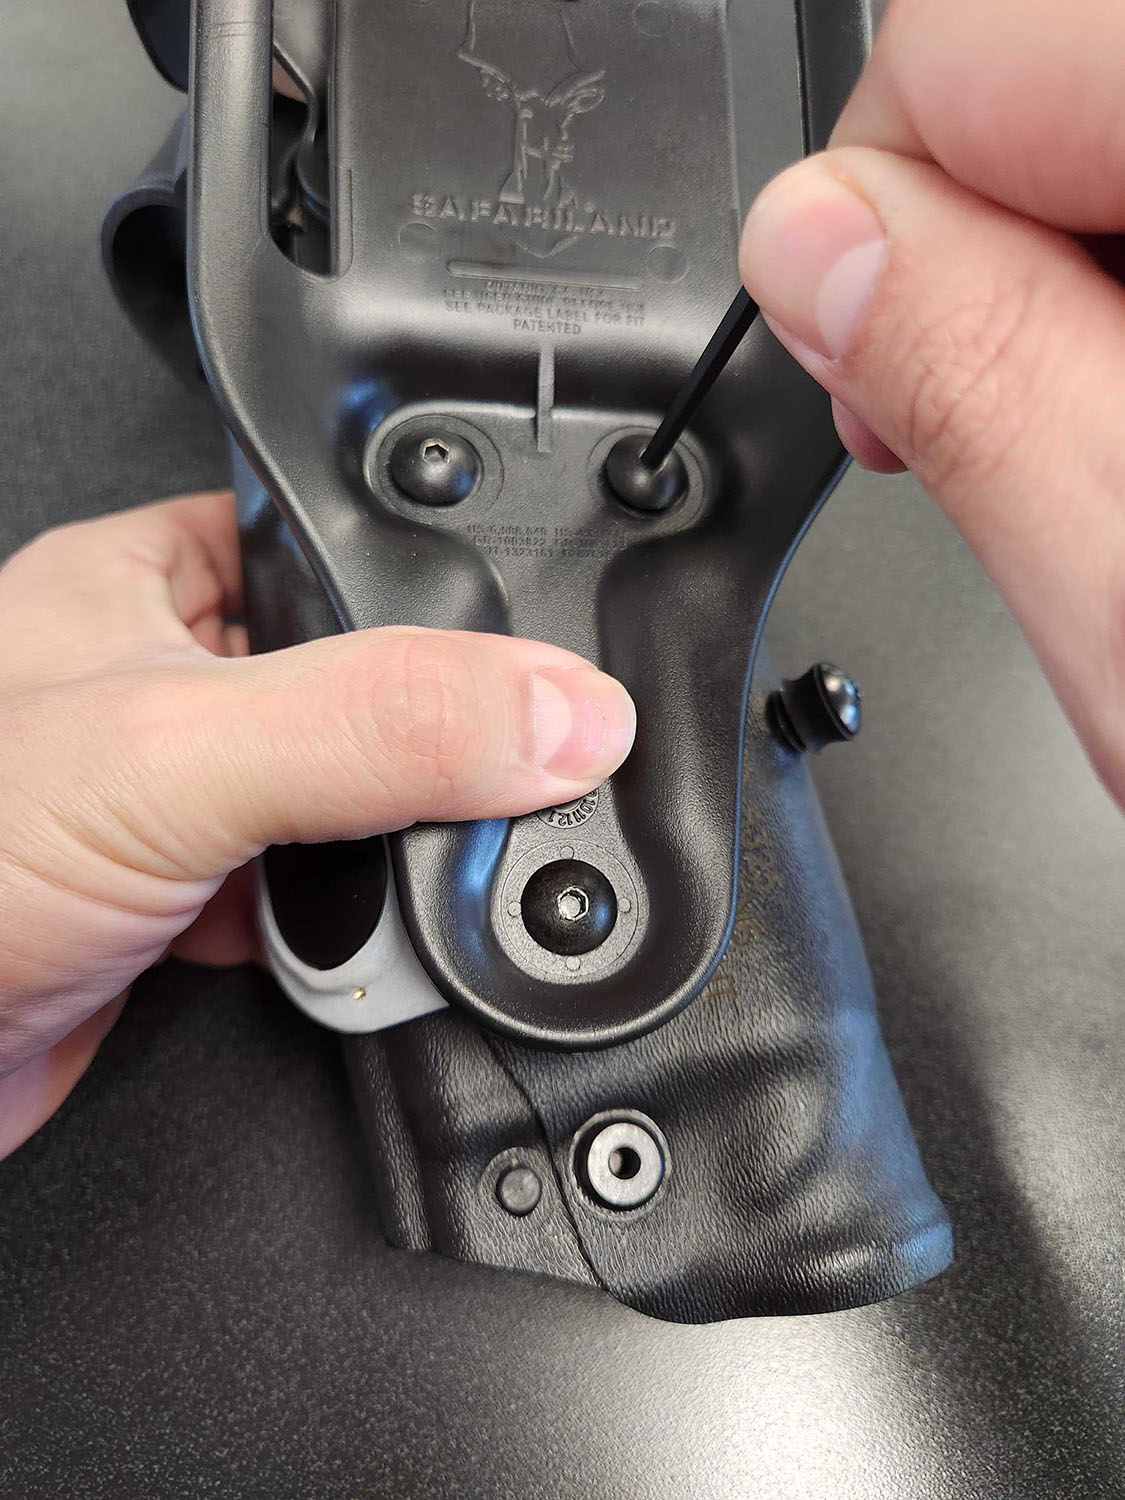
- Check once more that the sensor is still positioned as close to the holster body as possible, then tighten the screws. Don't over-tighten.
Install with Signal Sidearm retrofit bracket
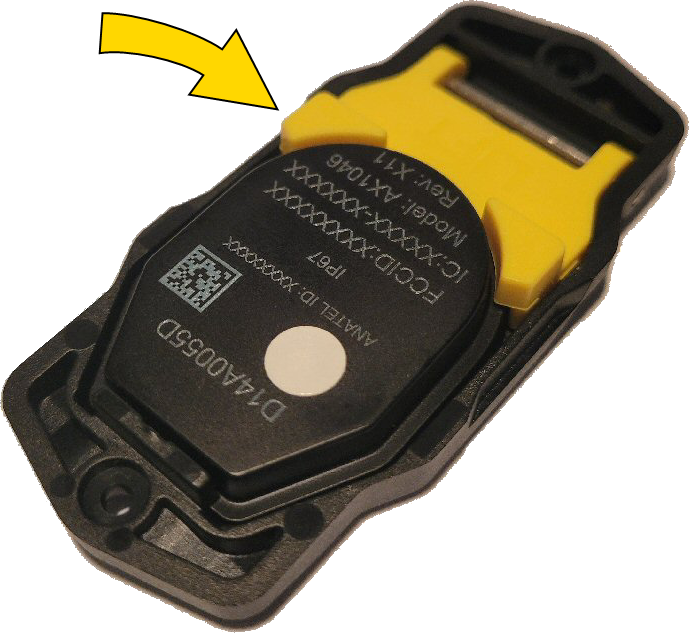
The Signal Sidearm retrofit bracket (left image below) lets you place Signal Sensor in a space previously used by the earlier generation Signal Sidearm sensor (right image below).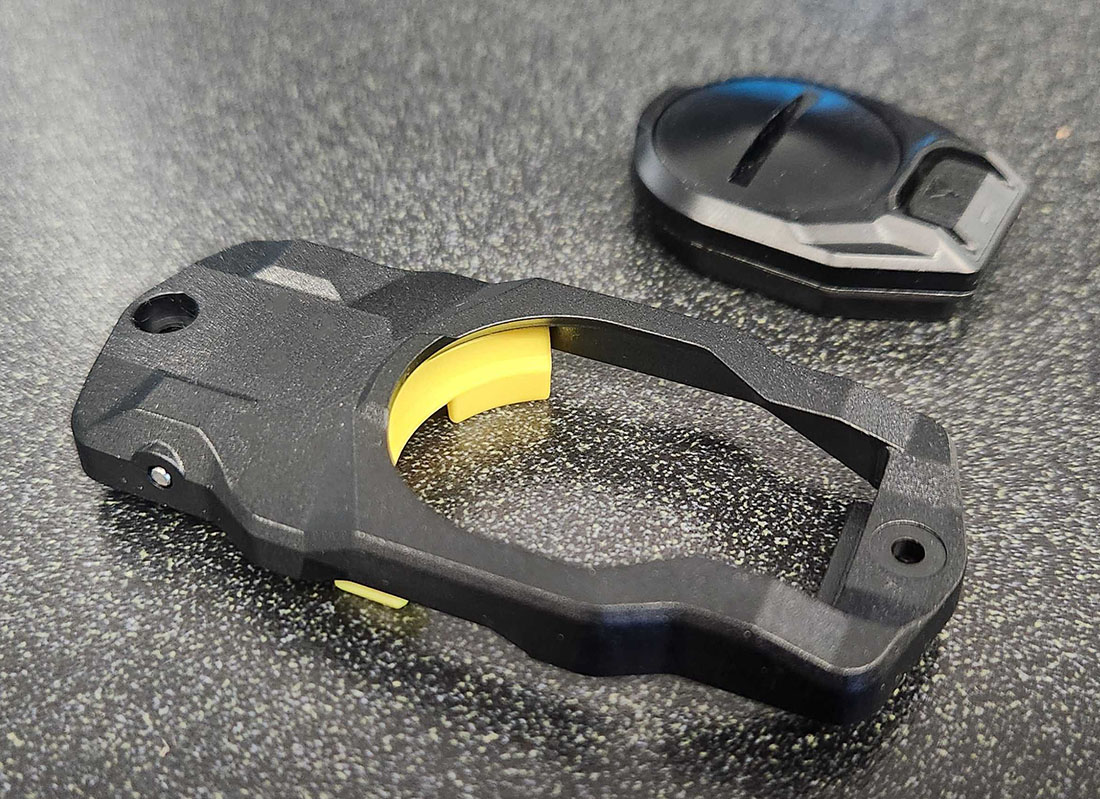
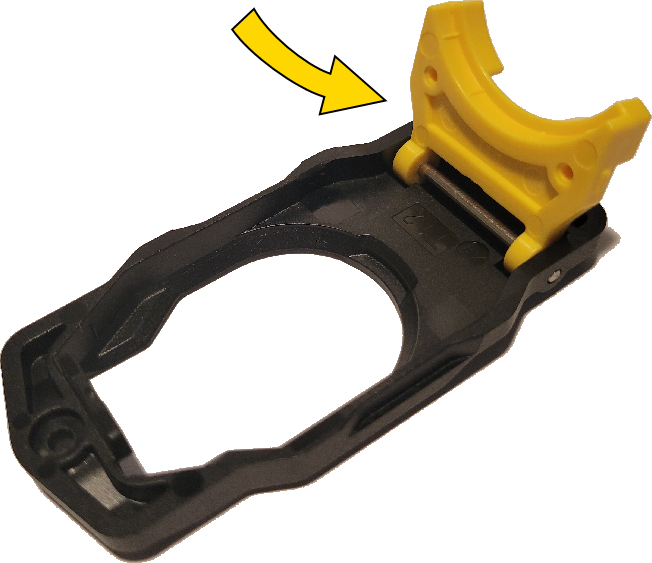
- Turn the Signal Sidearm bracket upside down and pull the yellow retention tab up. It will give slight resistance and then click open.
- Insert the Signal Sensor into the empty space with the battery door down and the top (straight) side first so it slips under the small edge opposite the retention tab.
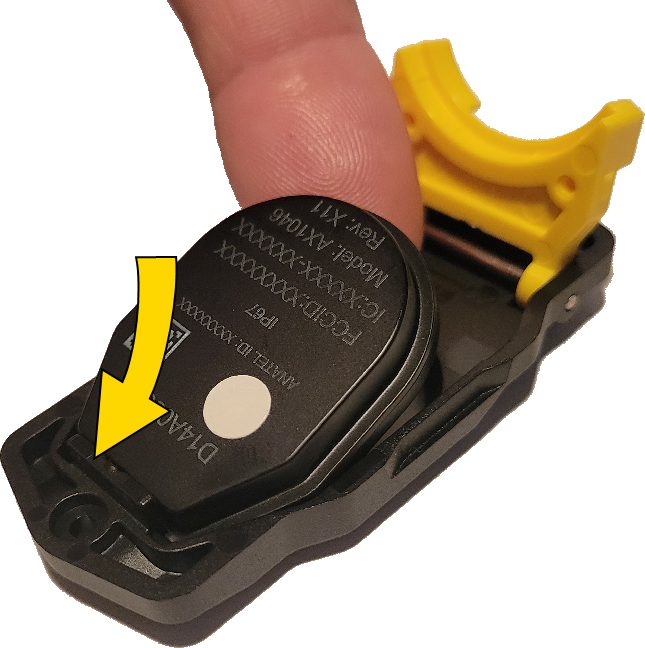
- Press the retention tab down over the sensor so it clicks closed.
- With the battery door facing out, set the bracket into the dedicated space on your holster with the button on top, ensuring the sensor fits into the recessed portion so it contacts the holster.
- Secure the bracket with the screws provided. Do not overtighten.
The next step is in the next section: Setup and calibration.