Redaction
Use the Redaction tool to permanently remove or replace sensitive information in a generated PDF before you print or share it. You can access the Redaction tool while:
- Preparing an event or case for sharing
- Printing a profile
- Printing a report
Redact incidents and cases before sharing
- Open the event or case.
- Select More actions [...] > Prepare documents for sharing.
- Choose the reports, documents, and other items to include and select Next.
- See Documentation sharing for more information.
- Select the Yes option and Start redaction at the bottom of the screen.
- Redact the document. See Use the Redaction tool for full steps.
- After you export the redacted PDF:
- The redacted PDF is added to the incident/case and appears on the Files tab.
- If your organization is configured to integrate your cases in Axon Records with cases in Axon Evidence, the PDF is also uploaded to Axon Evidence as part of the case integration.
Redact reports when printing
- Open the report in Report Writer.
- Select More actions > Print.
- Adjust the print settings and select Next.
- See Print reports for more information.
- Select the Yes option and Start redaction at the bottom of the screen.
- Redact the document. See Use the Redaction tool for full steps.
- After you export the redacted PDF, it opens in a new tab so you can download and save it.
- Unlike when redacting events or cases, the redacted PDF is NOT saved anywhere or uploaded to the report as an attachment.
Redact citizen profiles when printing
- Open the profile.
- Select Actions > Print.
- Adjust the information to include in the printout and select Next.
- See Print profiles for more information.
- Select the Yesoption and Start redaction at the bottom of the screen.
- Redact the profile. See Use the Redaction tool for full steps.
- After you export the redacted PDF, it opens in a new tab so you can download and save it.
- Unlike when redacting events or cases, the redacted PDF is NOT saved anywhere or uploaded to the profile as an attachment.
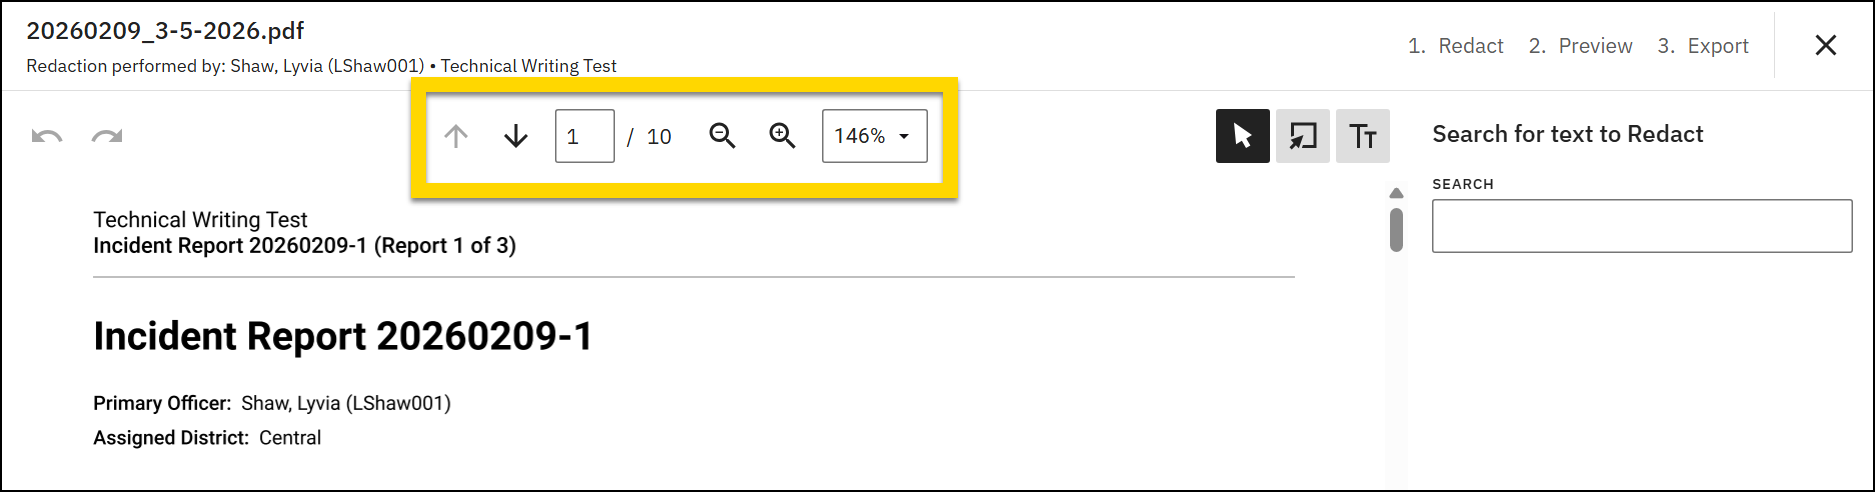
Use the Redaction tool
When the Redaction tool opens, you can use:
- Use the page arrows to move between pages.
- Enter a page number to jump directly to a specific page.
- Use the zoom icons or the zoom dropdown to change magnification, such as 100% or Fit to page.
- Scroll through the document to review content before you apply redactions.
There are three ways you can apply redactions:
- Redact text using search
- Manually redact content
- Add replacement text
After applying a redaction, you can move or edit it. Then, once all redactions are in place, you can preview the redacted document before exporting it as a PDF.
If you close the Redaction tool before you export, your changes are NOT saved. Complete the redaction and export before closing.
Redact text using search
To quickly redact specific strings of text in bulk:
- Enter text in the search field on the right side of the window.
- Review the list of exact matches.
- Select the checkboxes for the text you want to redact.
- Select Apply.
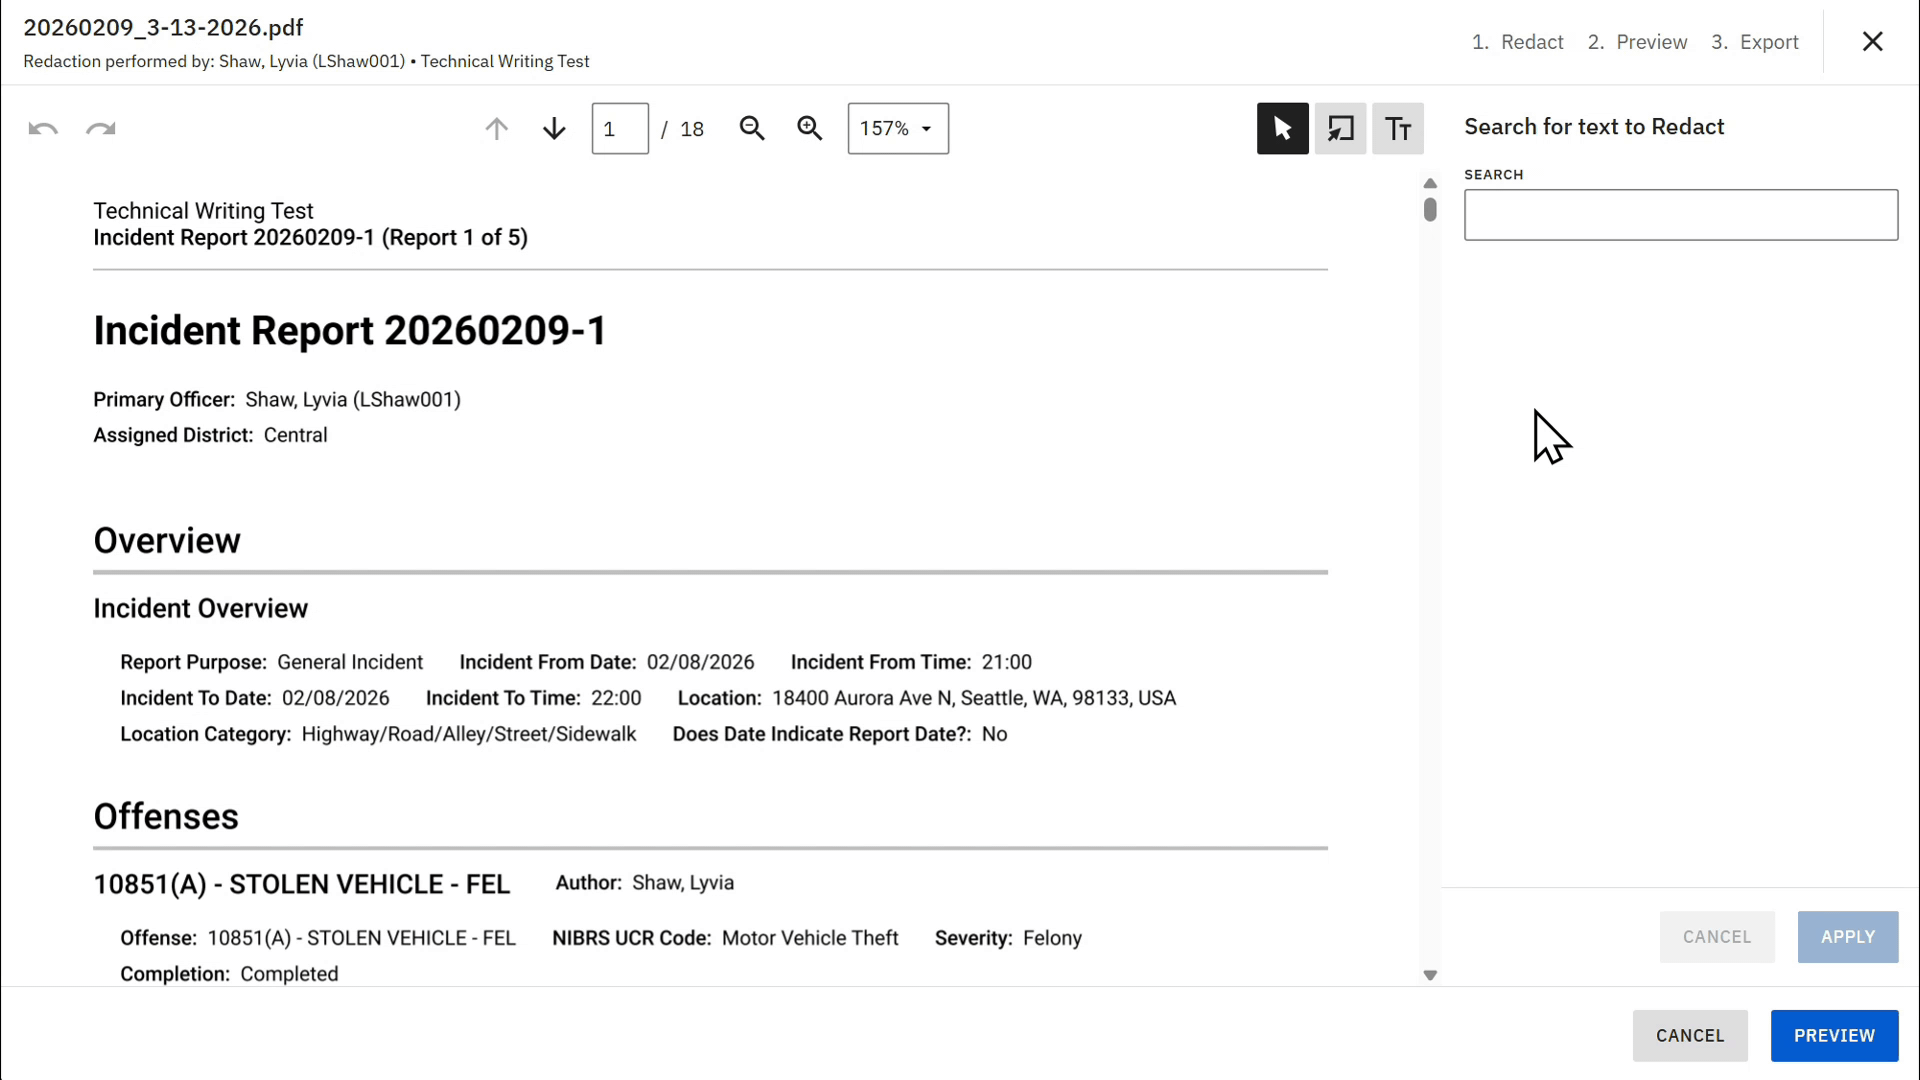
The search function matches exact text only. If a name appears in multiple formats (for example, last name first, first name last, or with a middle name), search for each variation separately.
When you first apply a redaction, the box appears gray and semi-transparent. When you hover over it, the box turns black. In preview mode, all redactions appear fully black and opaque.
Manually redact content
In addition to searching, you can add redactions manually:
- Select the Redact manually button.
- Your mouse cursor changes to a crosshair cursor. Select and drag across the content you want to redact.
- Release to place the redaction box.Select the box and click and drag the corners to adjust its size.
Manual redactions follow the same visual behavior as search-based redactions. They appear semi-transparent until you preview them.
Add text annotations
- Select the Text annotate tool.
- Select and drag to draw a text box.
- Double-click on the "Insert text here" text that appears and replace it with the text you want to be printed in the redaction, such as “Person 1" or "REDACTED".
- Use the text toolbar to:
- Change the background (fill) color of the text box.
- Change the text color.
- Adjust the text size.

Move or delete redactions
After placing a redaction, you can move or resize it. Select the redaction box (or text box) and press the delete icon or press the Delete key on your keyboard to remove that redaction.
Preview redactions
At any point, you can preview what your redacted document will look like by selecting Preview. In preview mode, the system displays all redactions as fully black and opaque. Select Back to continue adding additional redactions.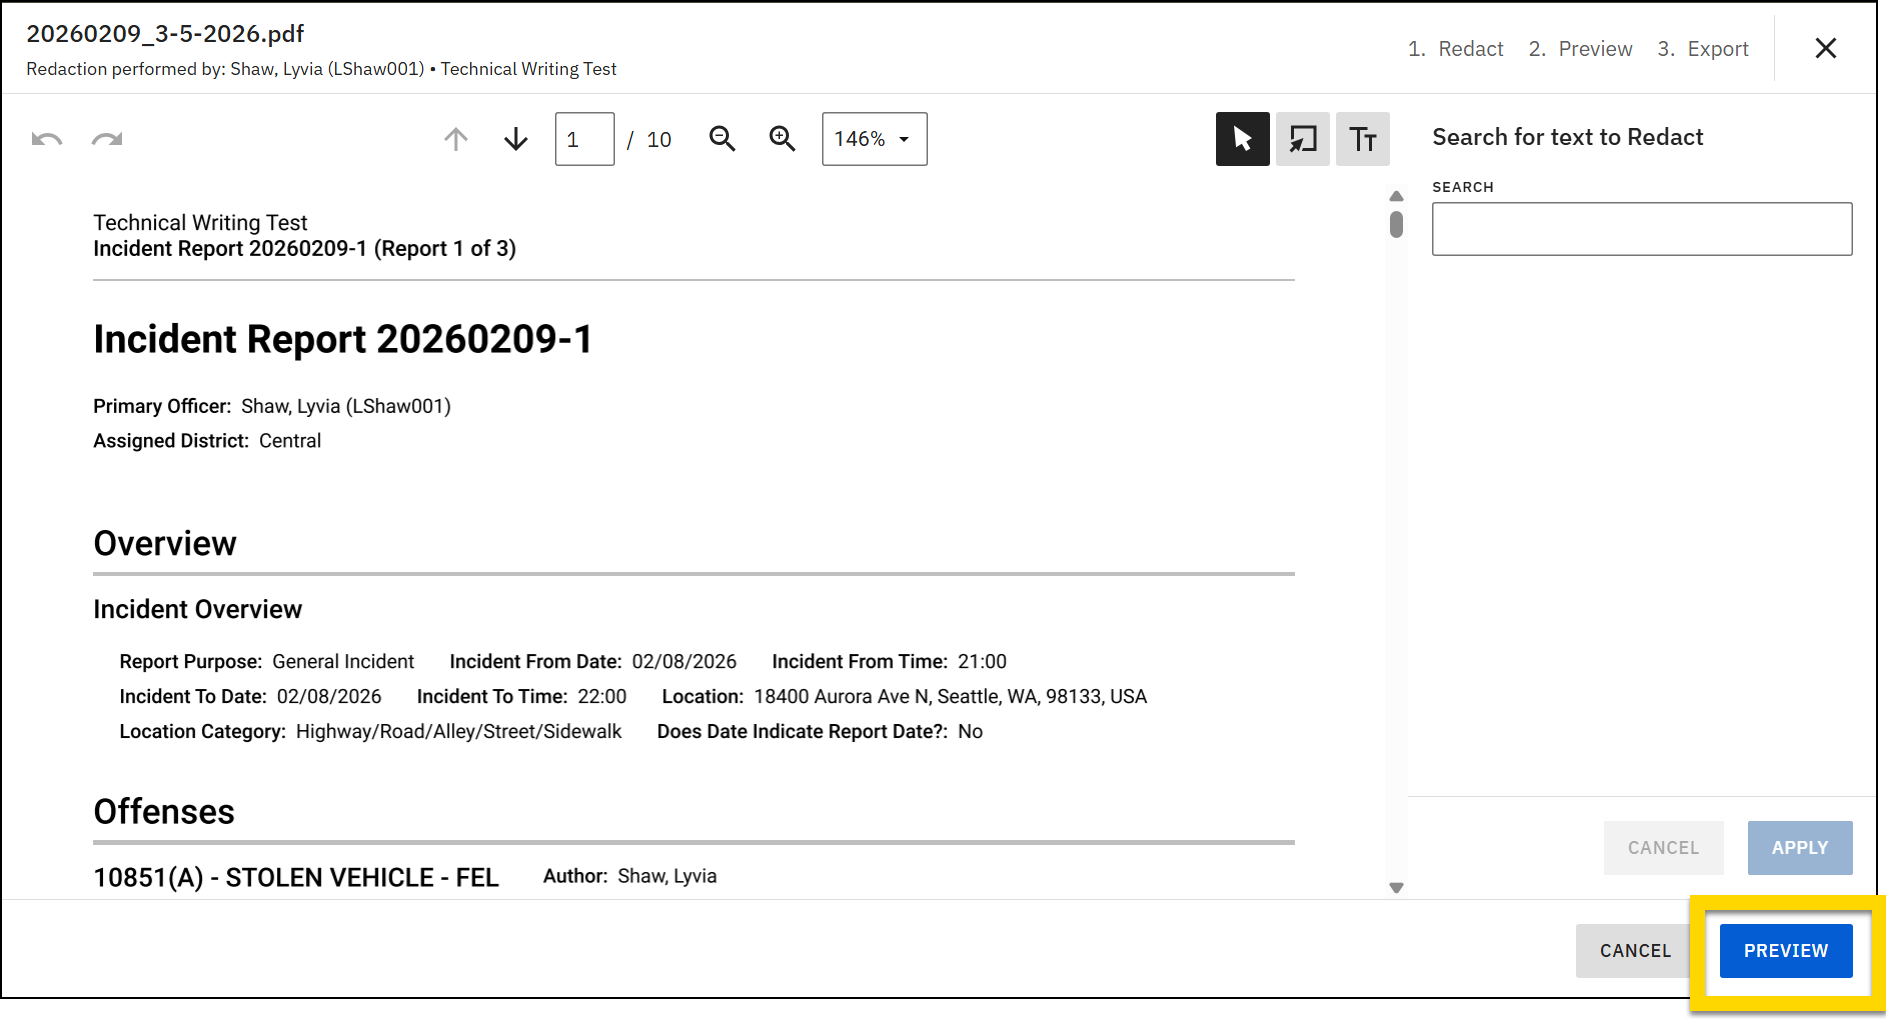
Export the redacted PDF
If all redactions are complete, you can export the PDF:
- If you are not already previewing the redacted PDF, select Preview.
- Optionally add audit log notes to explain what you redacted and why. The system records these notes in the audit log.
- Select Redact and export.
- If you are redacting an event or case, the PDF is saved under the Files tab.
- If you are redacting a profile or report, the redacted PDF opens in a new tab where you can download and save it.
- You cannot modify the exported redacted PDF. To make changes, start a new redaction session from the original incident, profile, or report.
Audit log
When you export a redacted PDF, the system creates an audit log entry that records:
- The user who performed the redaction.
- The date and time of export.
- Any audit log notes entered during preview.