Case and investigation documentation
You can document work on a case or investigation by using the summary feature and creating case or investigation documents. Documentation captures narratives and supporting details throughout a case or investigation lifecycle. While reports document the original incident, case and investigation documentation lets investigators record ongoing findings, analysis, and supplemental information.
Summary
The lead detective assigned to a case or investigation can use the summary feature to create and continuously update a narration throughout their investigation. The summary is often used to:
- Communicate status to supervisors
- Provide context for reviewers
- Prepare information for prosecutors or other external parties the case or investigation is shared with
The summary can be reassigned to a user other than the lead detective and only appears to users with specific privileges.
Follow the steps below to create a summary:
- Open the case or investigation profile and select Create case summary or Create investigation summary.
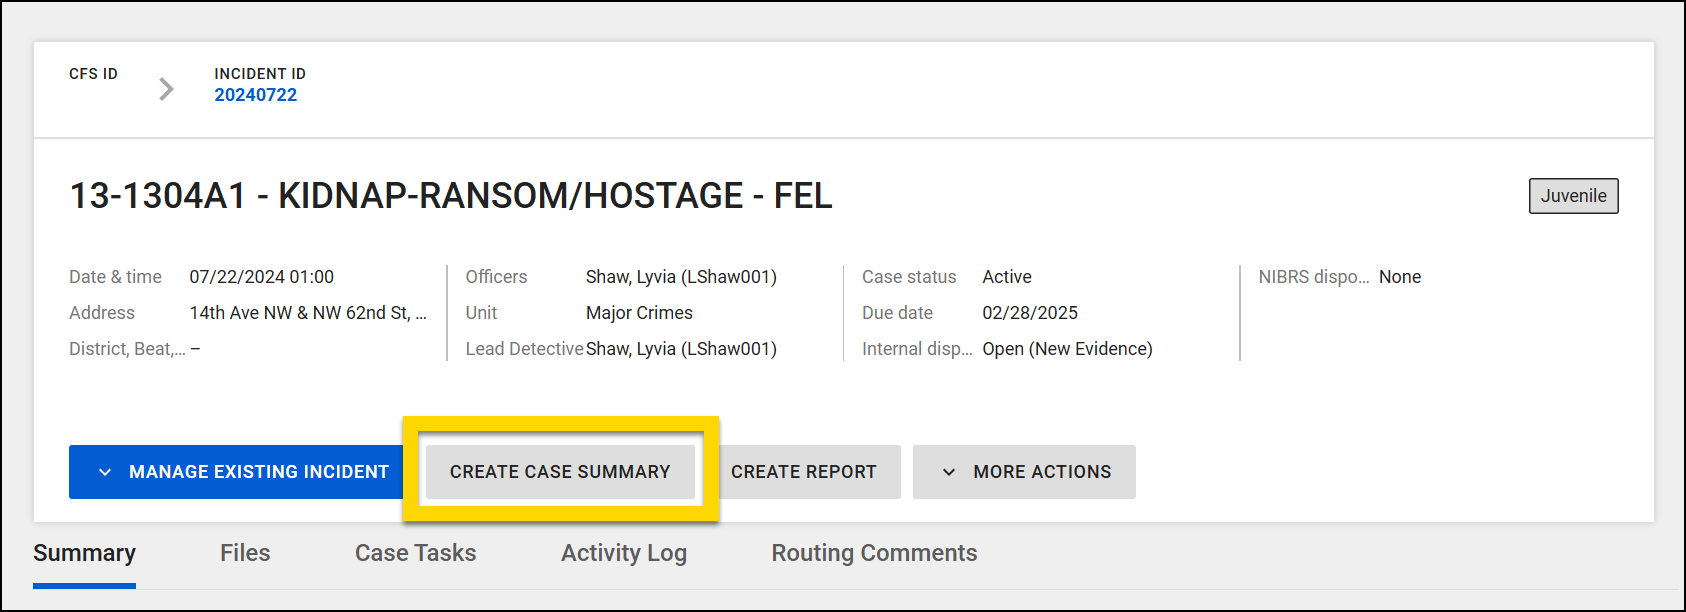
- Report Writer opens where you can enter your summary and upload files as needed. All content entered on this page is auto-saved.
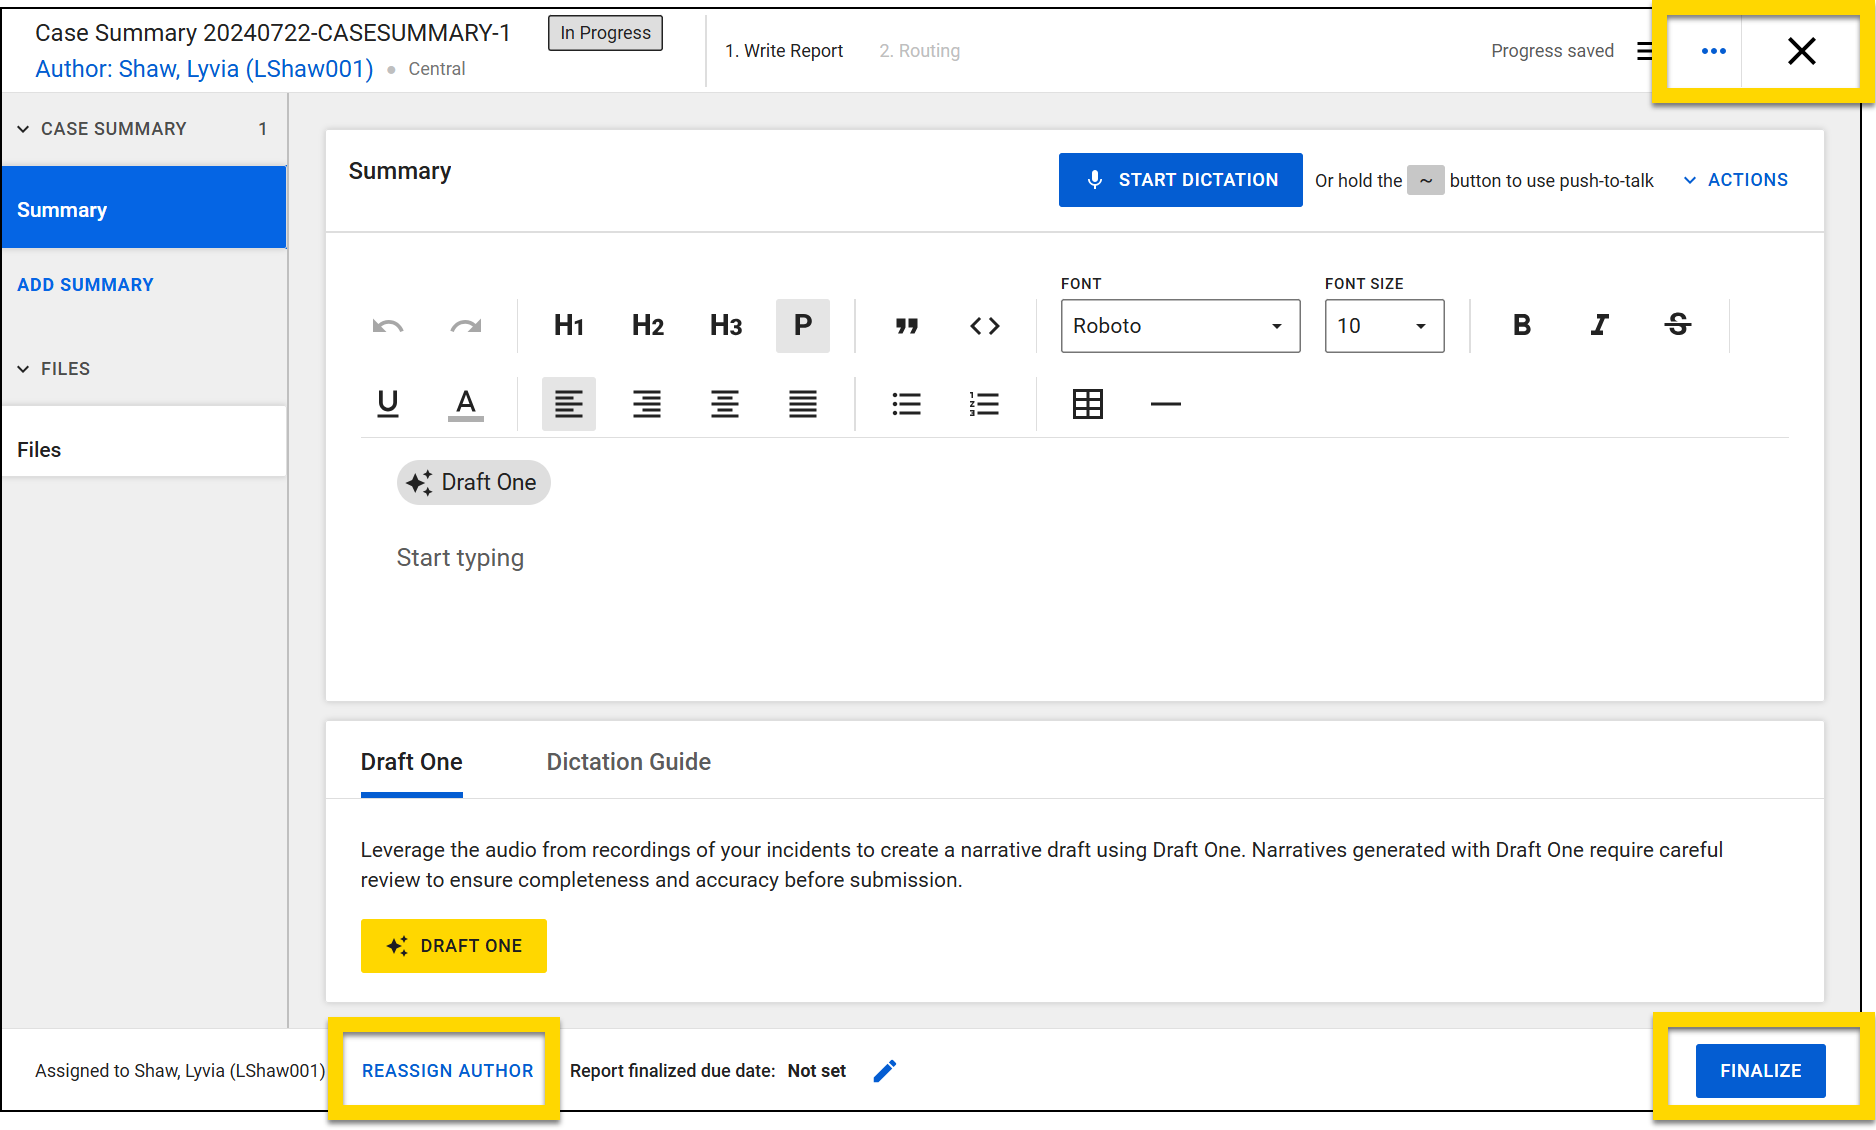
- Your organization may have configured a template you can import to quickly format your summary.
- Open the More actions [...] menu to:
- Select Reassign author in the footer to assign the summary to a user other than the lead detective.
- Select the X button in the top right corner of the screen to close the summary without finalizing it.
- Select Submit to finalize the summary. Users with specific privileges can revert the finalization as necessary.
Once a summary has been created, a new Case/Investigation Summary section appears at the top of the profile, and an entry for Case/Investigation Summary created is added to the activity log. Select See Entire Case/Investigation Summary to open the summary window. To edit the summary, select Update Case/Investigation Summary.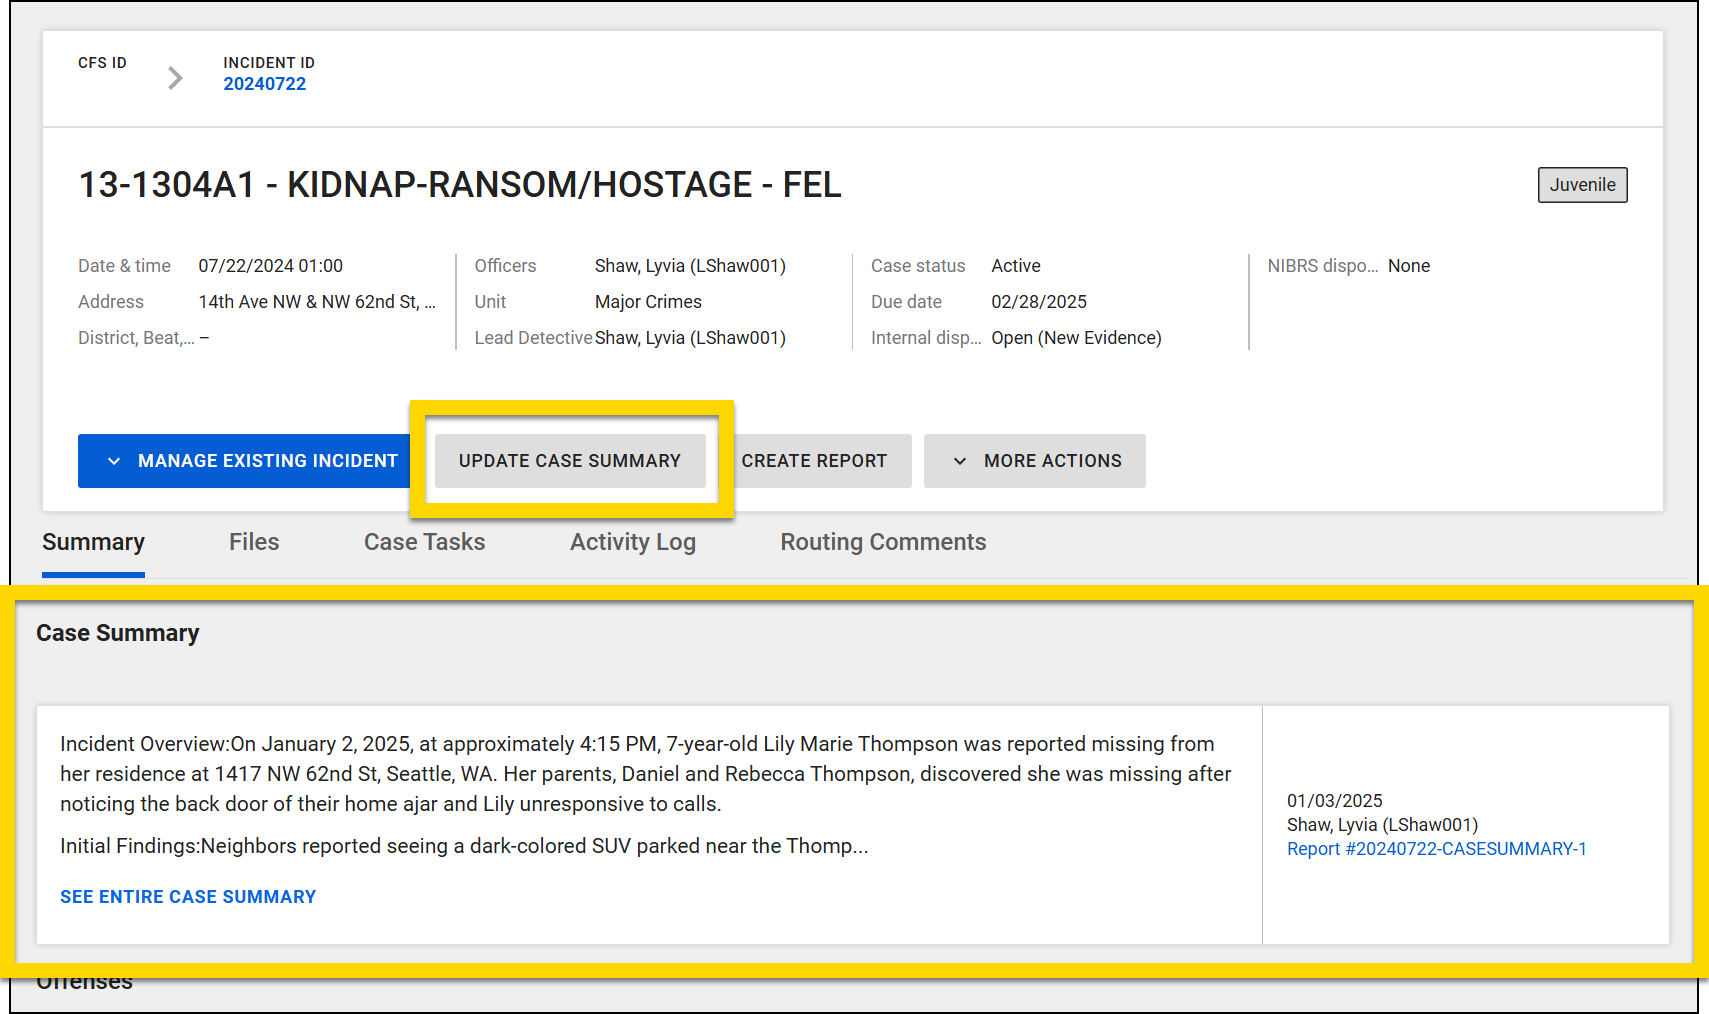
If your organization uses the workflow to assign multiple units to a case, a case summary can only be created and maintained by the lead detective of the primary unit. Lead detectives for additional units do NOT have case summaries. Instead, a case document can be configured to allow these additional units to manage documentation for their units’ investigation.
Case and investigation documents
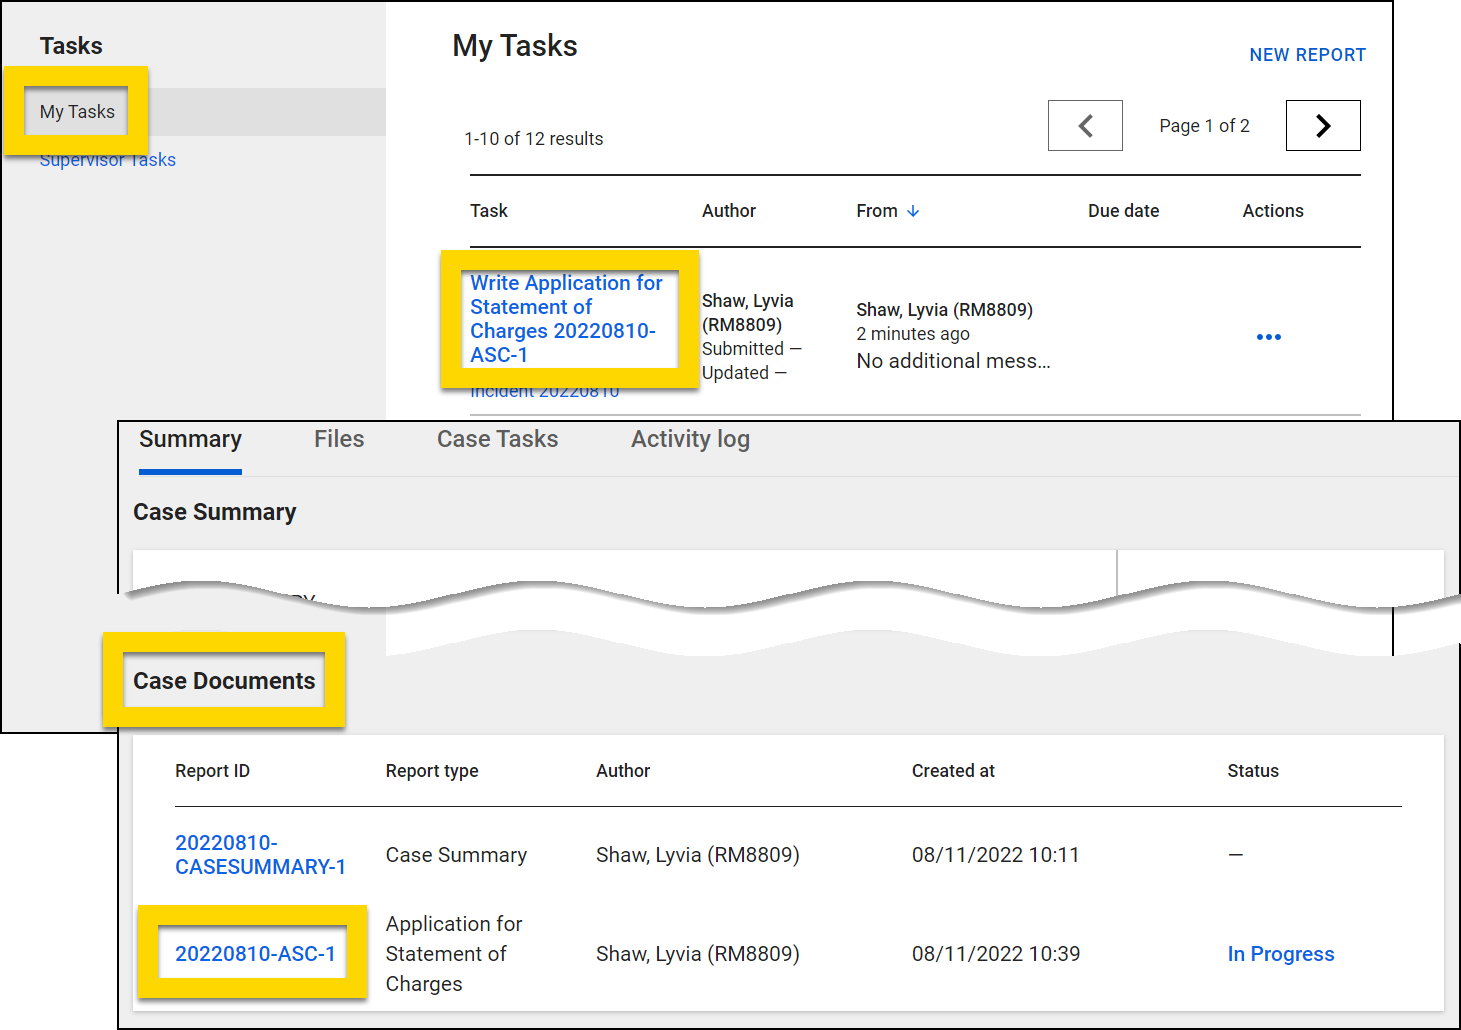
Case and investigation documents let you record information not associated with a report or case task. All documents, including the summary, appear in the Case Documents or Investigation Documents section on the case or investigation's Summary tab. Only users with specific privileges can view this section. Select the blue Report ID to open and view any of these documents.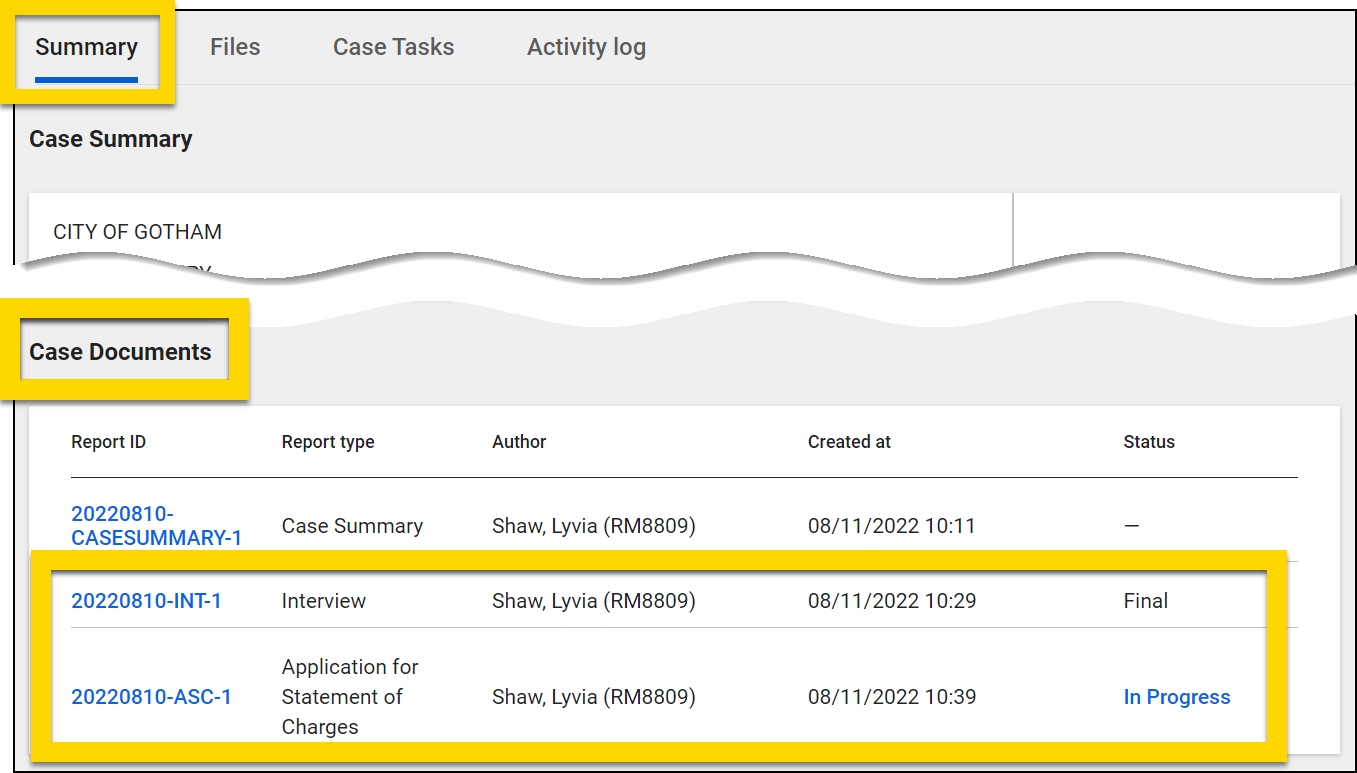
To create a document:
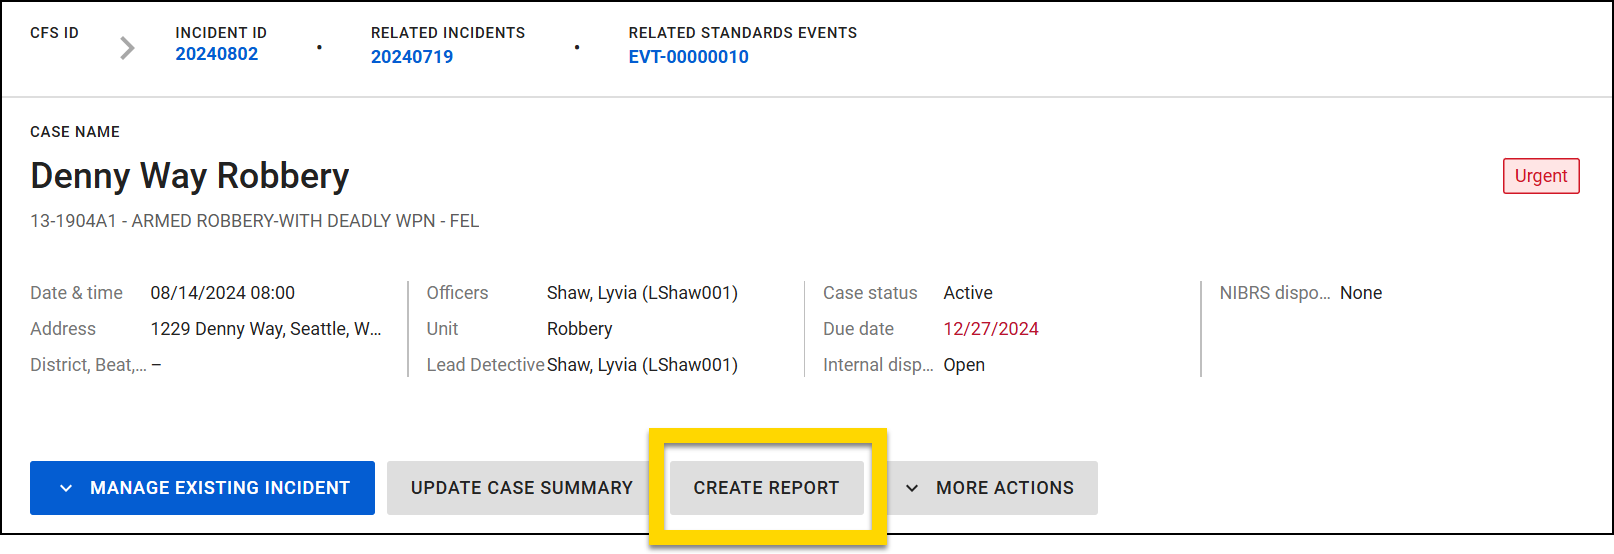
- Open the profile and select Create report.
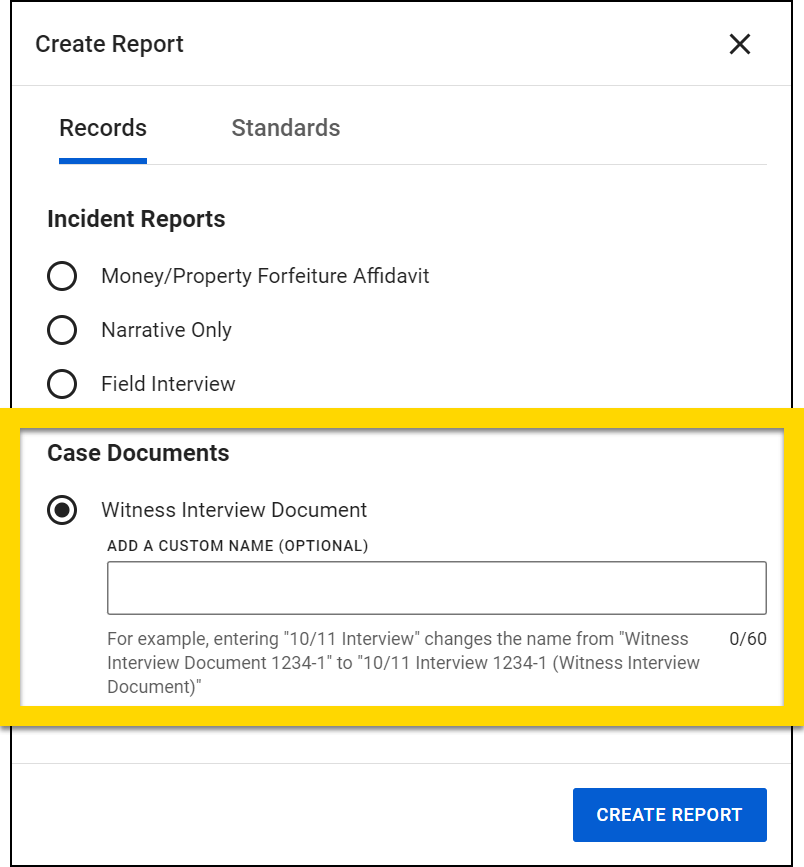
- In the Case/Investigation documents section, select a document type and add a custom name if desired.
-
After naming the document, select Create report.
- The documents listed in this window vary among organizations.
- The documents listed in this window vary among organizations.
- Report Writer opens where you can work on the document. Select the sections on the left side of the screen to move through the document and the sidebar button to enter comments.
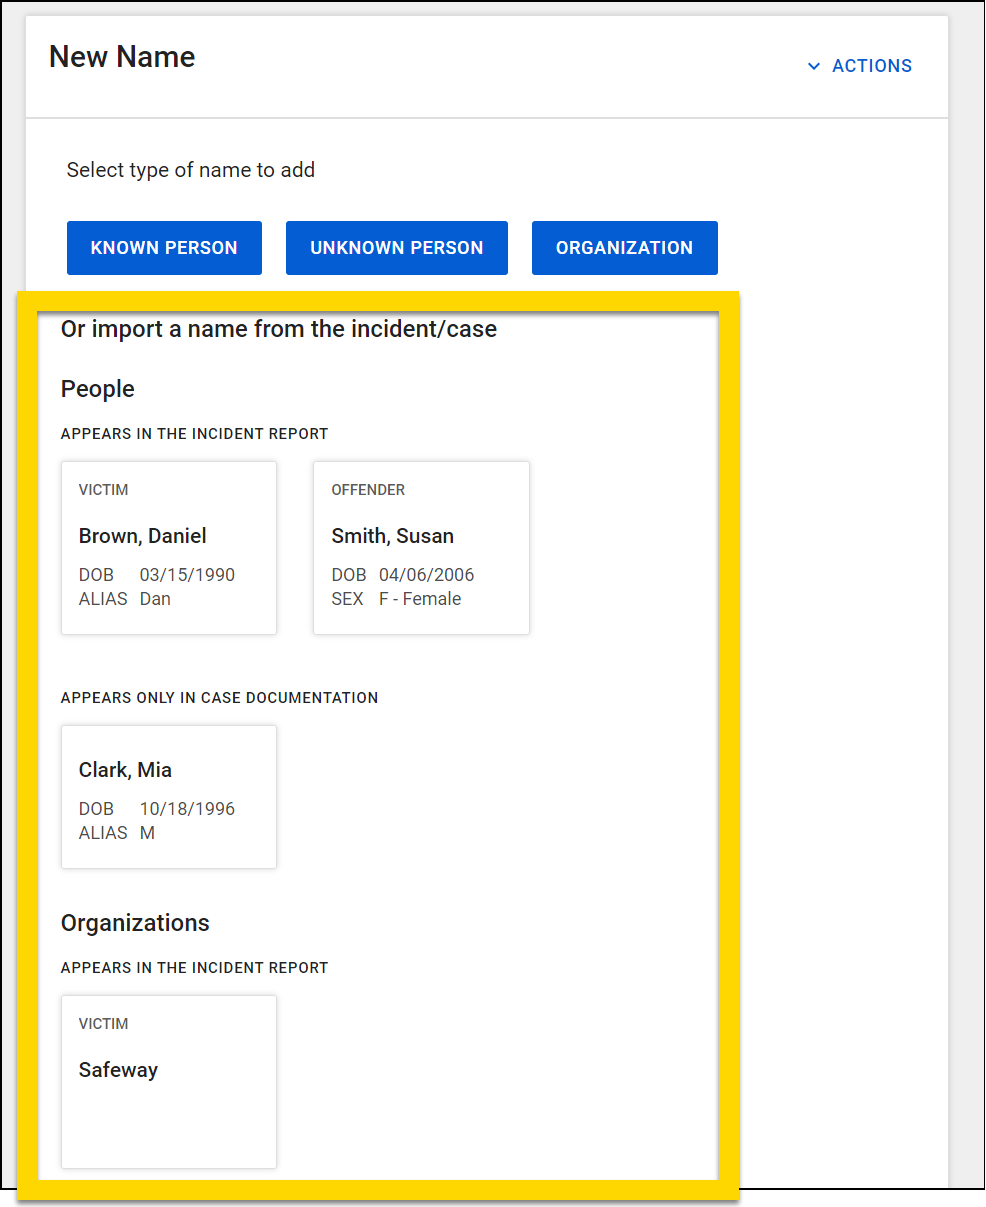
- When adding people, organizations, vehicles, or property to a document, a list of suggestions appears if those items were previously added to the other reports, documents, or tasks associated with that case/investigation. Quickly add any of these items to the document by selecting it.
- When adding people, organizations, vehicles, or property to a document, a list of suggestions appears if those items were previously added to the other reports, documents, or tasks associated with that case/investigation. Quickly add any of these items to the document by selecting it.
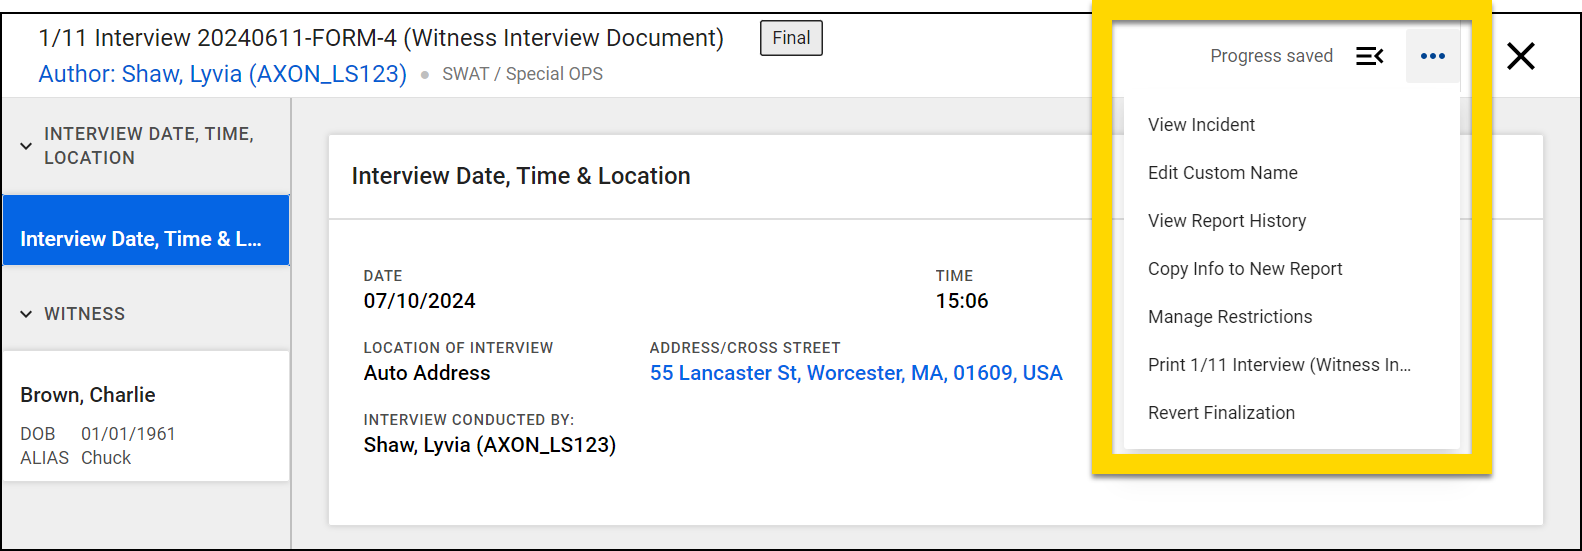
- Open the More actions [...] menu to:
- View incident
- Edit custom name
- View report history
- Copy info to new report
- Revert finalization (only for finalized documents)
- Once you have completed the document, select Finalize. (Unlike other reports, case and investigation documents do not move through a review and approval workflow.)
- If you close the document before finalizing it, you can find and continue working on it from your My Tasks inbox or by opening the case or investigation and scrolling down to the Case/investigation documents section.
Custom names
You can give custom names to the following report and documentation types to help you better organize and find items:
- Reports, including:
- Supplements
- Standalone reports
- Case and investigation documentation
- Cases
- Summaries
- Documents
- Tasks
Custom names appear on incident, event, case, and investigation profiles, as well as shared documents, and printouts.
Custom report, document, and summary names
Custom names can be added to reports and case/investigation documents from the Create report window.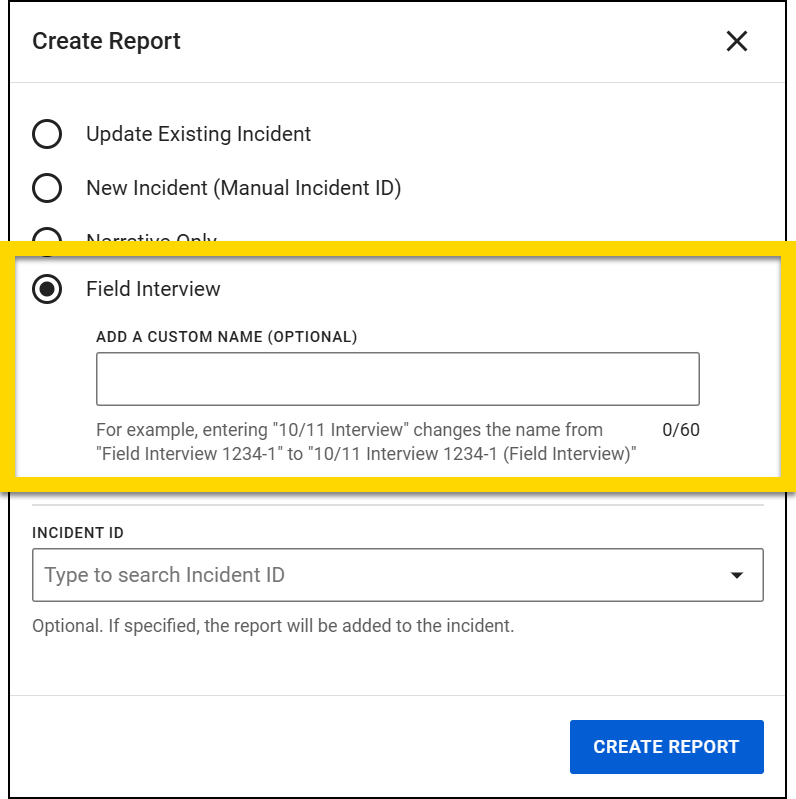
Custom names for supplements and case/investigation summaries can be added after the document has been created. When the document is open in Report Writer, select More actions [...] > Edit custom name. An Edit custom name window opens where you can enter a new name and select Save.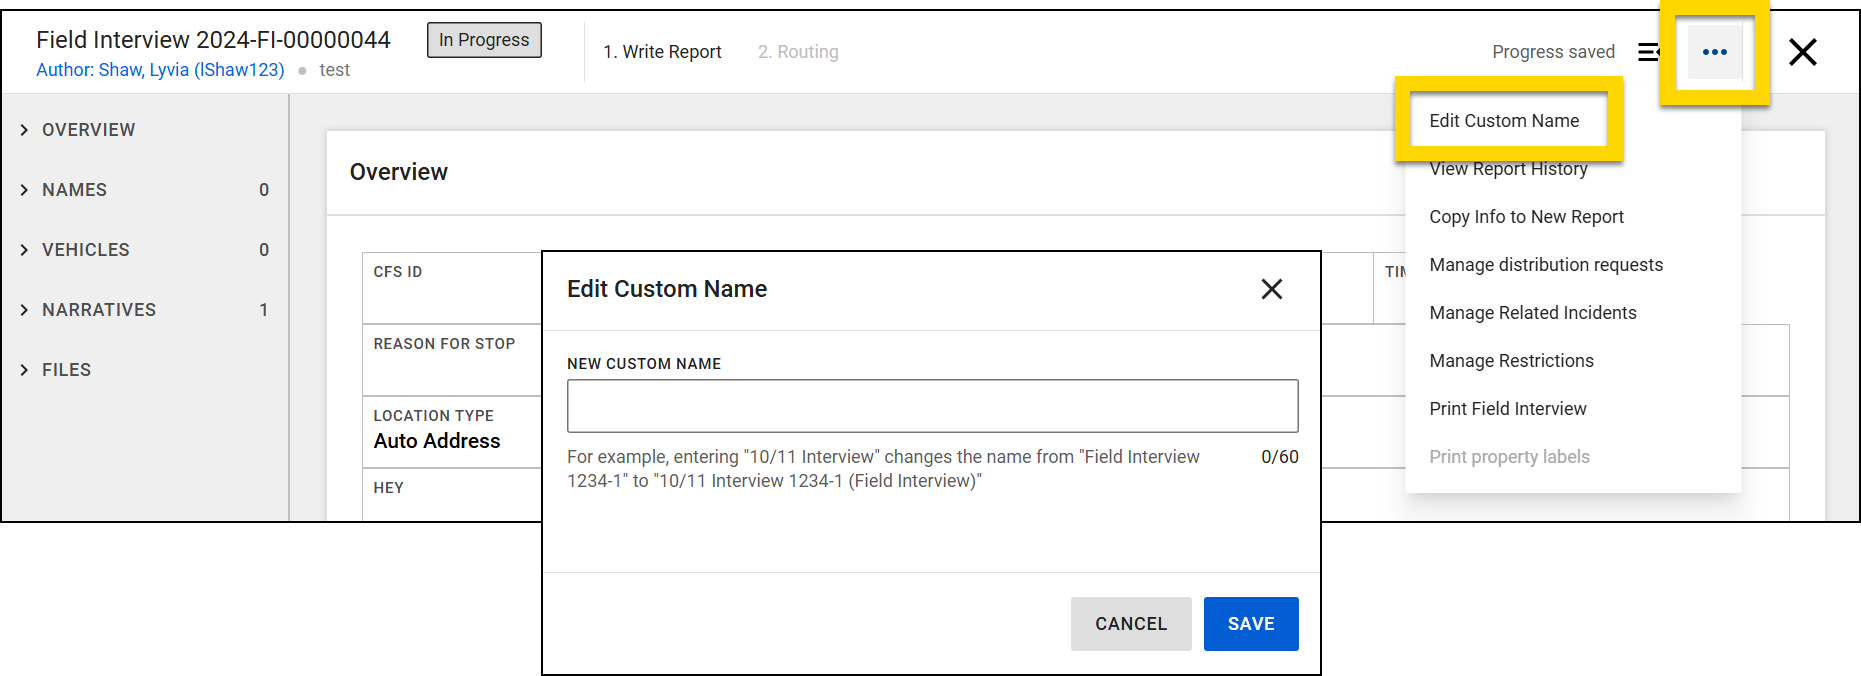
Once a custom name has been added to a report or document, it can be updated at any time from this window. To remove a custom name, delete all text in the New custom name field, and select Save.
Report and document custom names are formatted as: Custom Name Report ID (Report Type). For example: 12/12 John Doe Interview 2024-FI-00000044 (Field Interview).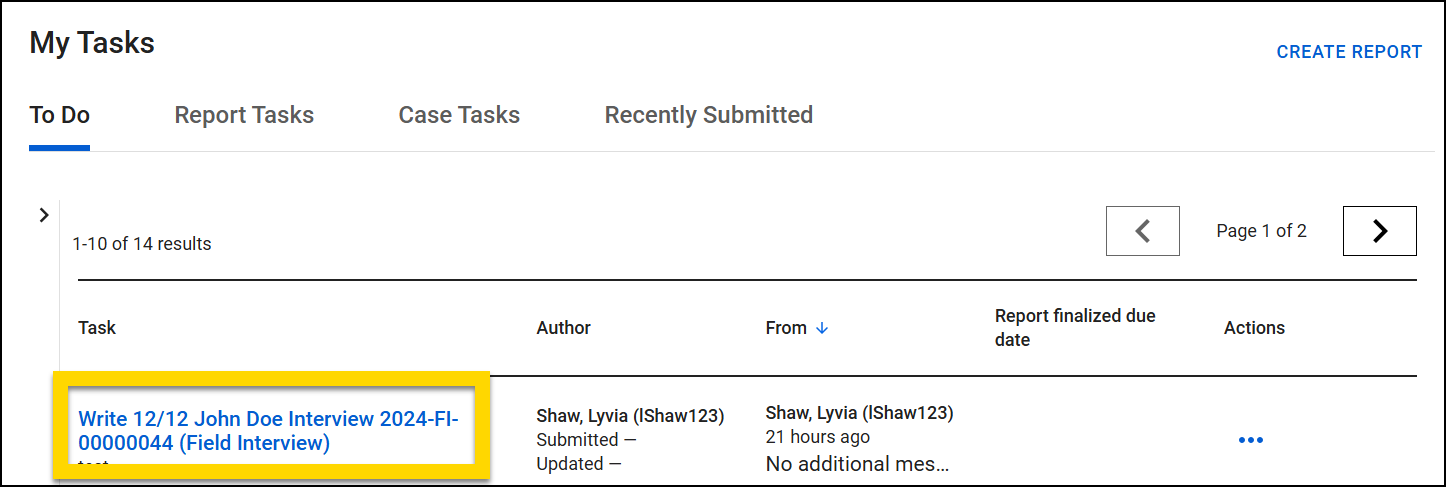
Custom task names
To add a custom name to a task, open the task and select the pencil icon beside the task type at the top of the screen. An Edit custom name window opens where you can enter a new name and select Save.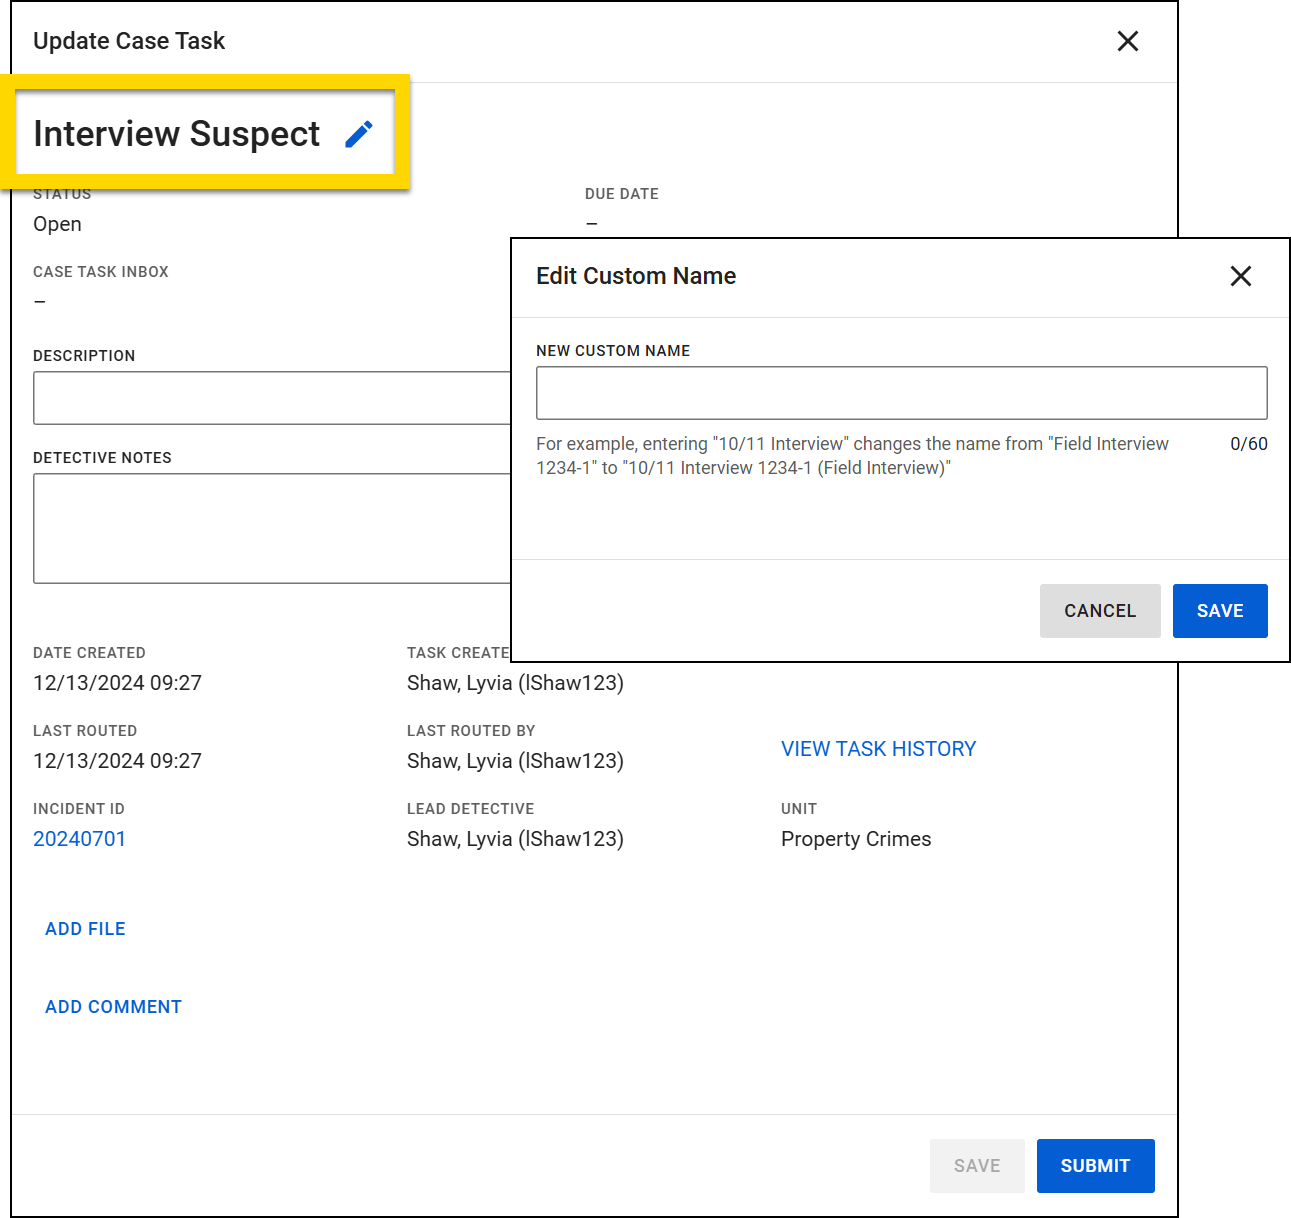
Once a custom name has been added to a task, it can be updated at any time from this window. To remove a custom name, delete all text in the New custom name field, and select Save.
When displayed in a list (e.g., on the Tasks tab or in printouts), custom names for tasks are formatted as: Custom Name (Task Type). For example: 12/13 Interview (Suspect Interview).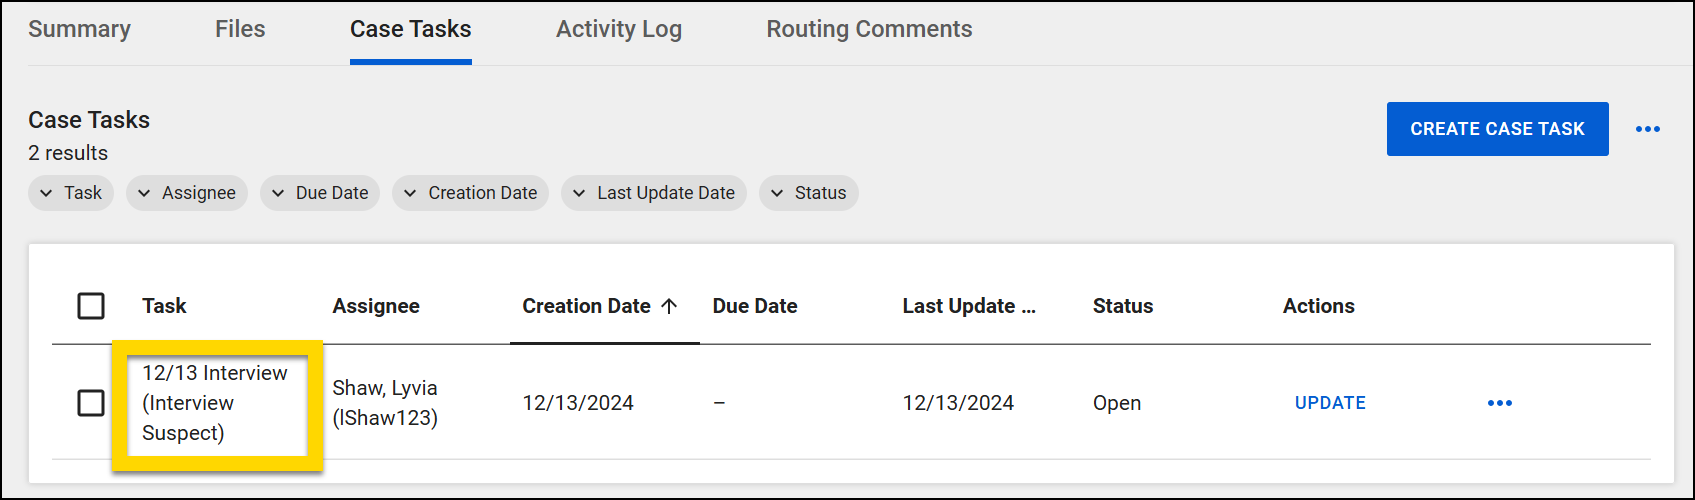
When displayed in the task window, the task type appears below the custom name.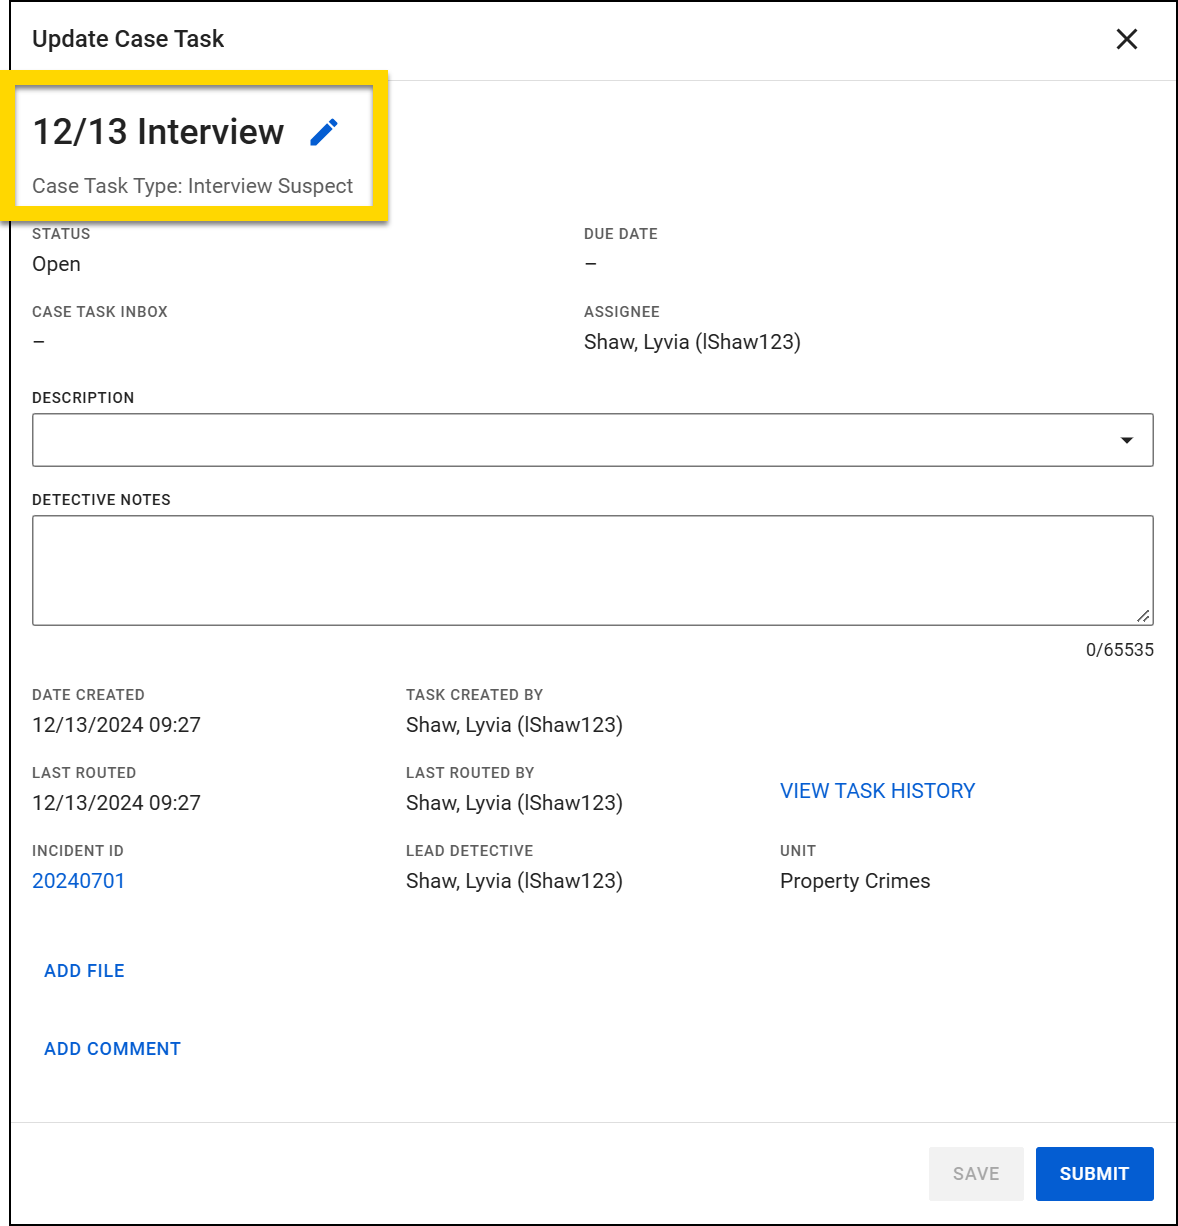
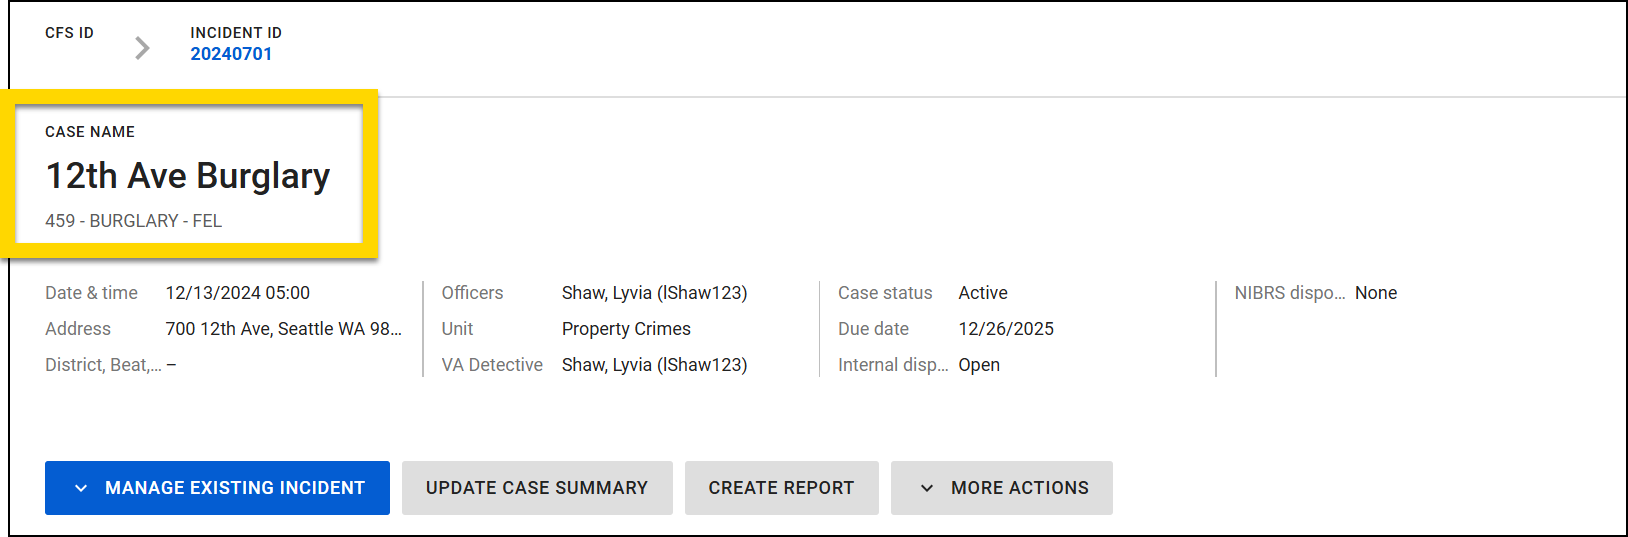
Custom case names
You can add a custom name to a case from various locations:
- Pencil icon on the case profile heading
- More actions > Edit case name on the case profile
- More actions [...] > Edit case name beside the case name in an inbox list
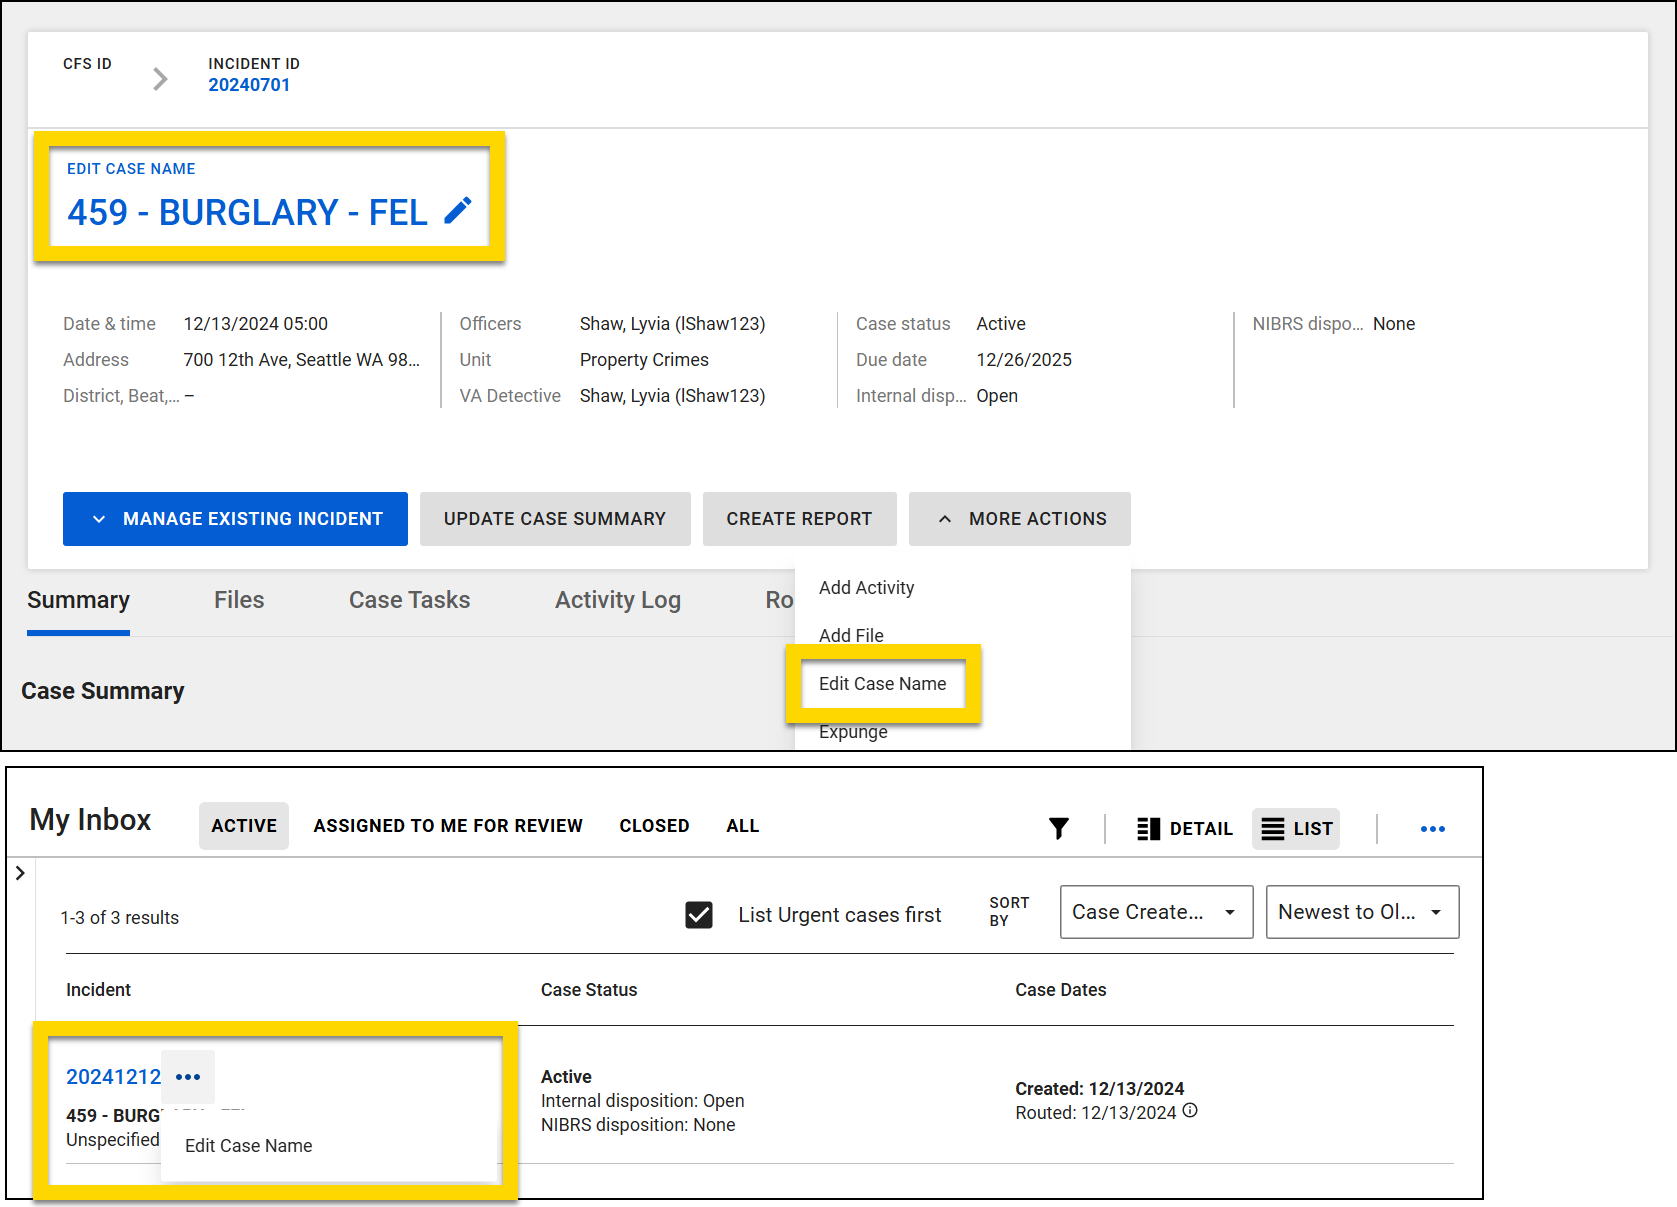
Once a custom name has been added to a case, it can be updated at any time from the Edit custom name window. When a case is given a friendly name, users can search for that name in Reports search, and the custom name will appear in search results.
When displayed in a list (e.g., in inboxes), custom names for cases are formatted as: Case ID: Custom Name. For example: 20240701: 12th Ave Burglary.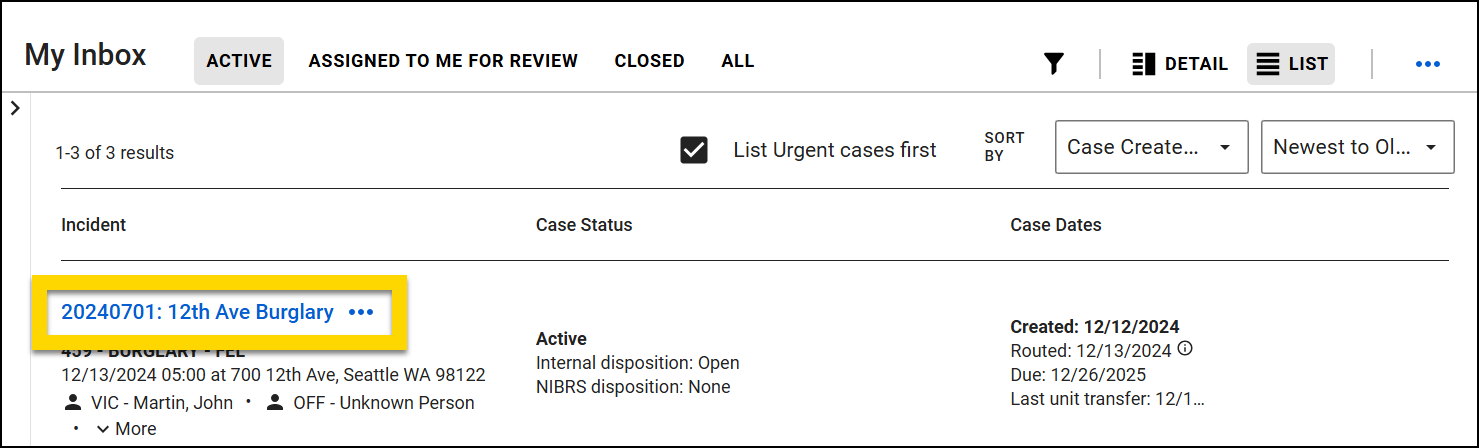
When displayed on a case profile, the offense section and description appear below the custom name. To remove a custom name and return to the default name (offense), select the case name to open the Edit case name window. Remove all text in the Case Name field and select Remove custom name.